

 Sections
 Recent Forum Posts

 Currently Active Users
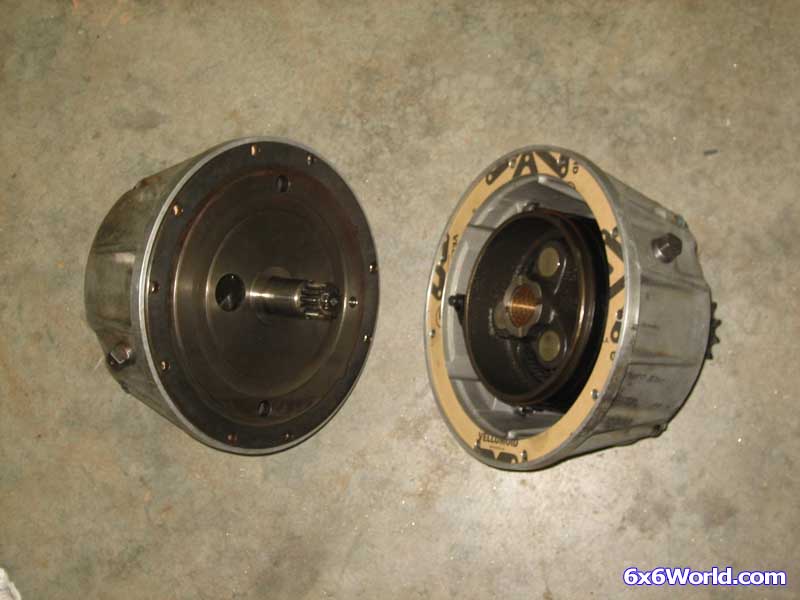
Bolt the two halves of the skid steer housing back together.
If you haven’t already you need to replace the orings on the shift levers in the same manner that you did the orings on the plungers.

Before you install them back in the housing make sure that the shift collar is in the neutral position. You can place a screwdriver into the slot on the shift collar and move it towards the center of the transmission or the outside of the transmission. There are three positions so it is easy to tell when you are in the center (neutral) position.
Once you are in the neutral position you can install the shift lever in the housing. Make sure that the pin on the end of the plunger hits the groove on the shift collar. Then install the shift lever retainer plates over the shift levers to keep them in place if you wish.
Note: The left and right shift levers are slightly different. The pin on the end of the plunger is offset in one direction or the other. If you install them backwards then they will not work. The transmission will work fine in forward but it will not shift into reverse. Just be sure that the pin is hitting the shift collar when you initially install them.
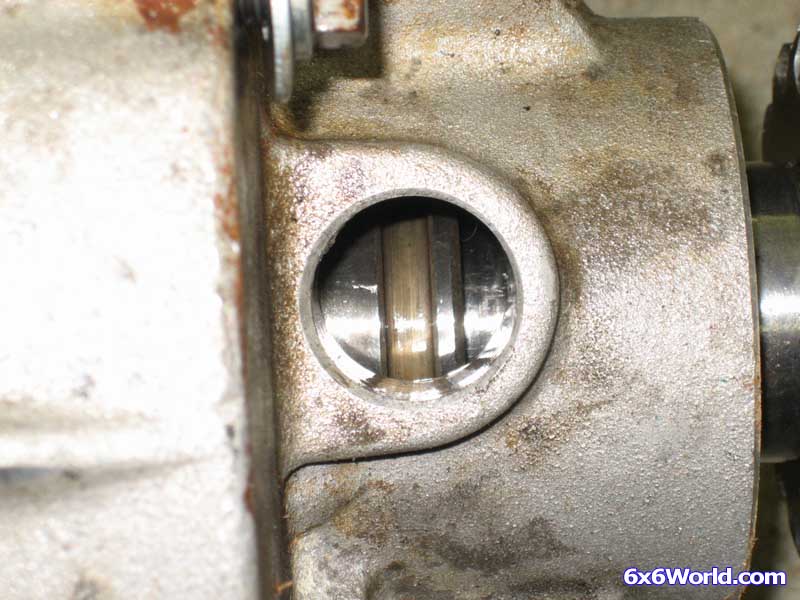
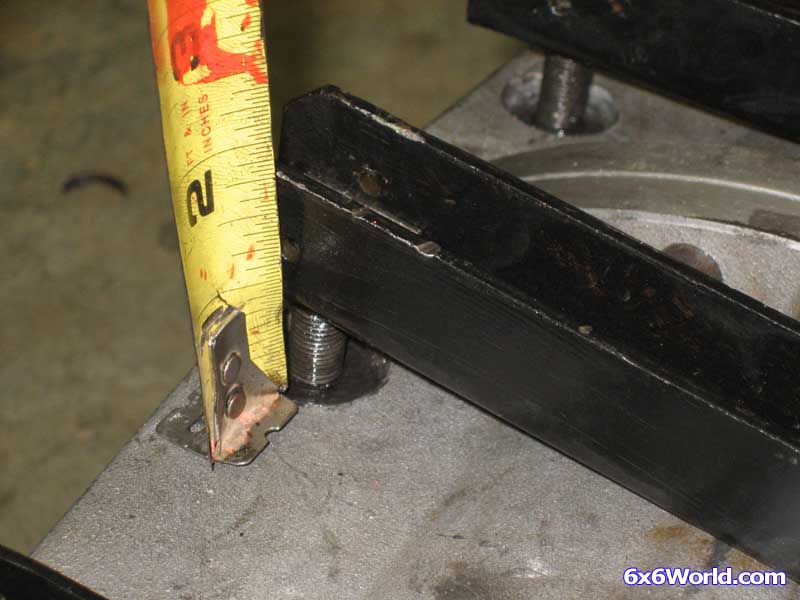
Install the brake levers back on the plungers. When you put the bolt and washer back on be sure to turn the top and bottom bolts equal amounts to keep the brake lever parallel. Once you have the brake lever installed, if you pry on the back of it and pull the plunger out it should measure the same from the back of the brake lever to the housing on the top and the bottom.
Once you have that measurement equal on the top and bottom you want to pry the top plunger out and measure that distance again. Then while still pried out at the top, measure the distance from the brake lever to the housing at the bottom bolt. There should be 5/16” difference. Basically you want 5/16” of travel for the brake levers.
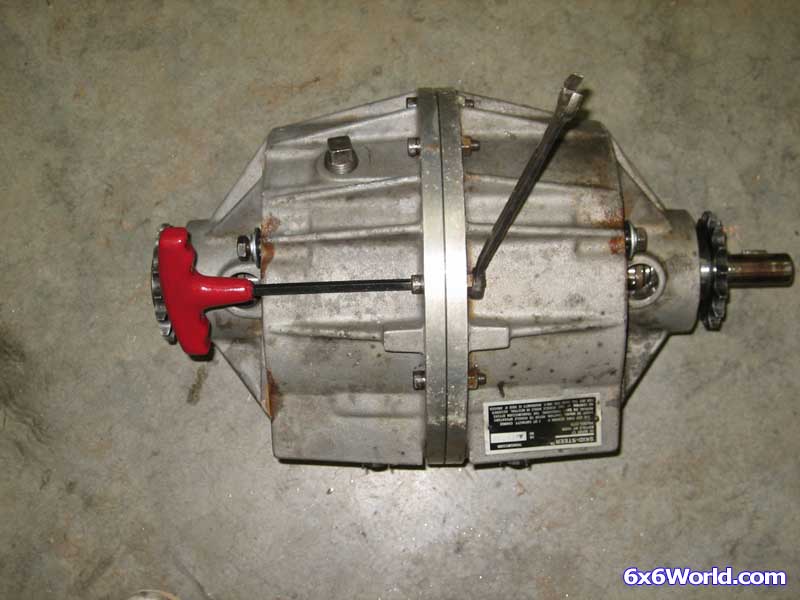
Now you can reinstall the clutch assembly or you can wait and do that in the 6x6. I chose to go ahead and do so now.
Align the keyway on the clutch with the key on the shaft.
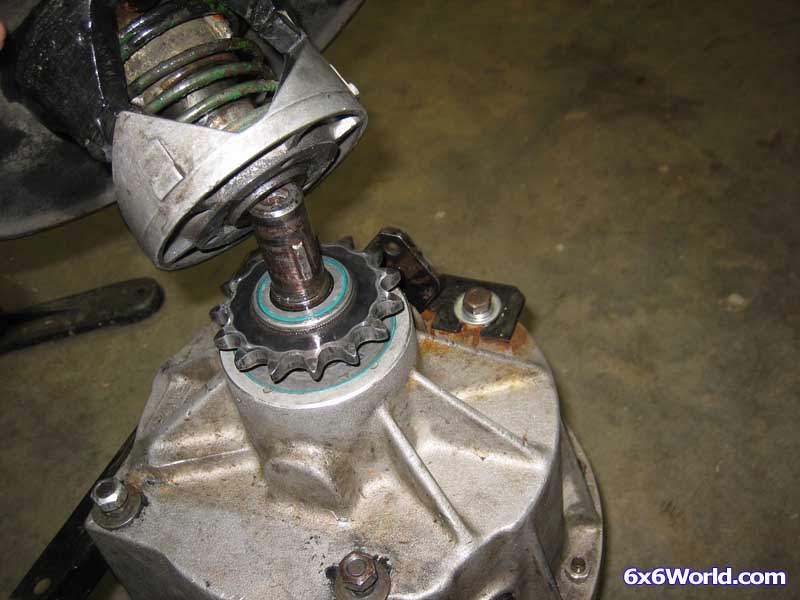
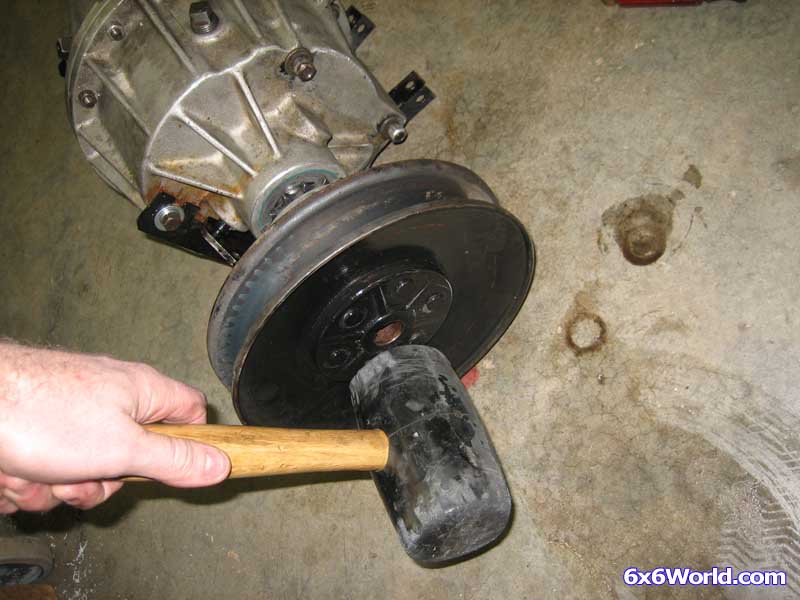
Tap the clutch back onto the shaft and make sure that the key stays in place.
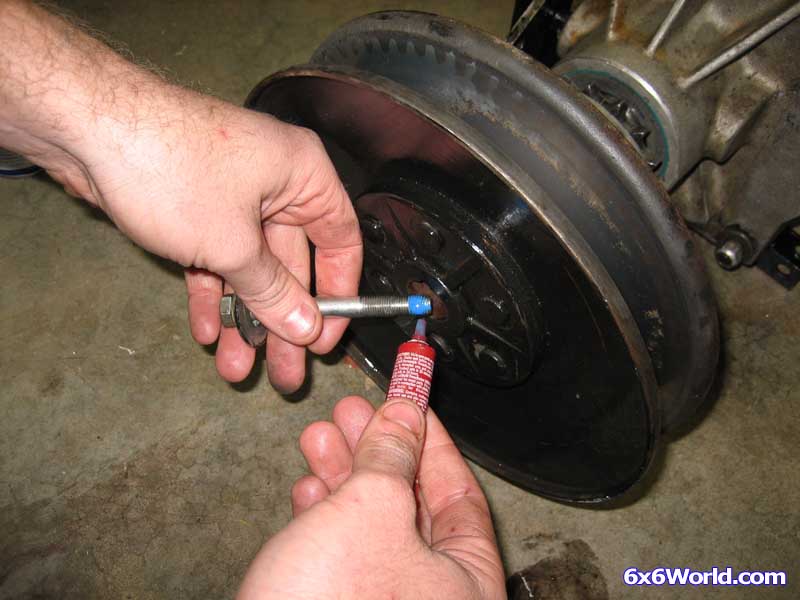
Reinstall the retaining bolt back on the clutch. Be sure to use some threadlocker to prevent it from coming loose.
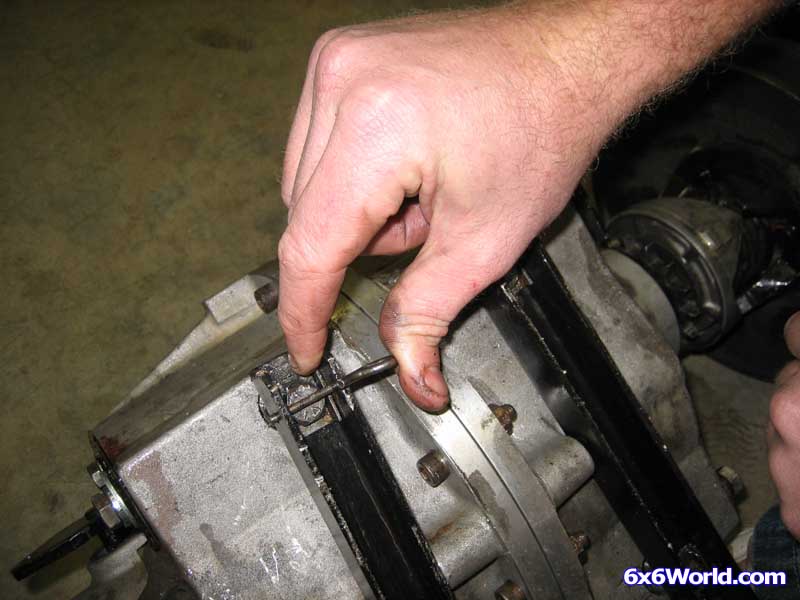
If you haven’t done so yet, reinstall the hair pin clips on the brake levers.
Install the drain plug in the bottom hole and put one quart of fluid in the T20 transmission. Then reinstall the vent plug in the top hole.
Now you have a transmission that is ready to be installed in your 6x6 ATV. It should now give you years of trouble free use!
 Latest Poll
Thank you, North Country! I will do that. ...
Thank you, North Country! I will do that.
Rowdy 04-25-2024, 09:54 AMAfter I put the 2 new 21x11x8 22 Mag tires I had on, they?re actually shorter than the original tires by an inch or more. I don?t think I will have any...