


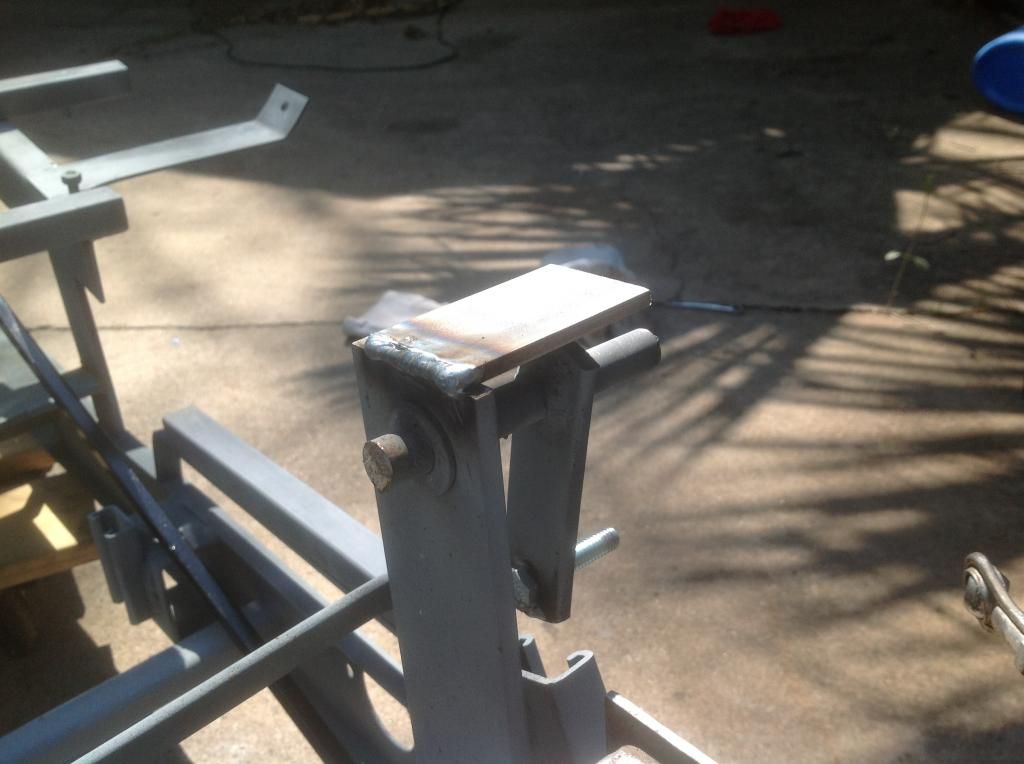
It is a HUGE IMPROVEMENT on the hustler. In the stock location, if you have a left foot larger than a ladies 6, you have to put it to the right of the sticks and sit sideways. I centered mine and sit center unless I have a front seat passenger.Originally Posted by ARGOJIM

 Reply With Quote


 MUSCA TUR BOTA then eh?