You are currently viewing our boards as a guest which gives you limited access to view most discussions and access our other features. By joining our free community you will have access to post topics, communicate privately with other members (PM), respond to polls, upload content and access many other special features. Registration is fast, simple and absolutely free so please, join our community today!
If you have any problems with the registration process or your account login, please contact us. Looking forward to seeing you in the forums and talking about AATVs!
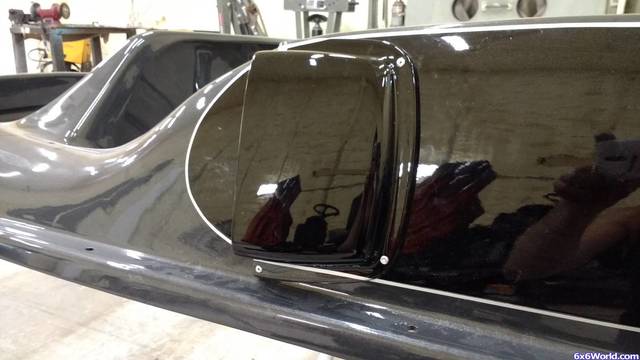
Any paint manufacturer has their own plastic primer. I used a product called Bulldog. It smells like bunghole but works well. I sanded the whole body inside and out with 80 grit on a DA, then 180. I did all my body work at this point- filling holes with fiberglass filler and scratches with a glaze filler. Then degreased it all really well, sprayed a coat of the bulldog, then thick primer. It was like priming astro turf. Then I sanded it with 180 again, primed again, then sanded with 400. LOTS of work, but it's really not too different than painting a bumper on a car, other than smoothing out the texture.
Nice pics. The red connectors are called Anderson Connectors or couplers. They are popular for winch connections, and extending electrical runs for 12v machines.
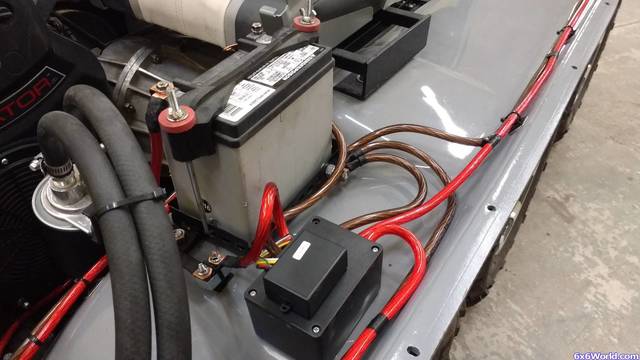
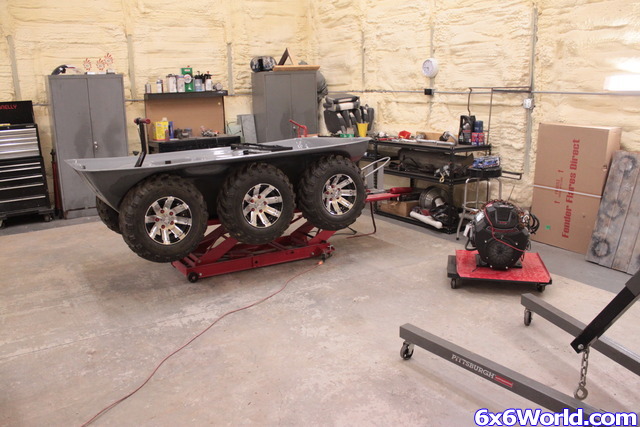
I guess I was in the zone this weekend. I got a bunch of stuff done and a now just a very short list ahead of me to the finish line. I got all the winch wiring done, which I had been dreading a bit. The winch kit came with 10-or-so gauge wiring, which I thought should be bigger, but I needed to open up the relay box to remake all the wires to the 4 gauge I have. So, I got that knocked out, zip-tied it all down and magically, it works! I like it. As for now I'm just reduced to pulling stands across the shop. It entertains the children.
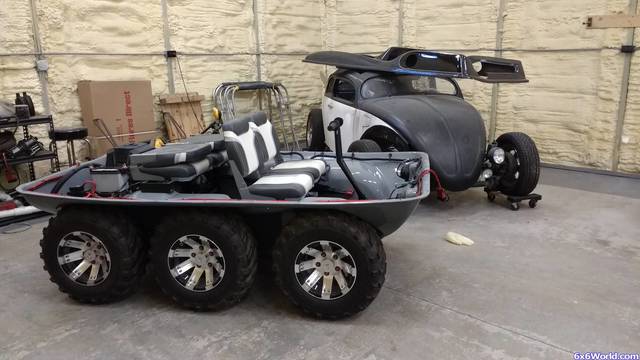
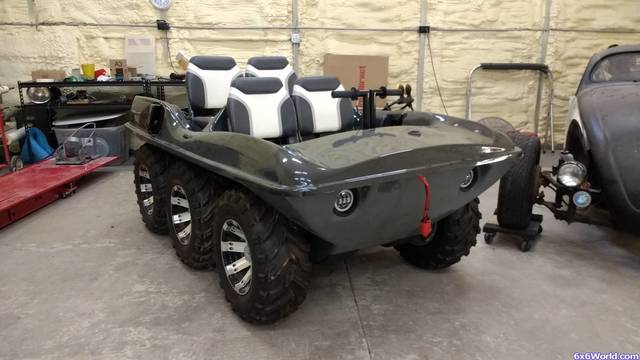
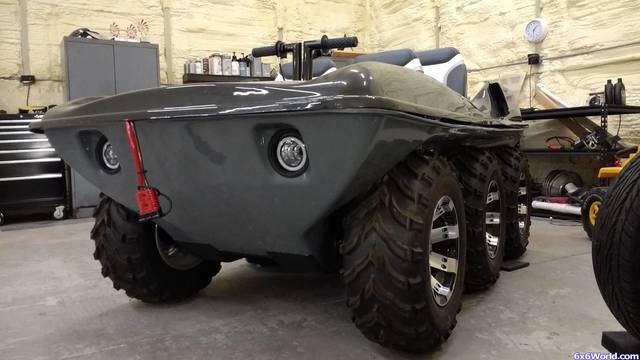
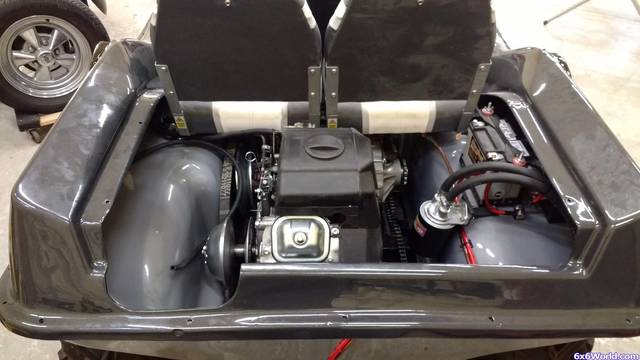
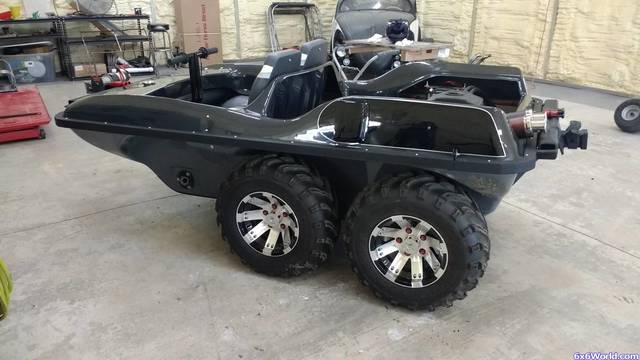
I got the side scoops painted to match the stripes on the body top. Even getting painted in my shop at home with the wrong sized tape, they turned out pretty well. I got the body band wire brushed (It was already pretty rusty just from the few months since I built it) and epoxy primed a couple days ago and took it up to the Rhino Liner shop. It should be done Tuesday. I had some epoxy primer left over so I shot the fuel tank as well. This allowed me to get all the fuel lines put into the body top with the pump and shut-off valve today as well. I thought, "Well... I guess I can put the top on now...?" It's been so long in pieces with such a long list of to-dos it was weird to get to this point. So, I put the top on. And it looks awesome. Once the body band and bumpers assembly gets back from the bedliner shop it'll be just down to little things like... a gas cap, and a new drive belt (which will be a bit of a hiccup since I need a different size), and to rejet the carbs. And the exhaust. Aaaand I have to fiberglass the decklid. Aaaaaaaand I have to get some solar panels to make into that decklid to charge the battery... and that may be it.
Maybe...
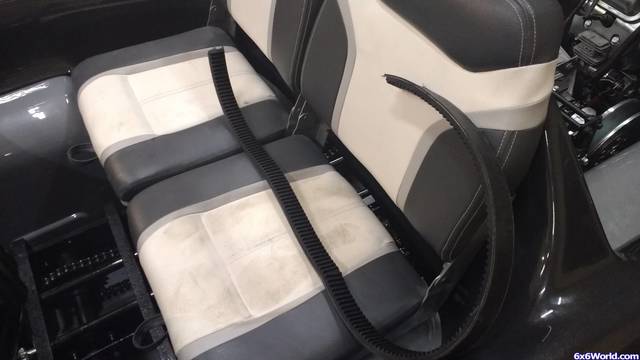
Winch wiring mess
Saturday's progress
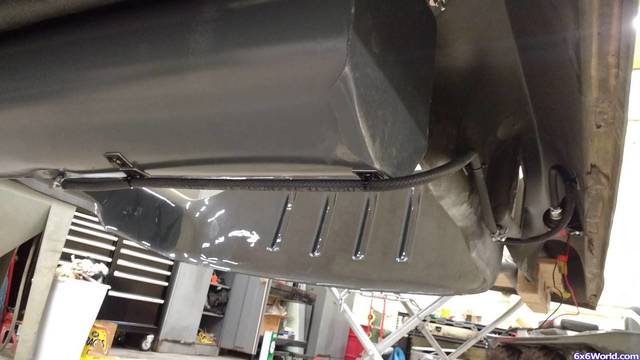
Fuel system in
Switch panel and fuel shut-off. I figured that, while they should be close together, they should not be "THAT" close together. This way if there is a leak from that valve, it goes down into the tub WITHOUT dripping over a fuse block.
Chameleon-like side scoops
I'll take the body top off ONE more time to wet sand and buff it so that I don't make a mess in the tub, but that's pretty much it. There she is.
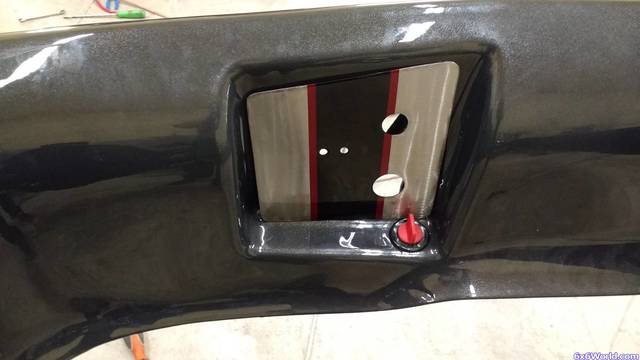
I'll drill some holes in the top and route the red cables through them with grommets. It won't be left all hillbilly like that.
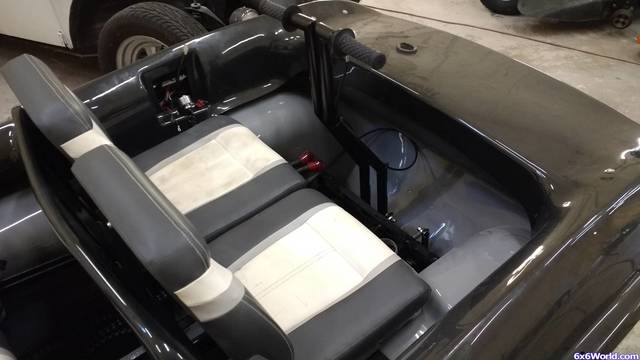
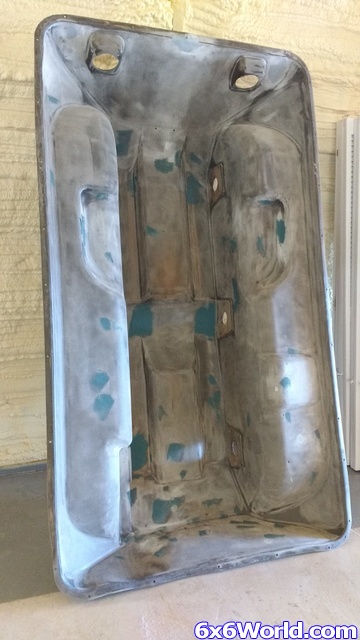
The lighter gray inside is perfect for the clean racecar look.
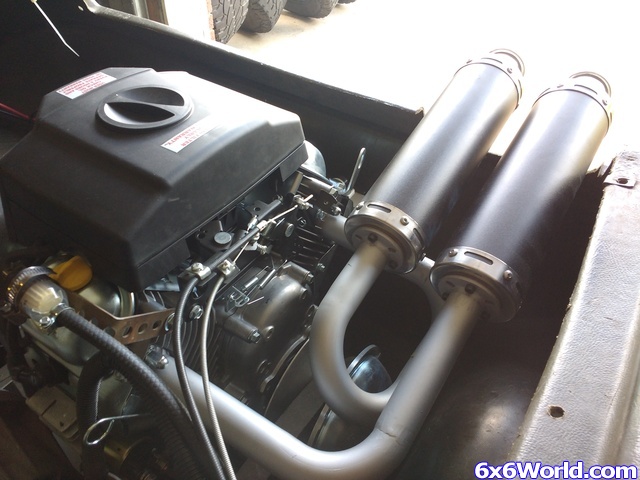
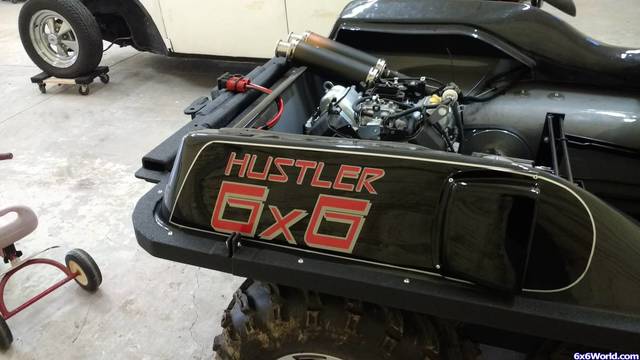
Those valve covers need attention. Maybe black wrinkle finish. I thought about red but they'd look like boobs...
And that's it for now! I'm going to stop by the sign shop tomorrow to get the decals made for the sides. I'm overly excited about that.
I'd like to take this space to recap where we've come from in the last year, since Photobucket sucks now and shut me down.
"...Previously, on the Suburban Hustler..."
This is where we found the Hustler. It has 4 flat tires, one control stick, and doesn't run.
Day two of the Hustler. Big plans. Big motivation.
After fighting the rusty axle battle, the whole 6x6 was taken apart, sandblasted, and epoxy primed.
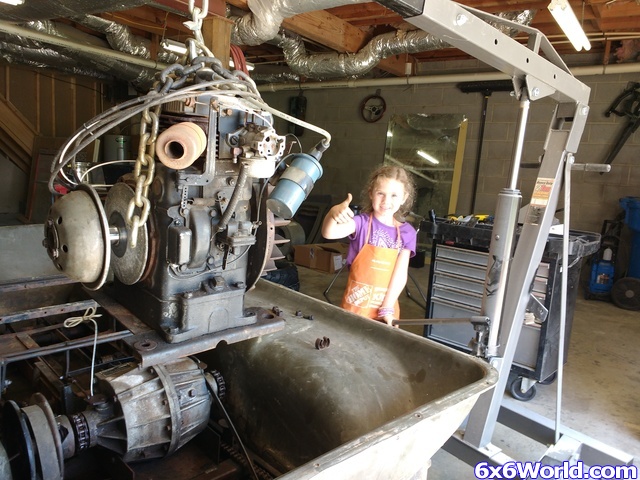
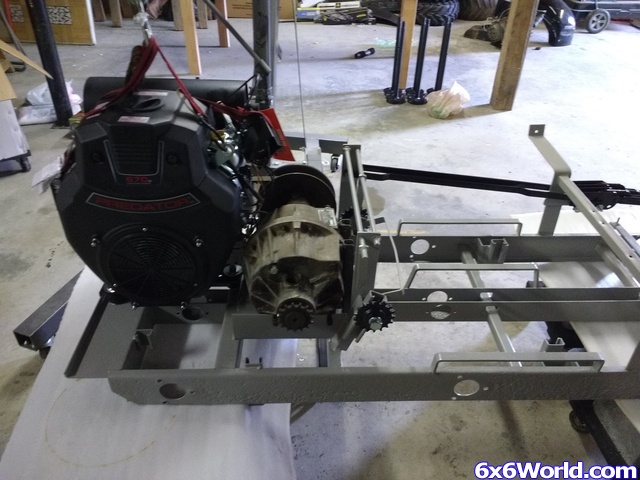
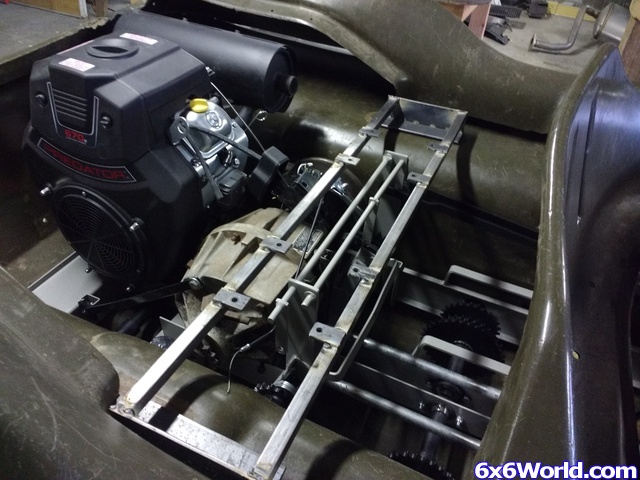
Fitting the Harbor Freight Predator 670. 22hp Vtwin. It should scoot through the neighborhood.
Building the new handle bar control sticks and pushrods for smooth operation and low tolerances. Rigid.
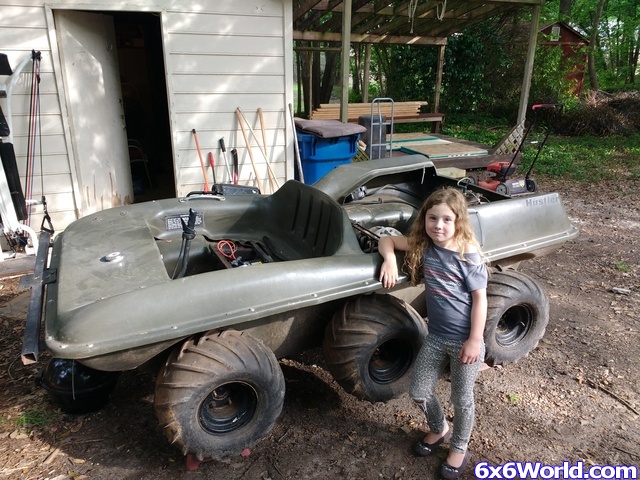
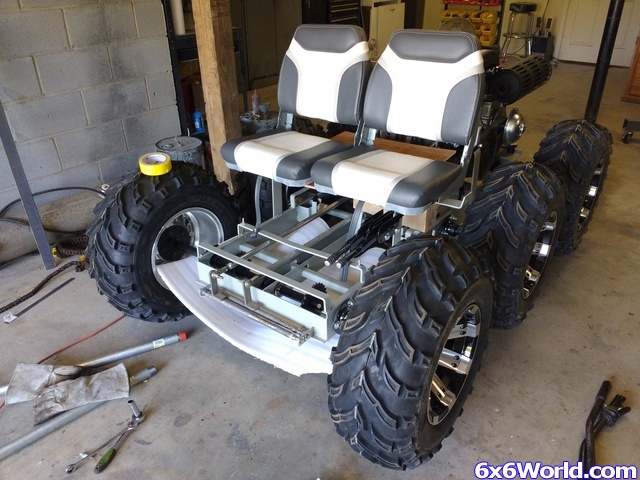
26" tires, 12" wheels, and some bass boat seats.
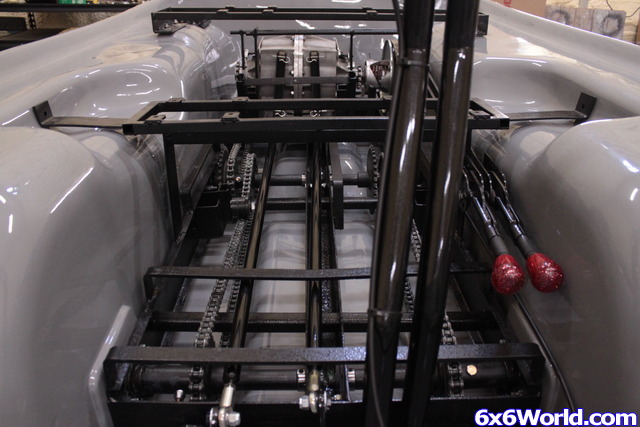
Stuff it all back into the tub to build the rear seat brackets
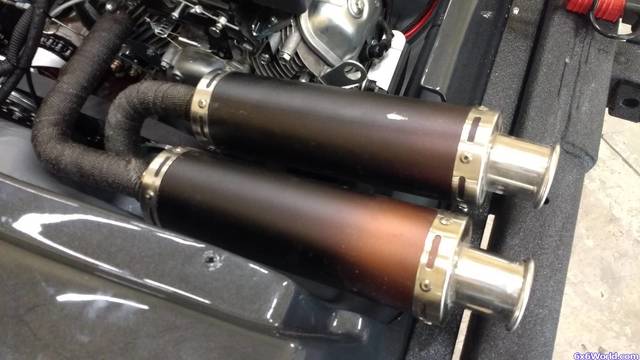
Building the exhaust with scooter mufflers.
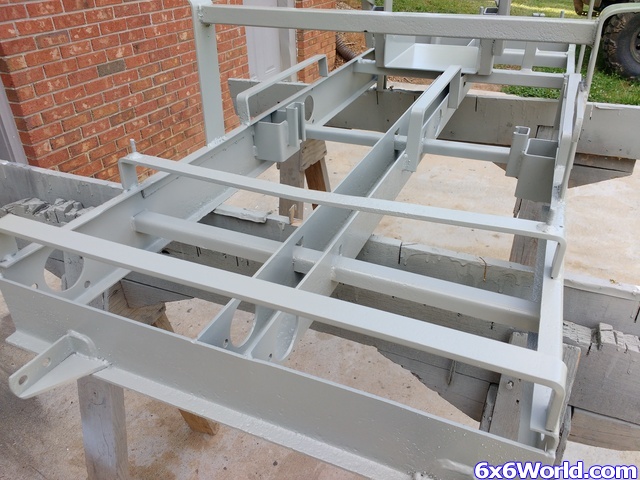
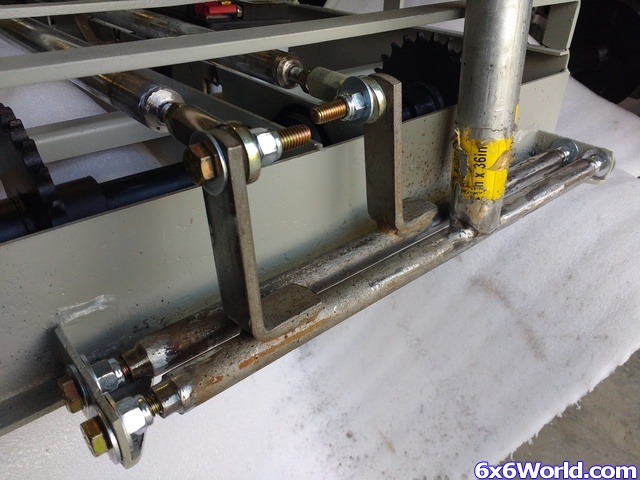
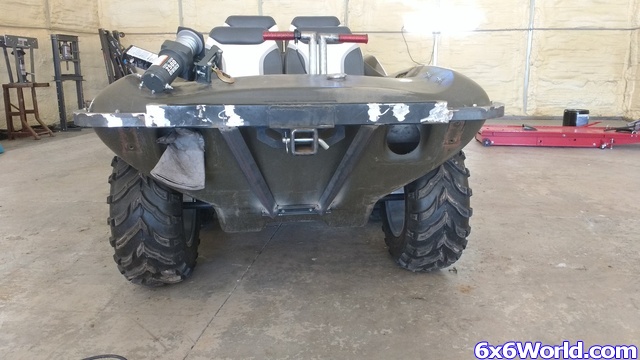
Building the body band and bumpers assembly. Reciever hitches on the front and back, all 1/8" angle iron. It's just itching to ram a Camry in a driveway.
Take it all back apart in a day to start paint and body work on the tub.
Rebuilding the transmission.
With new paint on the tub inside and out and new paint on the frame and controls, reassembly begins. My favorite part.
With the wheels back on, the Suburban Hustler is ready to get back on the ground and get the engine in for that last time.
WOH! this thing is B@D @SS Man if a 6x6 company could manufacture these SxS would actually have some competition (from a buyers point of view) cool mix of old school and new school.
Thanks!
I know it looks like it's practically laying on the exhaust, but the fuel line is actually about 10 inches from the exhaust, bundled with the choke and wiring. I've not experienced problems so far. Well, not with that anyway!
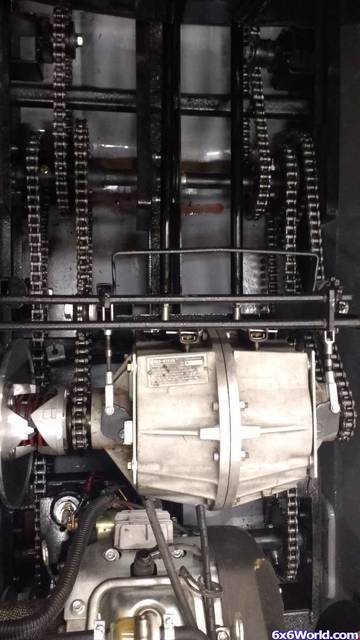
So, the Suburban Hustler is back together! The body band came back from the bedliner shop looking great. I had a hard time finding a belt that would fit. Of course nobody locally has any fat belts like that, so I had to special order two that were too short from Auto Zone, one that was too short from Napa, and then got one really close but 1/8" too wide from Amazon. That one at least worked, but it kept the trans spinning all the time.
I had alignment issues with the trans as well, and it turned out that when I had the Hustler in mock up I was using a trans clutch that was stuck halfway open, and the mounting holes I reinforced were wrong. When I put the trans in with the new clutch, that clutch was making contact with the chain to the left rear wheel. So, back out it came and holes opened. I slammed it all back together that night and was battling fuel issues with air in the line confusing the fuel pump (not vapor lock though, haaaha).
There is a video stuck on Instagram that I wish I could report here of the maiden voyage. It was great. The Hustler is just as fast as I was hoping. My friend was cutting grass with the 13mph Dixie Chopper so I went out and raced him. he just gave up. I'm guessing the Hustler goes about 30+. Within 10 minutes, though, the front left axle snapped right where I welded it. The next day a fabricator friend of mine made that right.
I was also battling the trans not shifting into reverse on the right side and forward on the left side. I made some linkage adjustments but couldn't fix it. I made some brackets to give thte arms more travel but that still wouldn't work. It's binding inside the transmission I think. Also, with that belt that is 1/8" too wide and the trans always spinning it's making it extra difficult. I don't want to force it and eat teeth off of something. Well, I took it out one night after poking at this shifting problem, and ended up doing some donuts in the shop, aaaaaaand that new belt blew up while I was looking at it. MAN, talk about being grateful that it didn't go like it could have!!! It just exploded and piled up at the back of the tub.
So... there it sits.
Pics:
Broken axle. That was exciting.
Exhaust turning copper after 10 minutes. You get what you pay for.
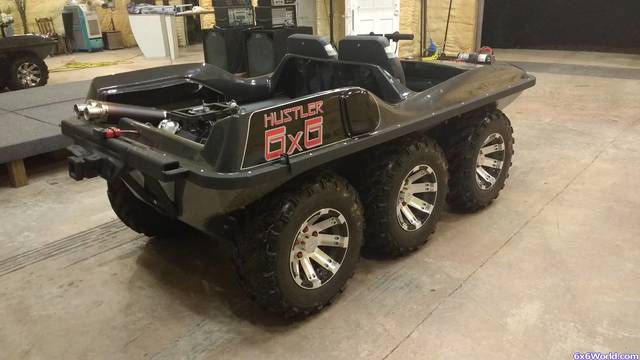
New stickers. Yes, I like them.
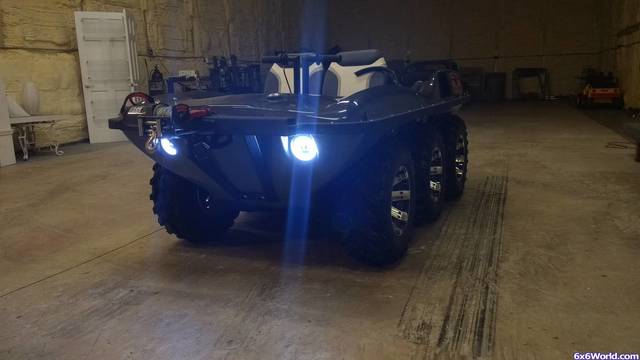
Looks so good. Going out for a night ride.
Headlights are SO bright. This is just the halo rings.
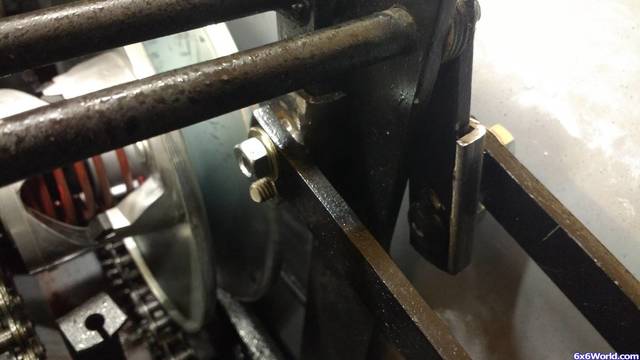
Made these brackets to relocate shifter arm attachment points. It gave the linkage about an inch more travel, but didn't do what I wanted.
ATF leaking out the top of the F-R shifter holes. And into the clean tub... Ugh. Again, I think this is also related to the trans spinning all the time.
The last time I had a belt do that was with my Super Swamp Fox diesel. I thought I had the clutches lined up perfectly, but my old belt just shredded in pieces. assumed it was just a dry rotted belt so put an expensive new belt on, and within an hour it did what your belt did. Then I used a straight edge and checked clutch alignment, I was just a hair off on alignment and was maybe 2mm off. Once I corrected that, I never had another belt issue.
Tell me a little more about those wheels, those are really sharp. Who makes them?


 Reply With Quote