You are currently viewing our boards as a guest which gives you limited access to view most discussions and access our other features. By joining our free community you will have access to post topics, communicate privately with other members (PM), respond to polls, upload content and access many other special features. Registration is fast, simple and absolutely free so please, join our community today!
If you have any problems with the registration process or your account login, please contact us. Looking forward to seeing you in the forums and talking about AATVs!
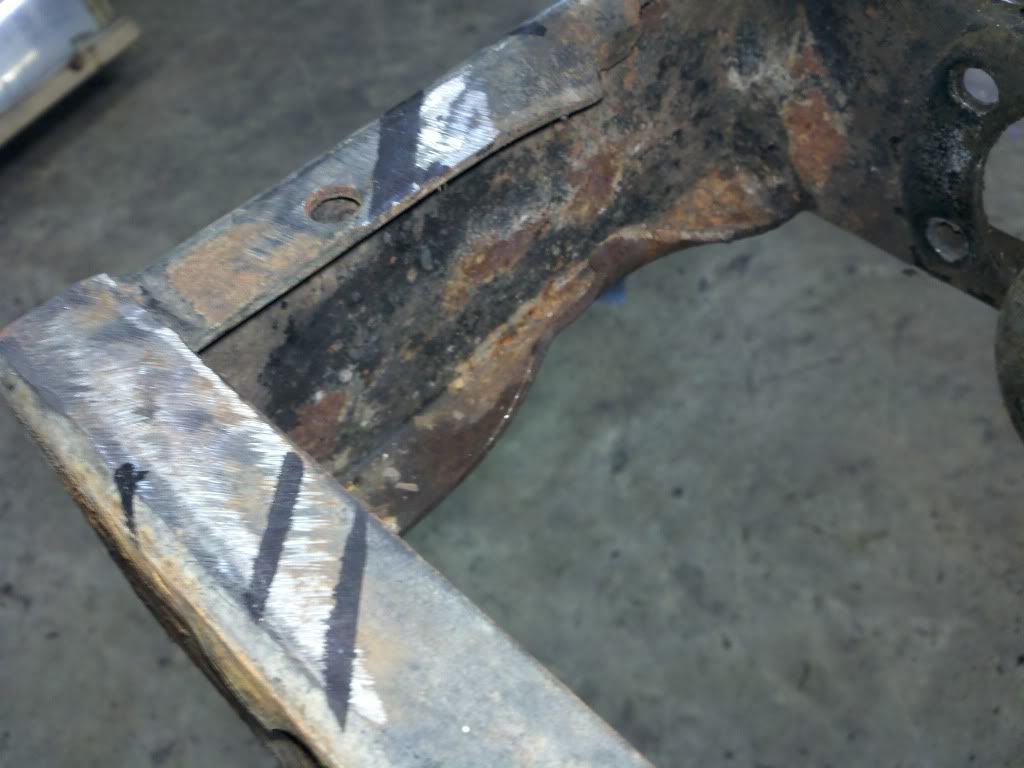
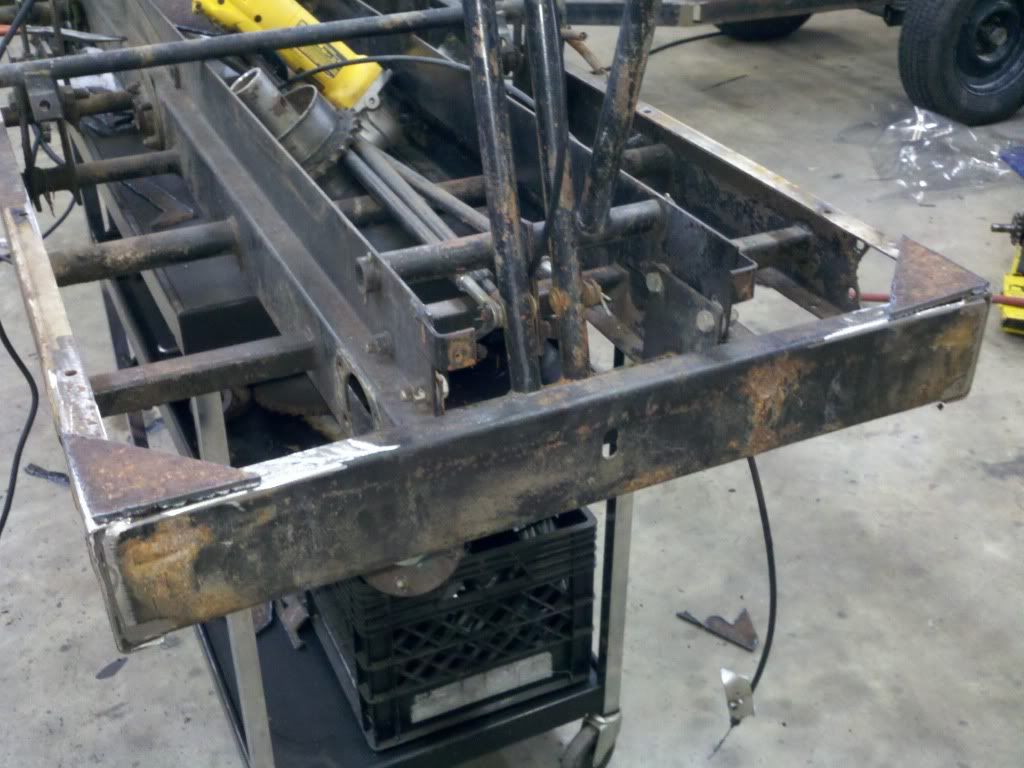
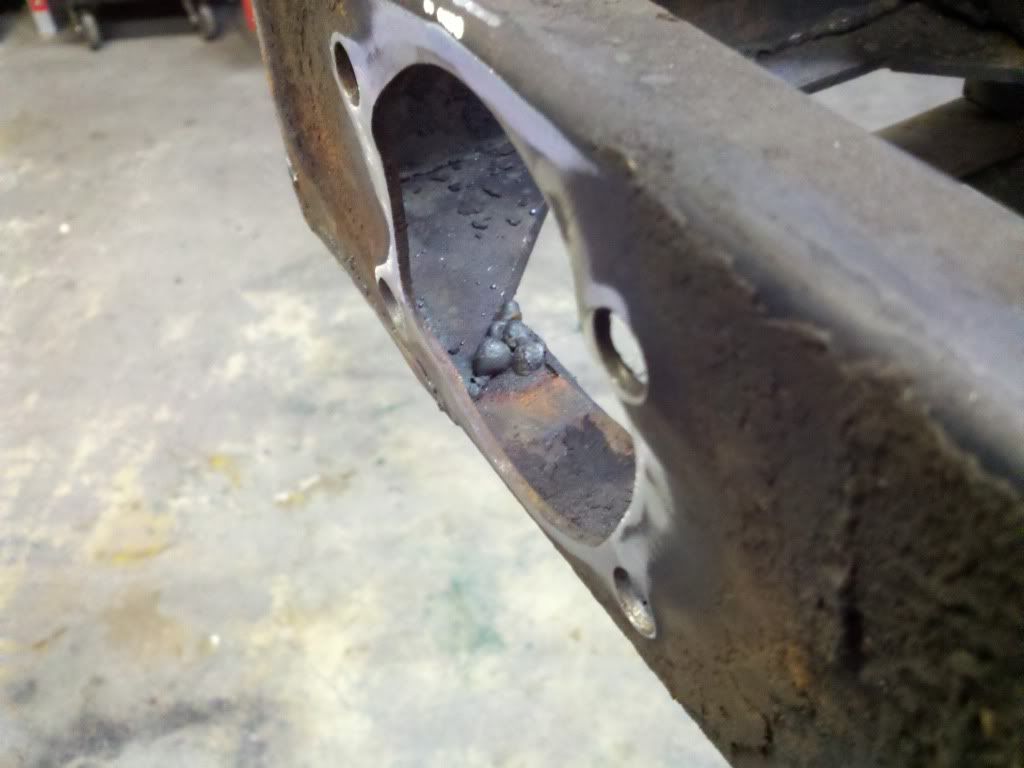
well its been a while, but Im about to slap all new bearings and chain on this maxiv. I took it down to the frame and will be welding gussets and some plate on tommorrow. I have a couple issues yet.. on the bearing flanges there is a rubber gasket between the flange and body. can I rough it up and use some Lexel or other real good silicone here? My rubber gaskets are shot. I also noticed that the inner bearing flanges have no zerk? I guess Ill add one tommorrow to them. Then I got to the rear of the frame. It looks like someone bent this thing all up with a torch to get the rear chains/sprocket to clear!?! is this factory??? good thing I got a mig and a plasma cutter! time to hammer down. any suggestions or mods I should be looking at doing while im down to the frame?
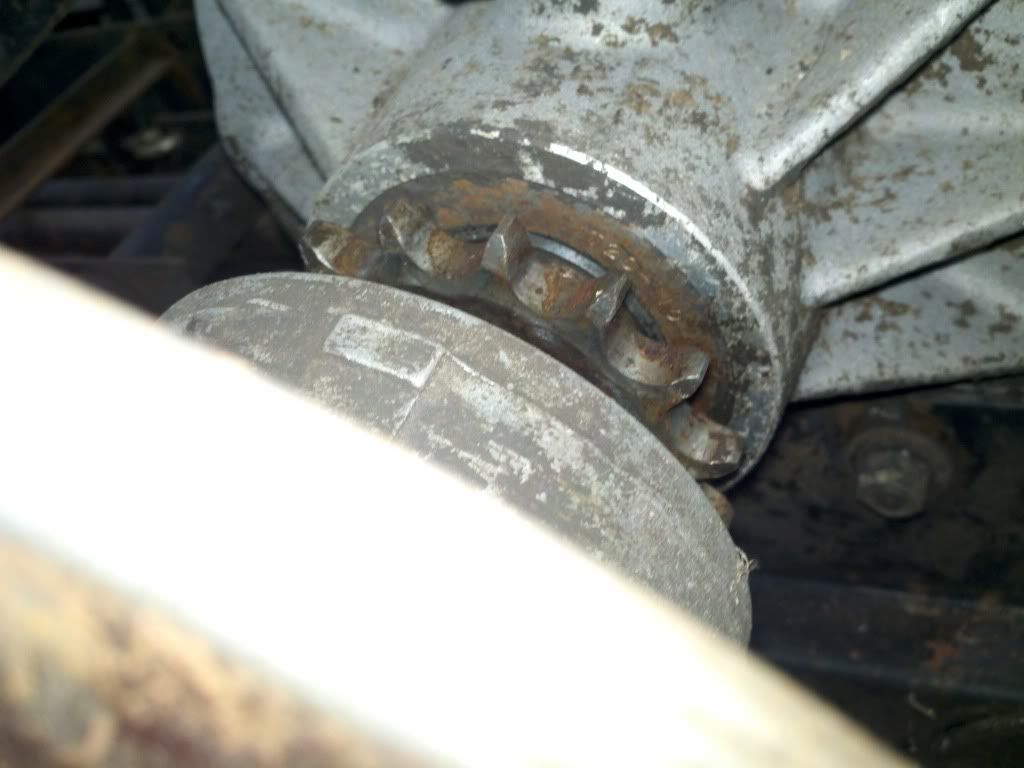
oh btw, the gears on the t20 look a little worn.. is it difficult to change them to new? or do you have to tear the t20 apart?
Last edited by Mike; 09-04-2010 at 10:16 PM.
Reason: merged two consecutive posts. You can edit a post if you forget something ;)
Silicone would probably work fine or you can order the new gaskets from the manufacturer. As for the frame it shouldn't be bent like that. Most likely the chains came loose or got something wedged in there and that's how the frame got tore up. Sounds like you can fix that without much of a problem. For the T20 gears you will have to pull the T20 completely apart to get those out. There is a good tear down article in the how-to section with pictures if you want to see how involved it is before you start. Good luck.
Looks really good so far. That's not an uncommon thing to happen with a Max II frame. I have seen several including mine that were originally bent in the exact same place. Since you already have everything torn down that far I think I would go ahead and replace the T20 sprockets. The clutch side one doesn't look too bad but the other side looks pretty worn.
Thanx for the awsome pics, Being new to the 6x6 world, they really help put everything together, I like the 1/4" replacement. I can't see the sprocket pics for some reason but I would say if your in it this far just go for it, I would say that it will pay off in the years of service you recieve from a job well done. just my thoughts.
jam
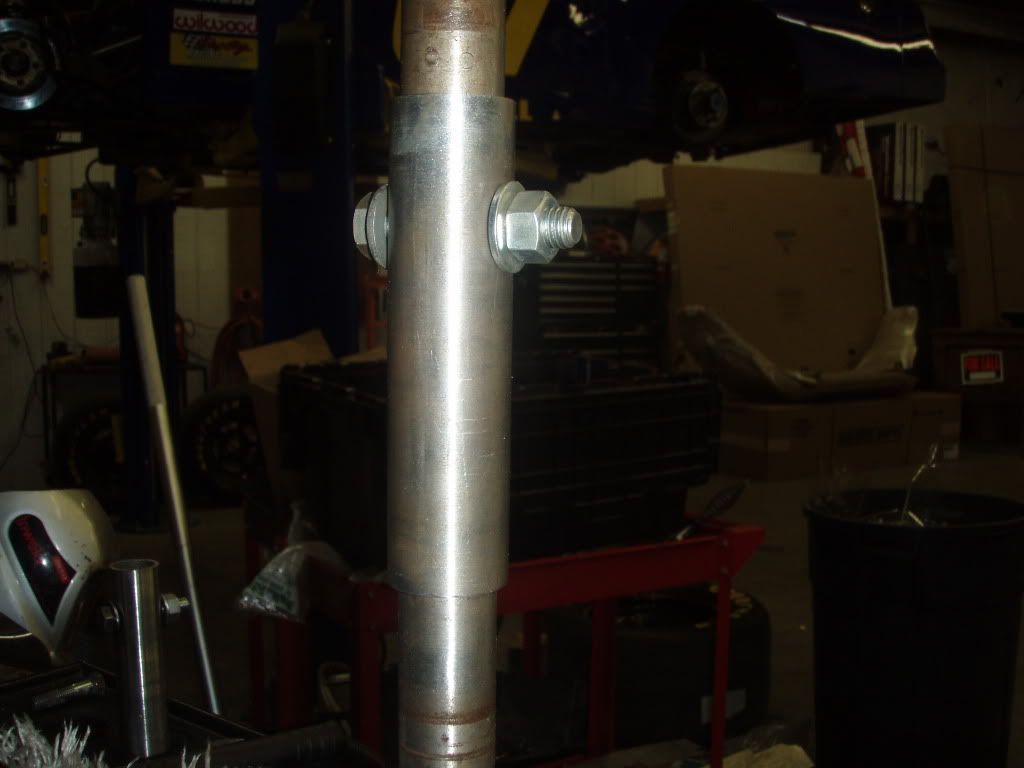
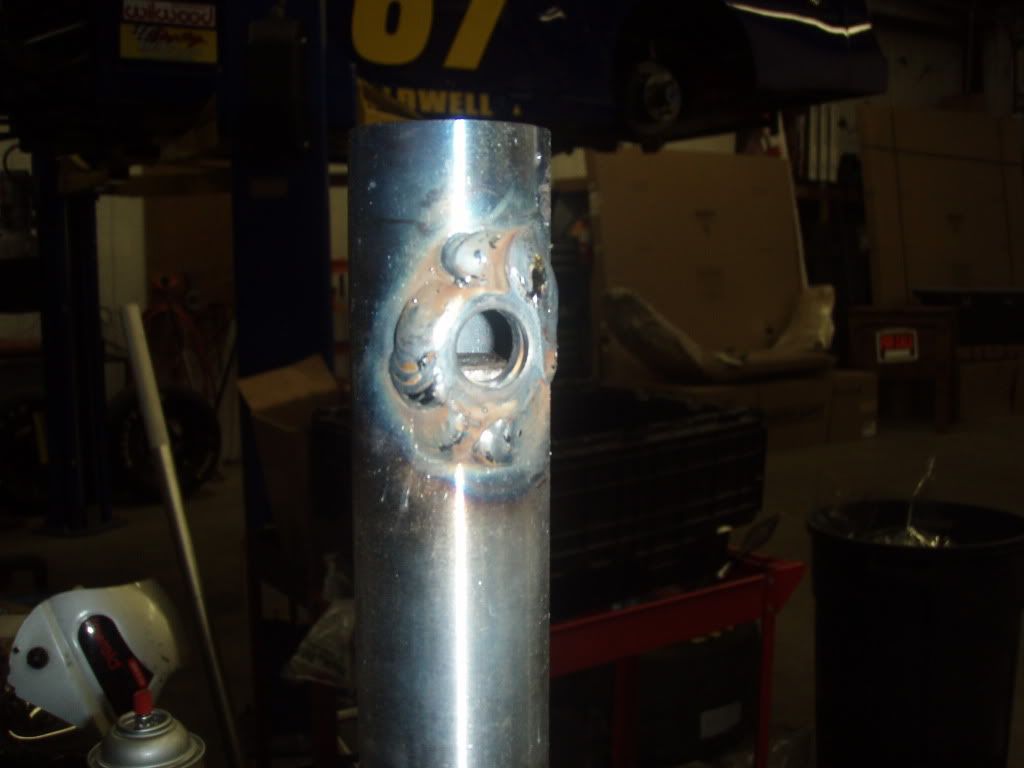
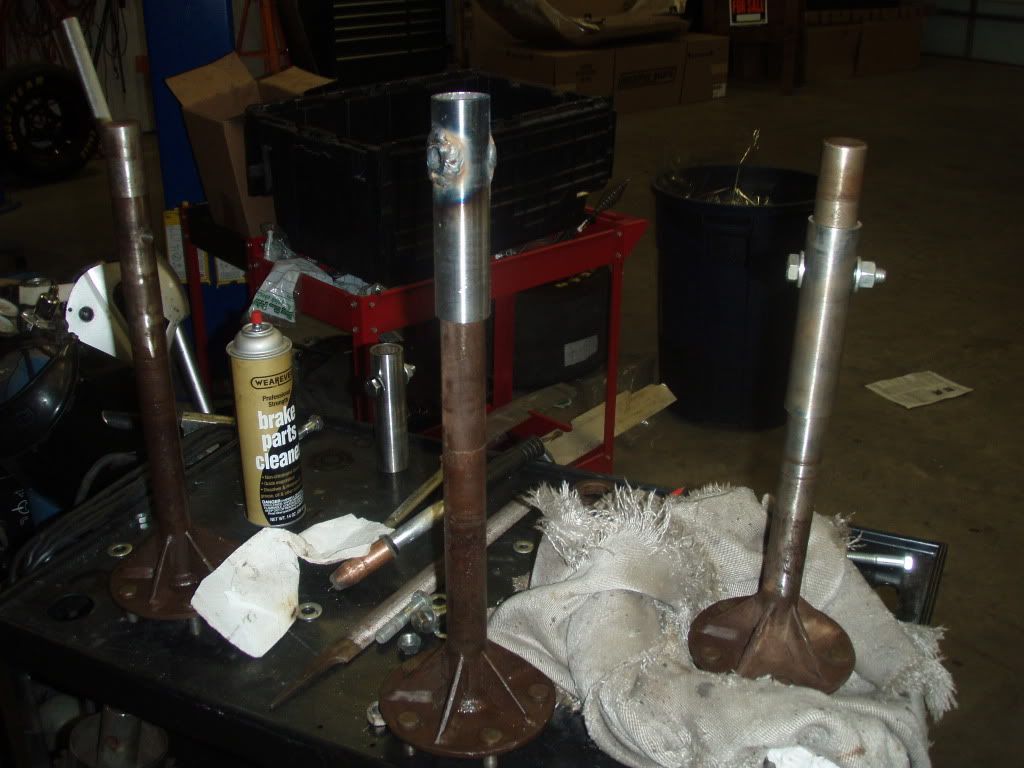
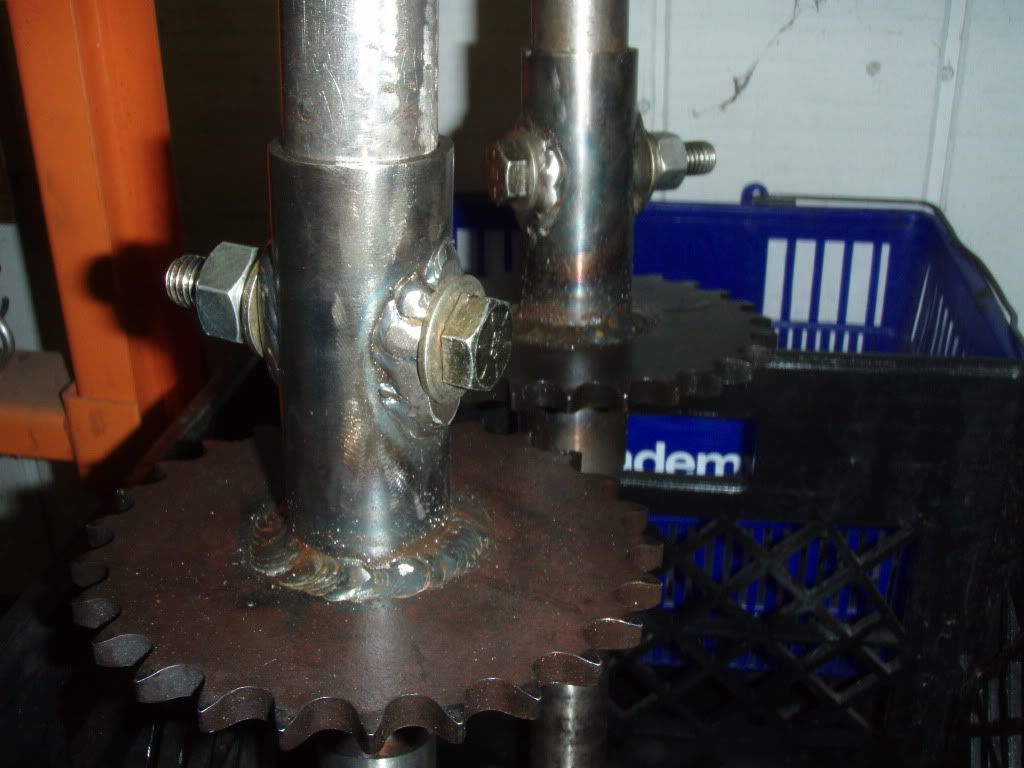
here is some work I did last month on the axle tubes.. made my own out of some chromoly I had left over from a buggy, had a guy bore the martin sprockets out and came out way cheaper than buying them new.. I also welded on some flat washers to the tubes to fix that bolt on a tube issue..
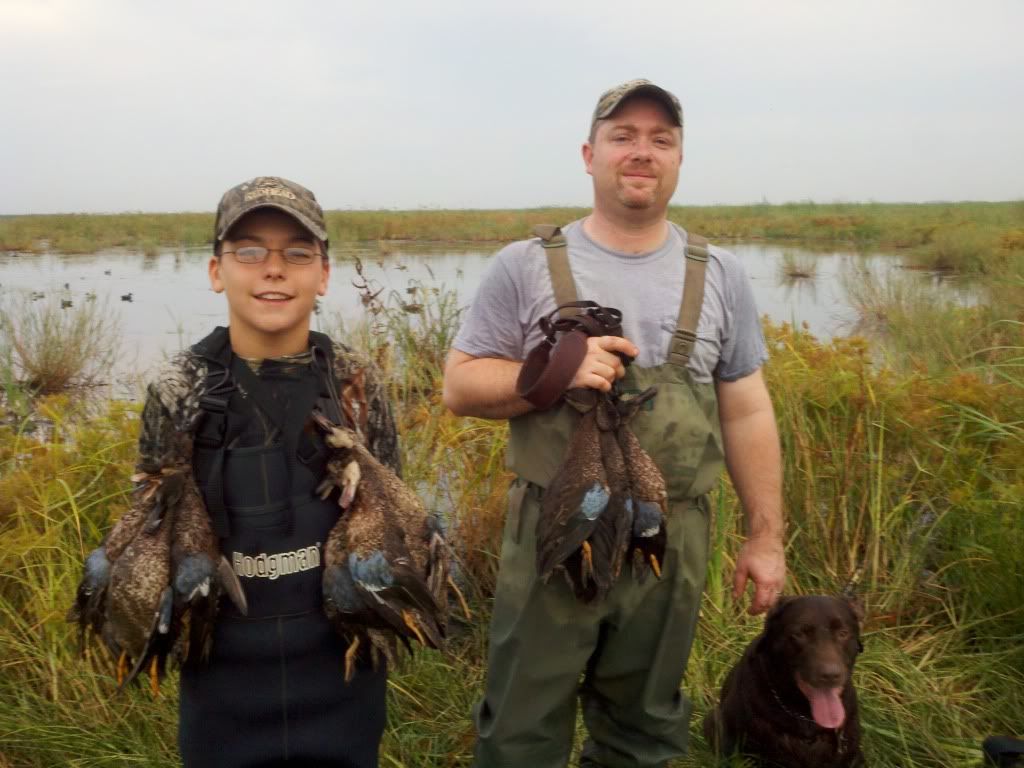
got a couple hours in today after a 4 man limit of teal! Hopefully Ill get half a day tommorrow..
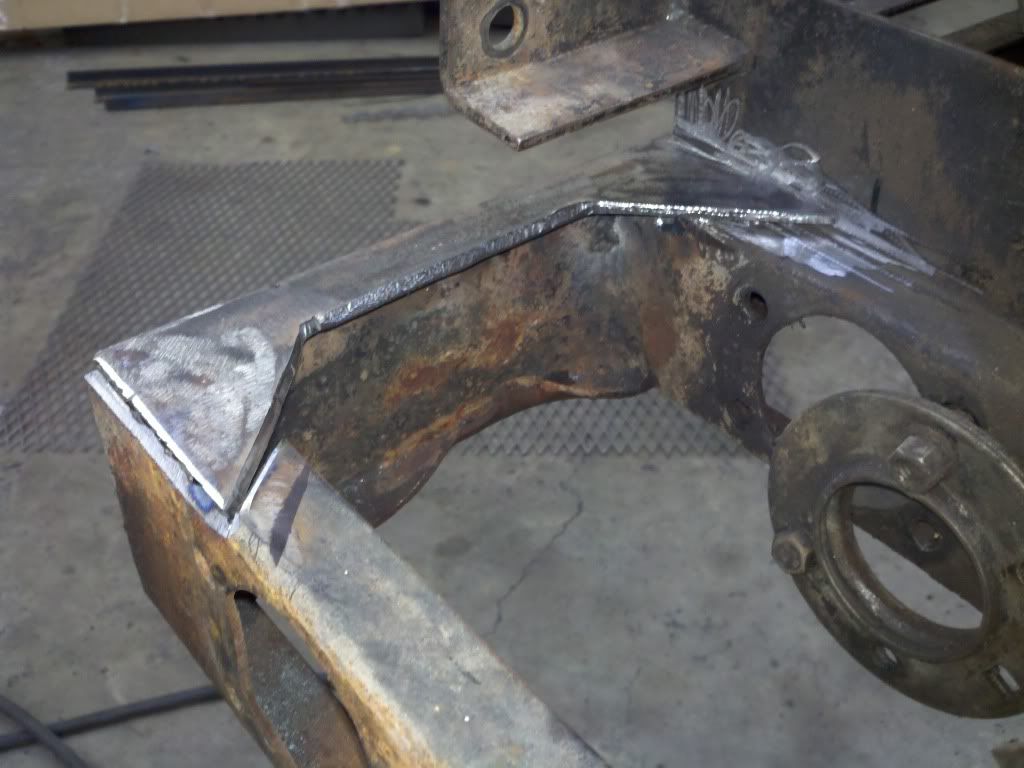
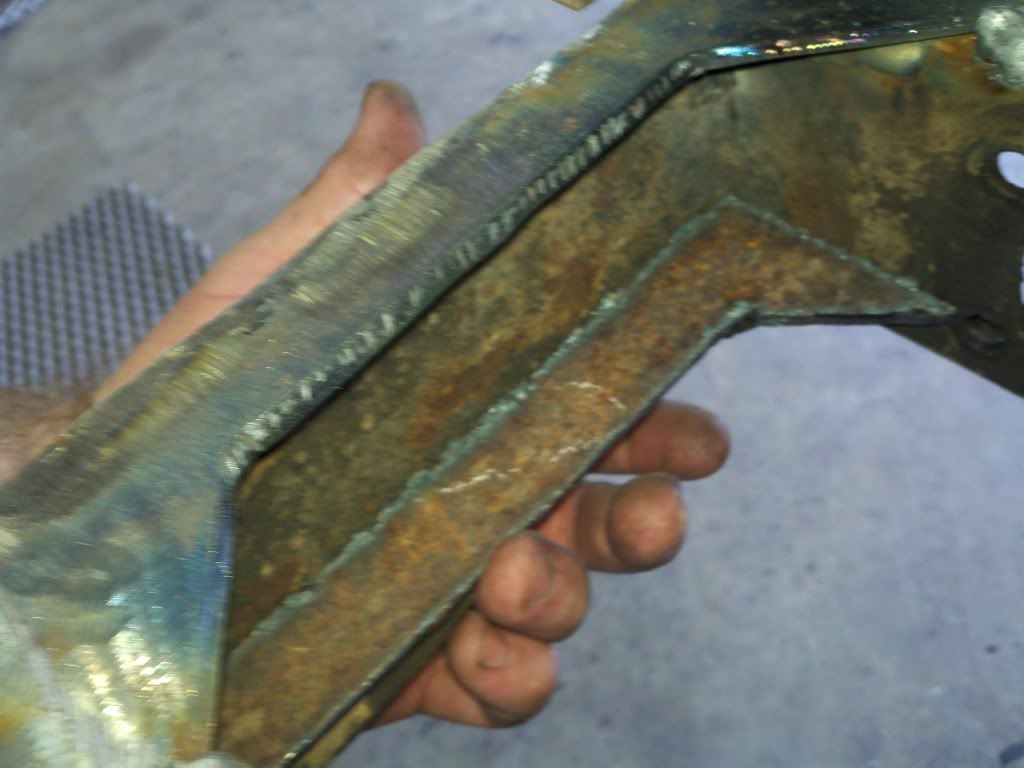
Front corners cut.
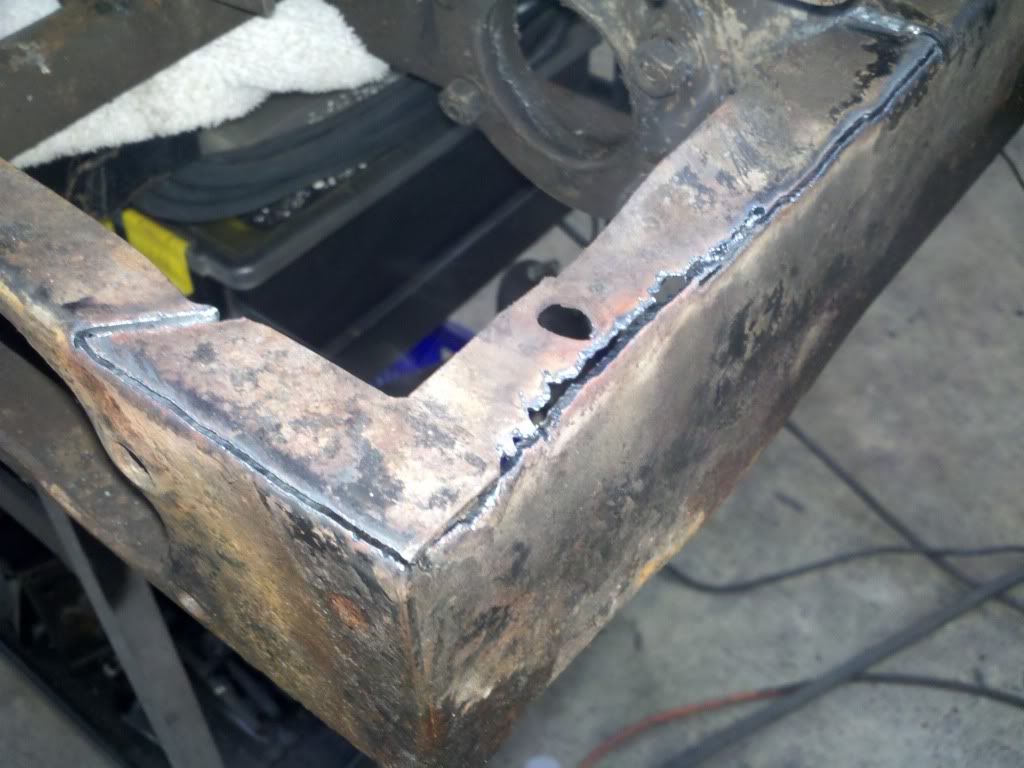
Welded.
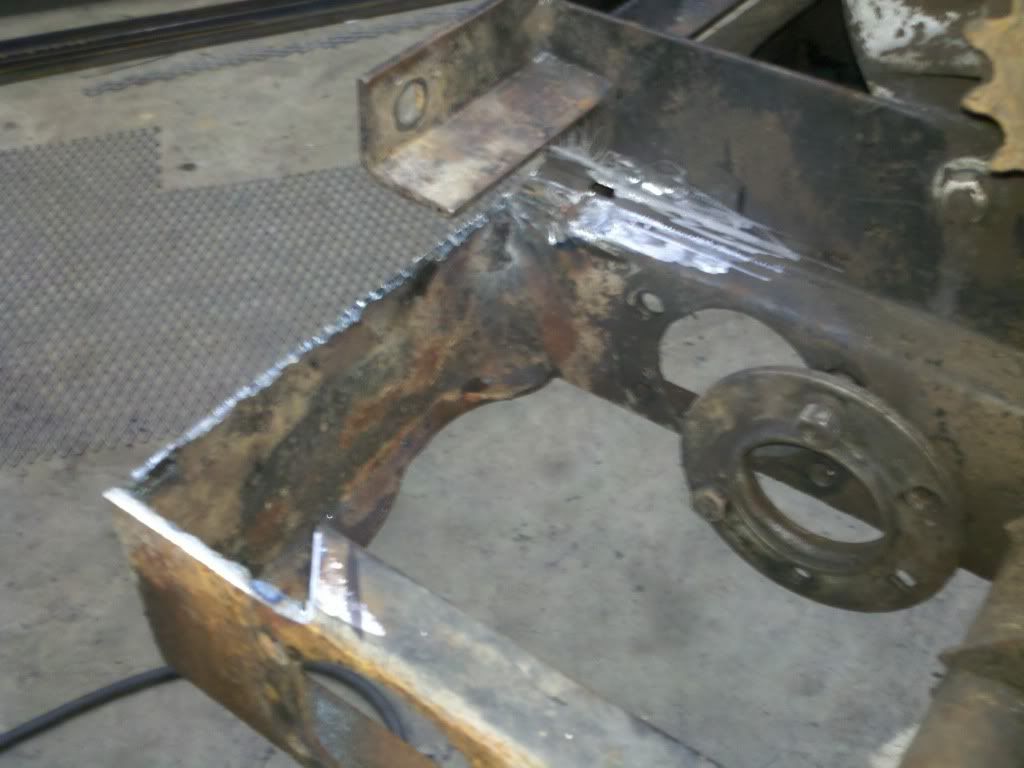
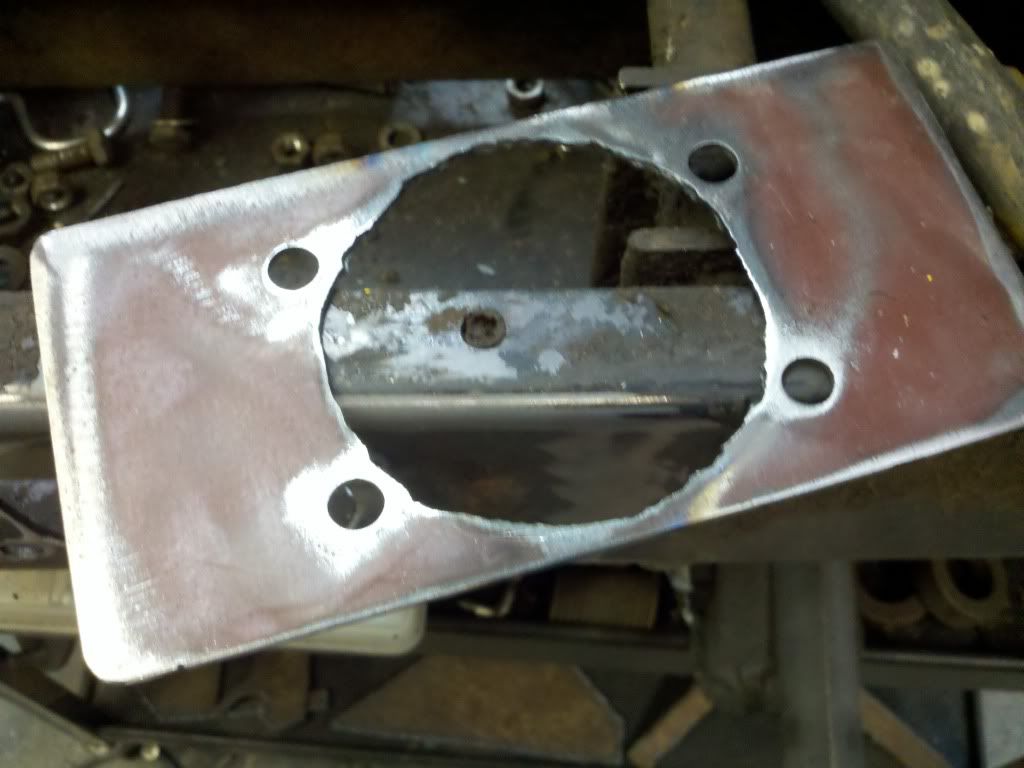
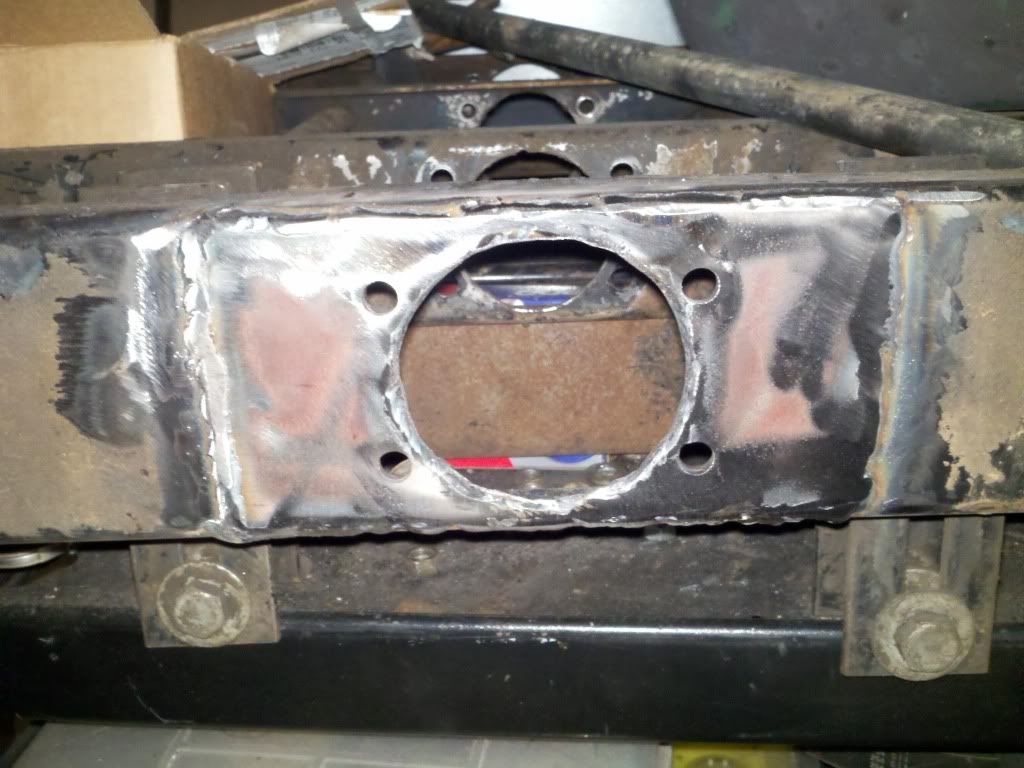
removed the trans to ship off monday to find that all the bolt holes were wallowed out and had migrated down and towards the rear of the machine! filled the slots with material..
then came up with some plates for the bolts will weld up and drill/cut slots..
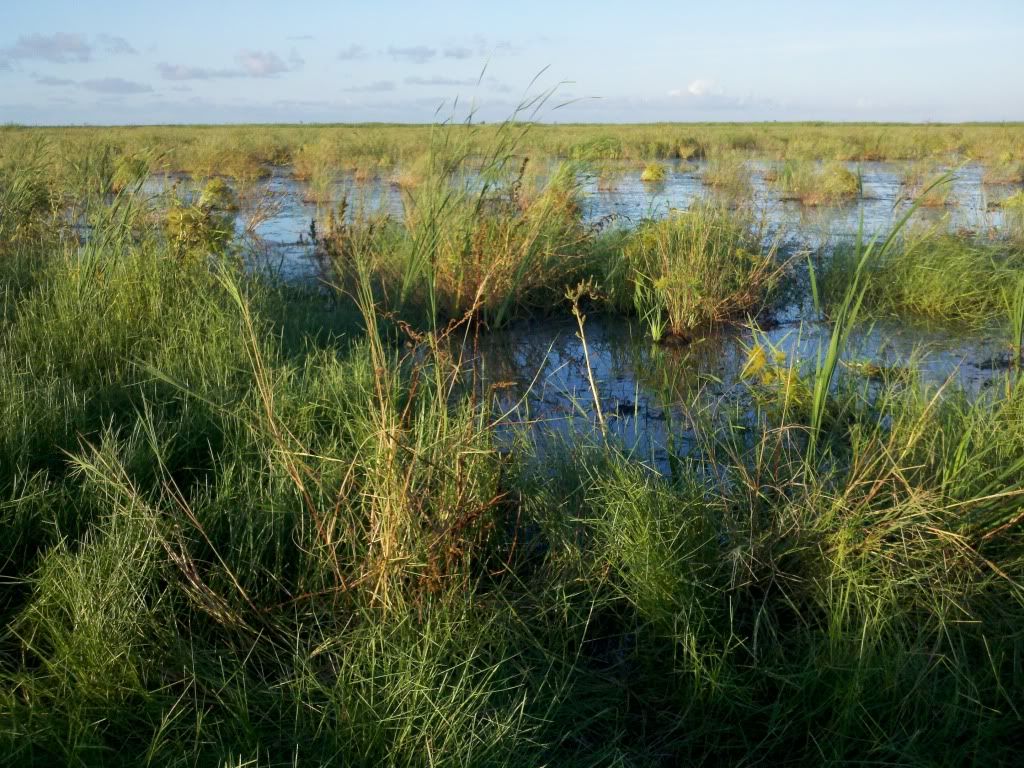
I'm back, teal season has come and gone. limited every hunt. Its amazing what hurricane Ike has done to the upper gulf coast marshes. wall to wall sprangletop, millet, 3 and 4 corner grasses, widgeon grass, sedges, and NO INVASIVE species.
me
NOW BACK TO WORK!
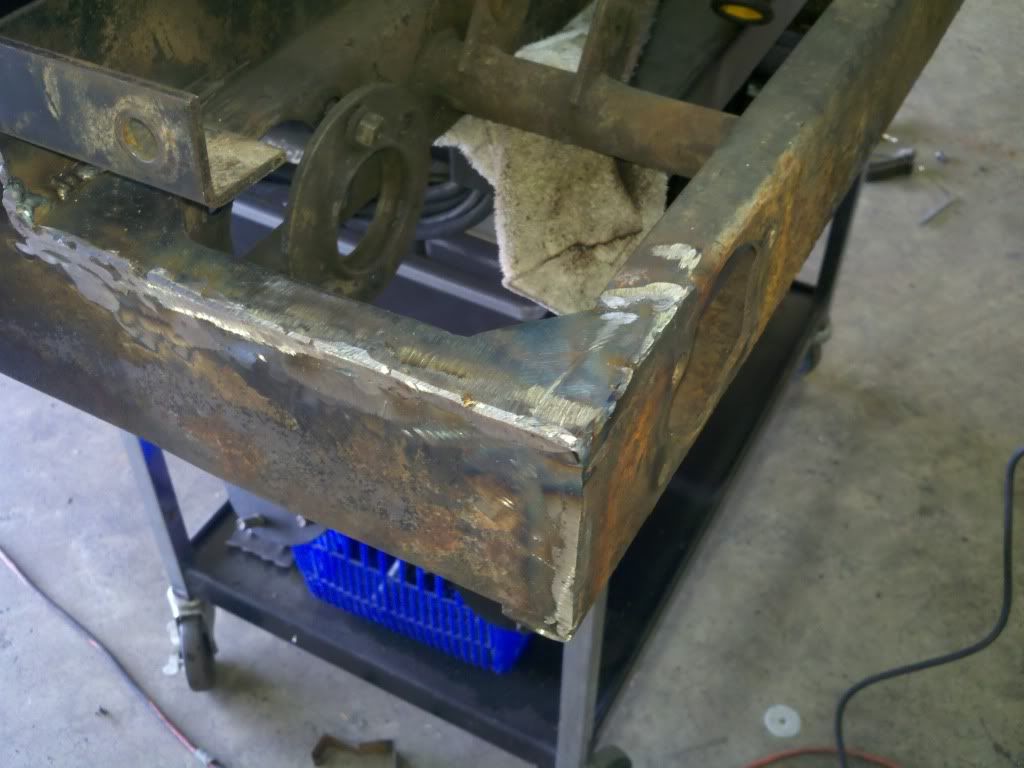
Rear lower corners
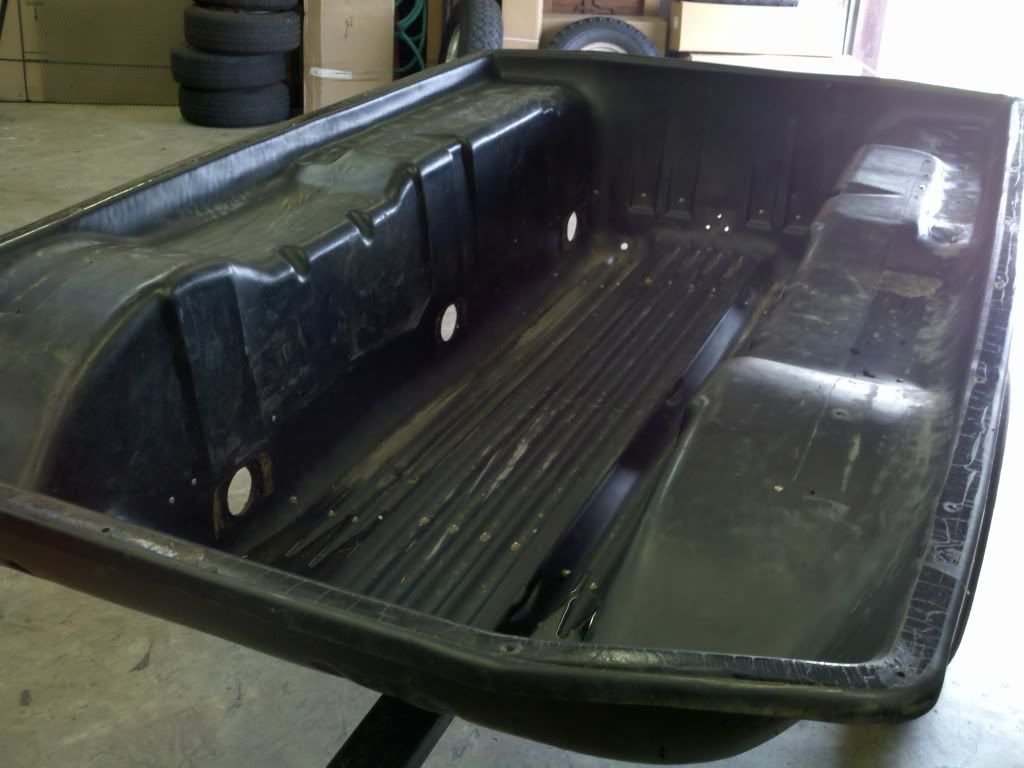
tub
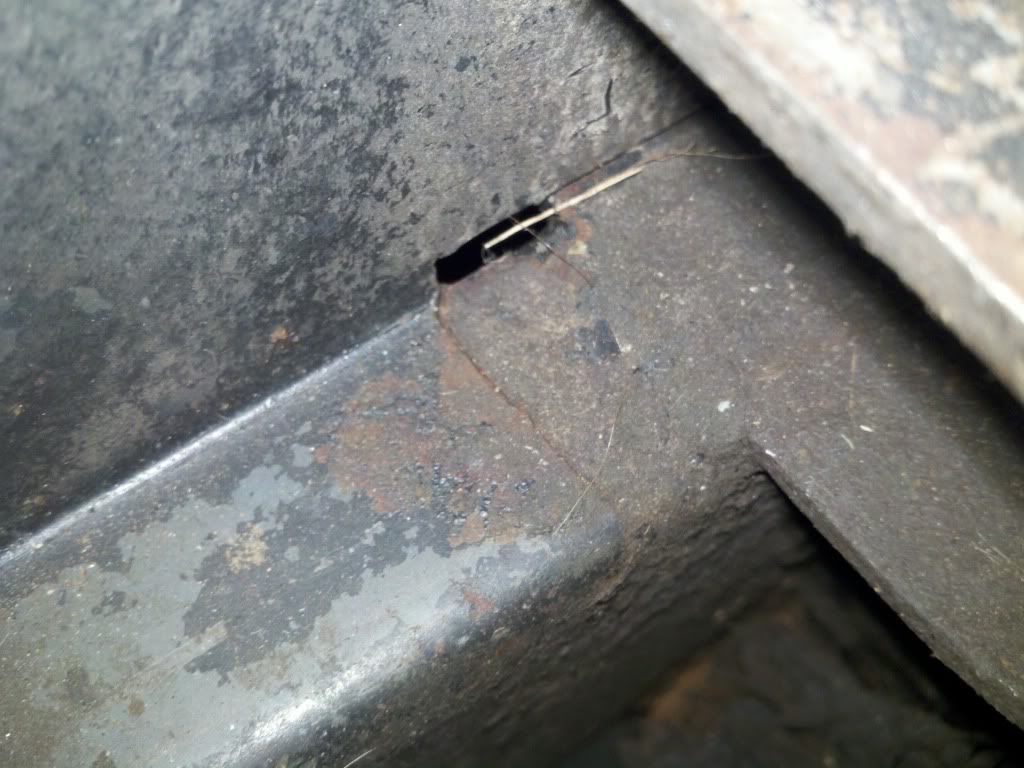
rubbed holes in body.. too tall a tire, previous owner?
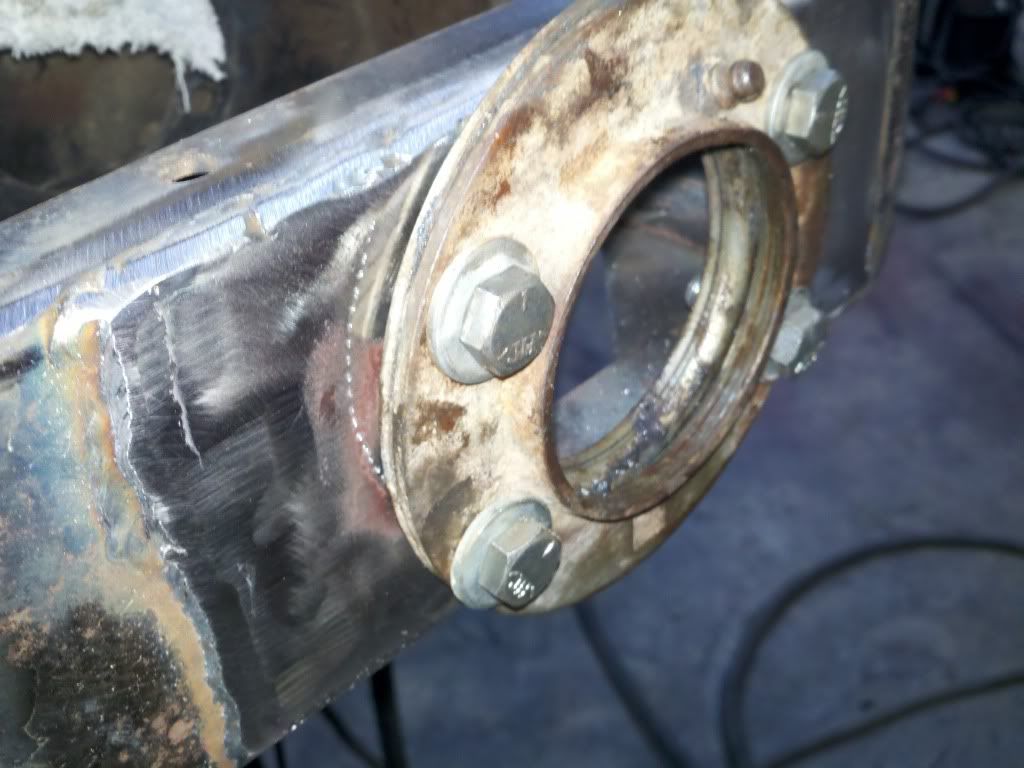
Outer flange bolts pulling through frame? on all 6 axles?
The fix, a maul and 1/8" plate to bring the thickness to 1/4". measured body and have the room.
Started looking at the inner flanges and noticed something? I put the calipers on the old bearing, the thickness was at 18mm. the new inner bearing (HC206-20r3 from buffalo bearing) is 19mm?? so I have a slight gap? when the axles are lined up and everything is in place, I think it will snug up evenly.. Has anyone run into this? Do I need new flanges? Do I have the wrong bearings? The guy at Buffalo said they do it all the time and sent the bearings out. Havent measured the outers, as they are at the house. This is the only bearing I have looked at so far... I also started adding zerks to the old inner flanges by laying down three beads on top of each other, then drilling and tapping. Like I said these are old flanges, I know the new ones have zerks.


 Reply With Quote