


Max II 6x6 ATVs – Chain Guide Replacement
The Recreative Industries Max II 6x6 ATV utilizes four Teflon chain guides to apply tension to the chains. These can wear out over time and will need to be replaced. You can replace the complete assembly but you can also save yourself some cash and just replace the Teflon. This article will walk you through the simple steps to do just that. Note: All pictures can be clicked for a larger view.
While this article is specific to the Max II, it may also be applicable to other AATVs as well. At the same time, the installation of these guides may also vary slightly from Max to Max so use this article only as a guide:
Materials Needed
The only new materials that you need are the guides themselves and some rivets. I recommend purchasing these directly through Recreative Industries because there are two slightly different versions. They can help you determine the exact ones you need and they will also supply the correct rivets.
Tools Used
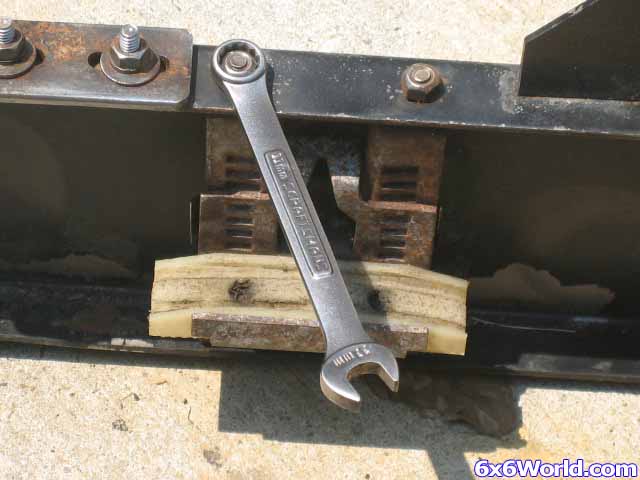
- 11mm wrench
- Pliers
- Flat screwdriver
- Band saw or equivalent (for cutting old rivets off)
- Small punch
- Rivet gun
Before we start just note that I removed the complete adjuster. If you are doing this in your machine you do not have to remove the four nuts and bolts.
Let’s Begin!
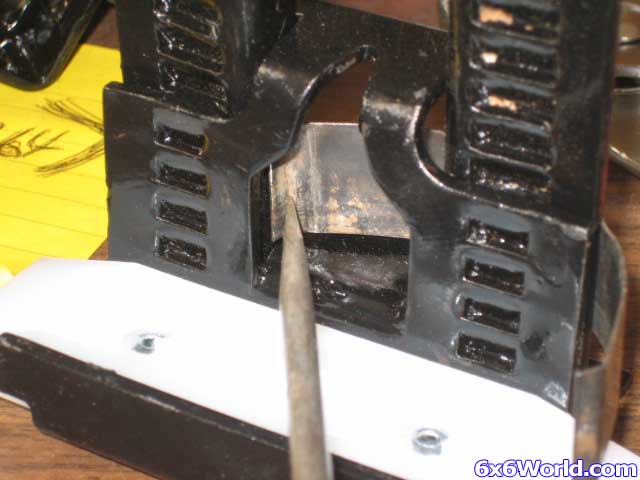
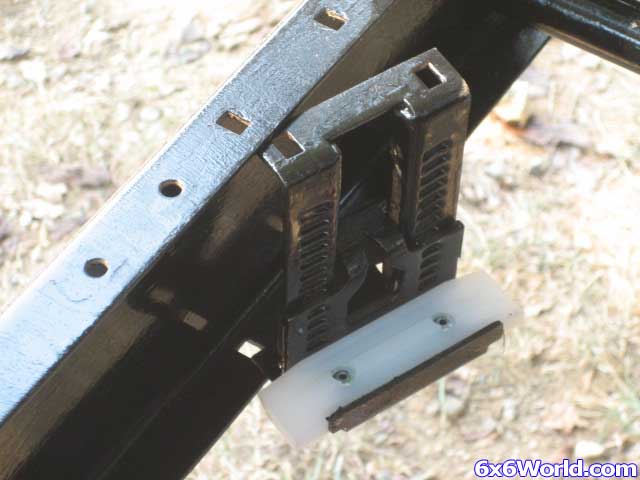
If your chain adjusters still have tension on the chain, release it by placing a screwdriver behind the adjuster and moving it away from the chain. Once you have released the tension you can then either remove the whole assembly if you are going to replace it or you can skip this first step all together and only remove the adjuster.
Remove the four nuts and bolts that hold the assembly in the frame.
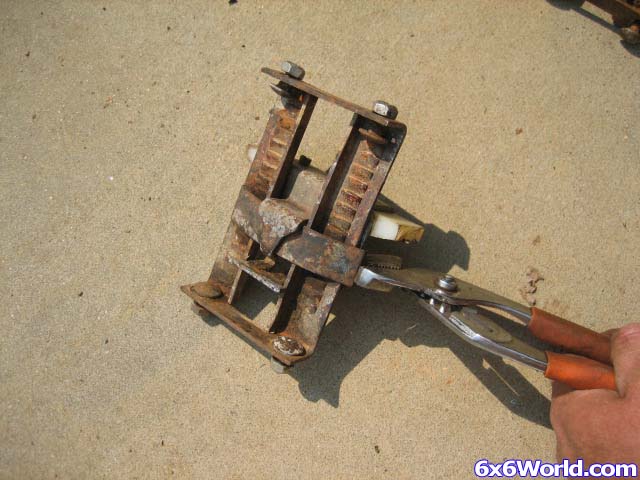
Remove the spring clip behind the adjuster but be careful not to bend it. I had the best luck taking a pair of pliers and grabbing the end of the clip. Then I could push the clip around and out of the tensioner.
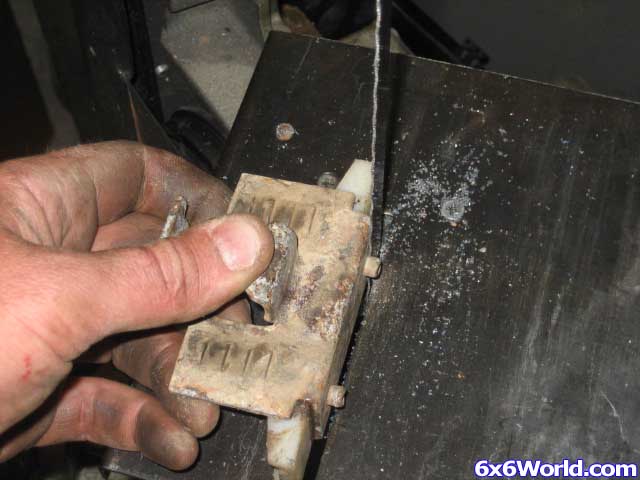
Once the adjuster is removed cut the rivets that hold the guide in place. I used a band saw but a hacksaw or die grinder would work just as well.
Knock the rivets out of the guide with a small punch and a hammer.
Remove the old guide and place the new guide back in the adjuster. Then put the new rivets in place being sure to press them completely into the guide.
[BREAK=Max II Teflon Chain Guide Reassembly]
Rivet the guide in place.
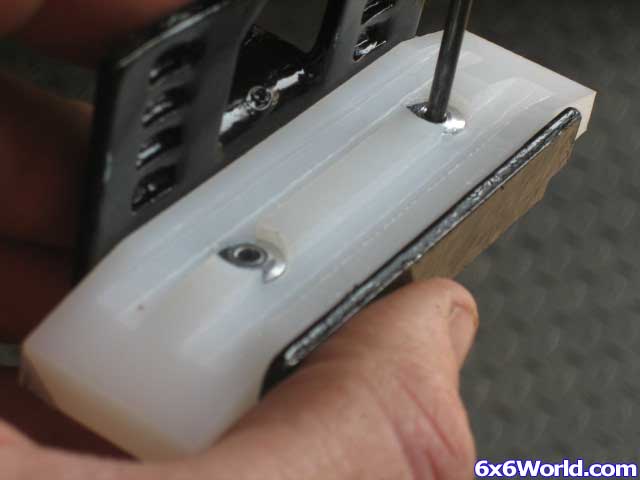
NOTE: My rivet gun had too large of a head to reach down into the guide. Unfortunately this let the head of the rivet float too far up in the guide to where it would rub the chain. To avoid this I had to place several small washers on the head of the rivet to keep it firm against the guide. Whatever you use just be sure that the rivets stay down as far as they can. You can see the washers I used in this picture:
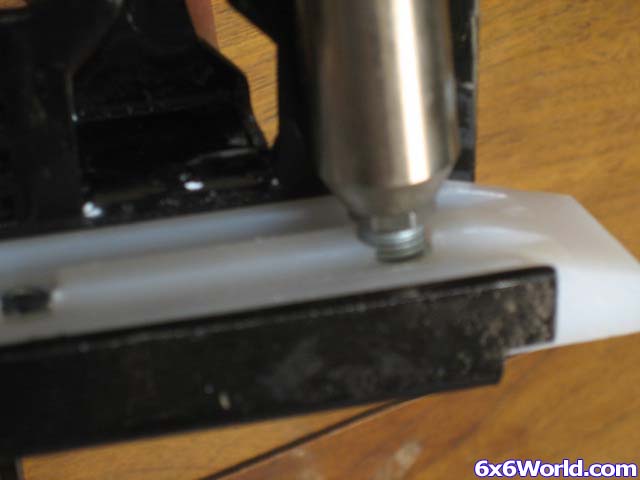
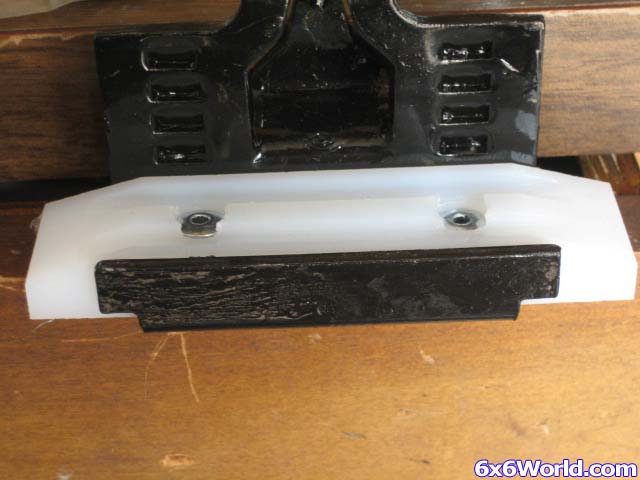
Notice in the following picture the difference between a correct rivet and an incorrect one. The one on the left is not completely flush and would cause premature wear on the chains. That was the result that I was getting without the washers. The one on the right was is the correct way a rivet should look
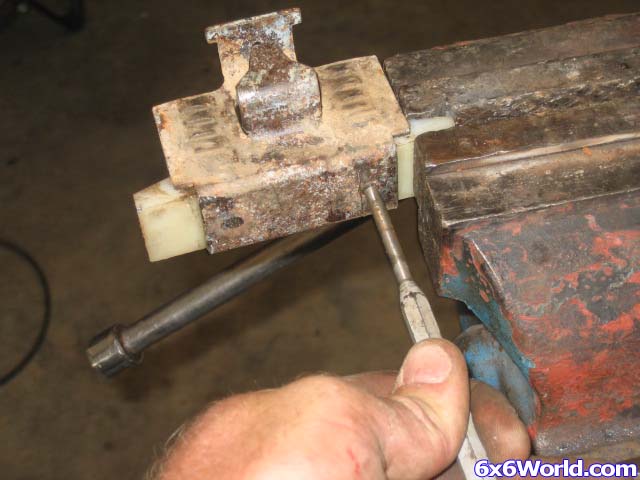
Put the guide back on the adjuster and slide the spring clip back into place.
Replace the complete assembly in the frame and insert the bolts.
Position the guide to where it runs straight with the chain. When you tighten it you want the chain to stay in the slots of the guide. Once you have it positioned correctly you should then tighten the nuts of the adjuster.
\
Now you can enjoy trouble-free tight chains for years to come

 Reply With Quote