


Max II Engine Replacement
This article will act as a basic guide for removing and replacing the engine in a Max II AATV. Before you begin be sure that you disconnect the battery under the seat. Note: Click thumbnails to view larger photos
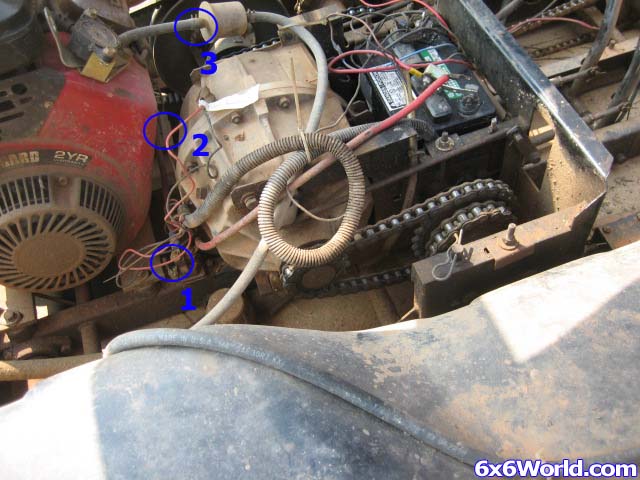
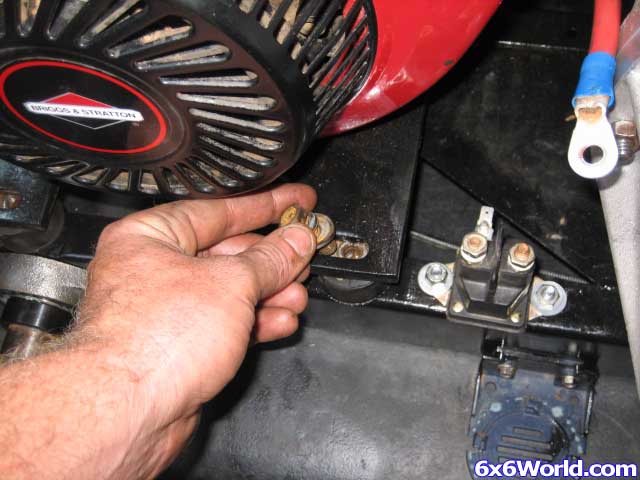
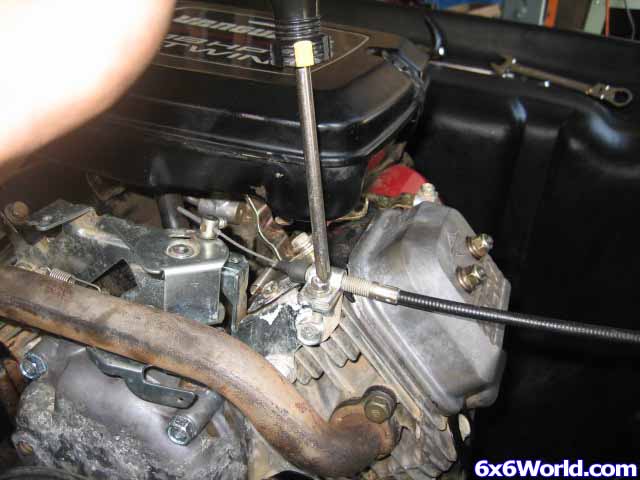
Start by disconnecting the ground strap and the throttle and choke cables at the motor. Then disconnect the wire at the starter solenoid, the electrical connector at the front of the engine, and the fuel line (1,2,and 3 respectively in the picture).
Note: Make sure that you plug the fuel line and raise it above the tank so that no fuel drains out.
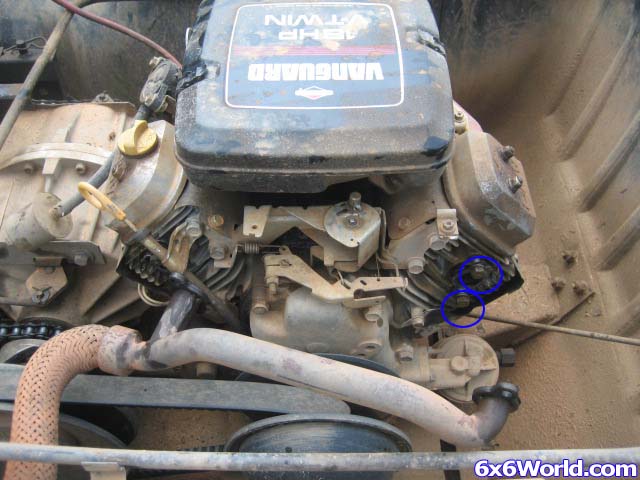
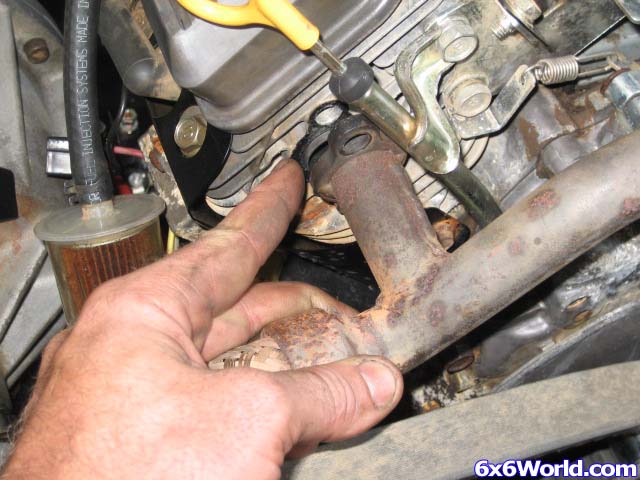
Remove the four bolts that hold on the exhaust. Two are circled in the picture below. Then gently pull it away from the motor and be sure to remove the two exhaust gaskets that will later be replaced.
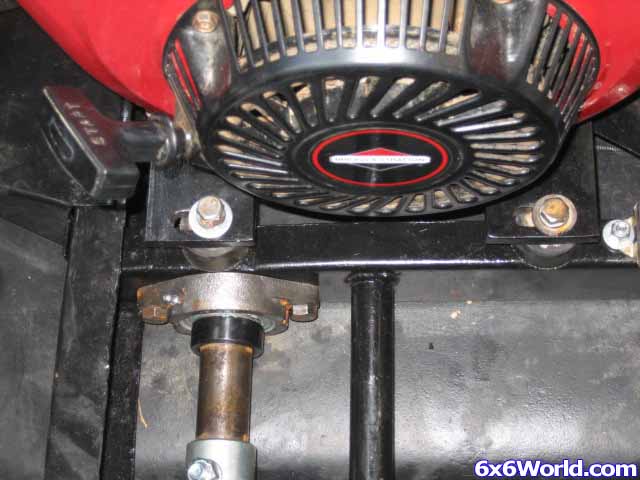
Remove the four bolts that hold the motor to the mounts.
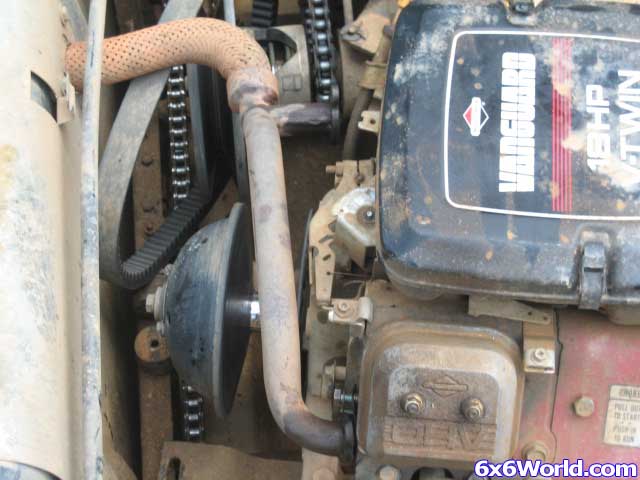
Remove the belt by sliding the motor forward and rotating it clockwise. This should give you enough room to just slide the belt off. Just be careful that you don’t damage the clutch or exhaust.
Now you are ready to lift the motor straight up out of the Max. I was able to do this by myself by physically lifting the motor but it would be much easier if you have some help or a hoist.
[BREAK=Max II Engine Installation]
Place the motor back in the Max and slide the belt back on. Then position the motor over the mounts and insert the four bolts and washers. Leave them loose for now so that you can adjust the position of the motor.
Position the motor so that the belt runs straight and true. Then slide the motor towards the back of the Max to get the belt tight.
Place the exhaust gaskets between the exhaust and the engine and bolt the exhaust back into place.
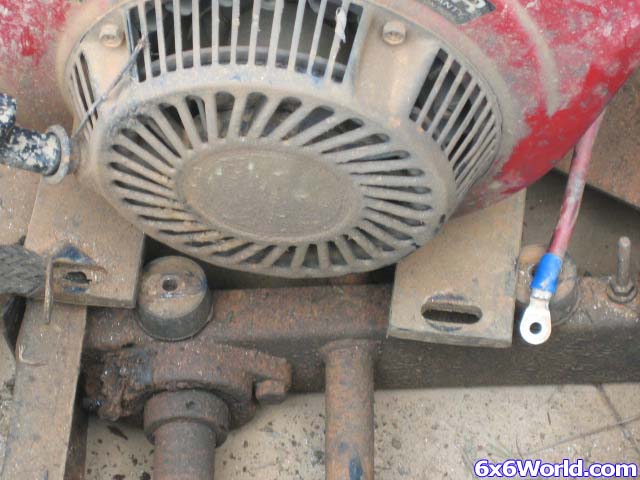
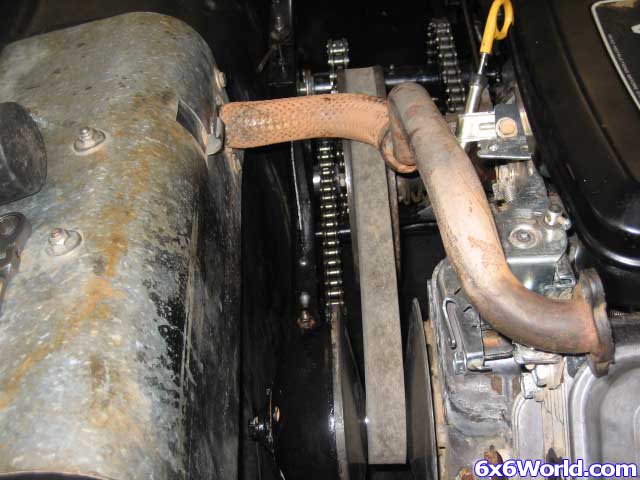
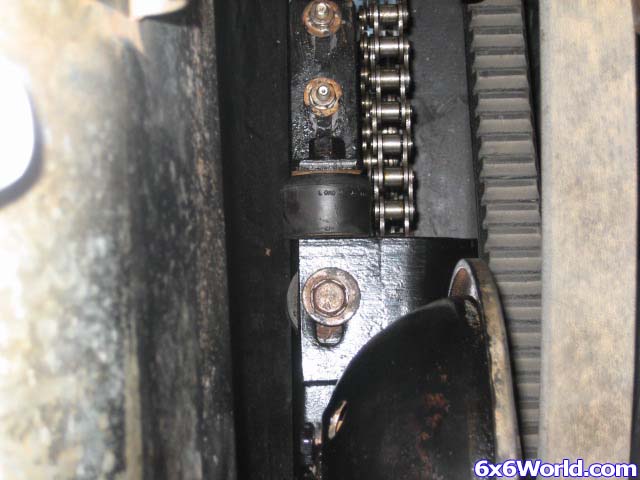
Tighten the motor mount bolts while keeping tension on the belt. Then slide the stop on the left side of the frame towards the rear until it touches the motor mount. (See the photo below) This helps to keep the belt from pulling that side of the motor forward over time.
If you missed it earlier, reconnect the ground strap to the motor.
Reconnect the fuel line, starter solenoid wire, and wiring harness plug. Then reconnect the throttle and choke cables.
Happy 6x6ing!

 Reply With Quote