


T20 Skid Steer Transmission Removal
(All pictures can be clicked for a larger view)
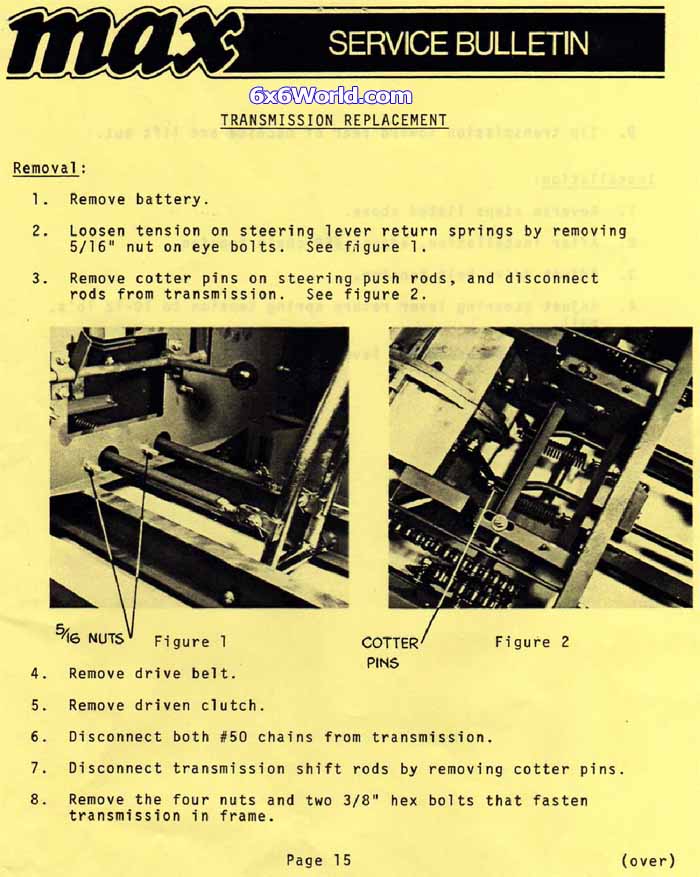
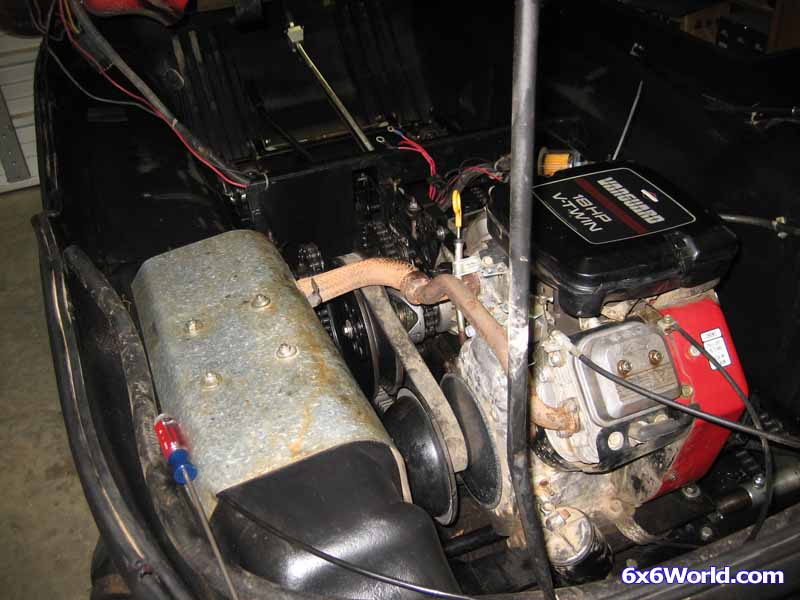
This article walks you through the steps to remove a T20 from a Max II. While some points in this article are specific to the Max II, the general process applies to most AATVs that used the T20. I have done things slightly different than the factory recommends so let me post their instructions first. Here is the service bulletin directly from Recreative Industries:

Let’s Begin
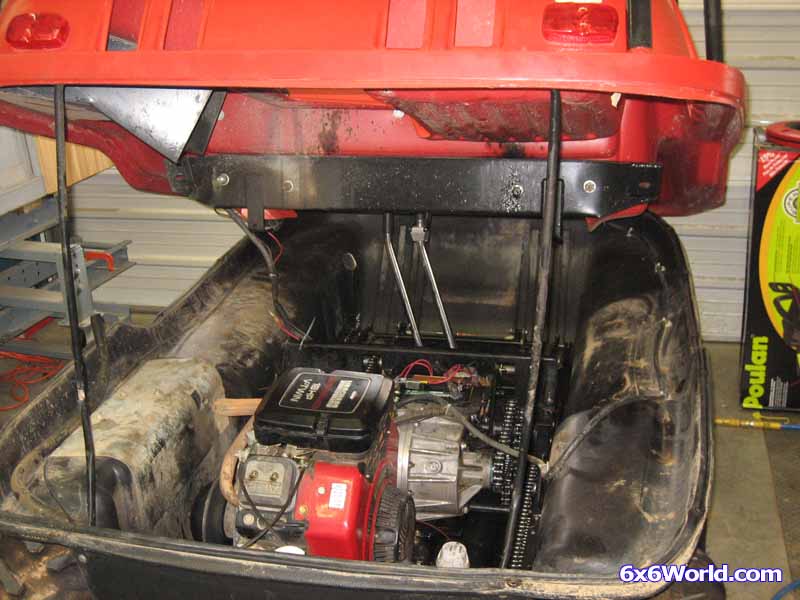
Unbolt the upper body from the tub. If you have a stock Max II you just have to unbolt the wingnuts. You do not have to remove the ones at the very front of the 6x6. They will hold the tub in place while you pivot it up from the rear.
If your Max is equipped with seat belts then you will also have to remove the spring clips under the seat.
Lift the body from the rear and prop it up.
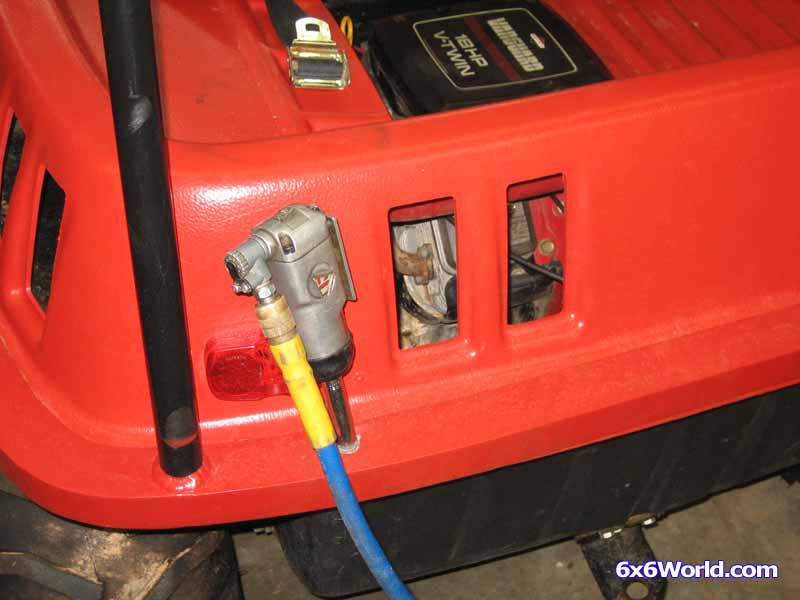
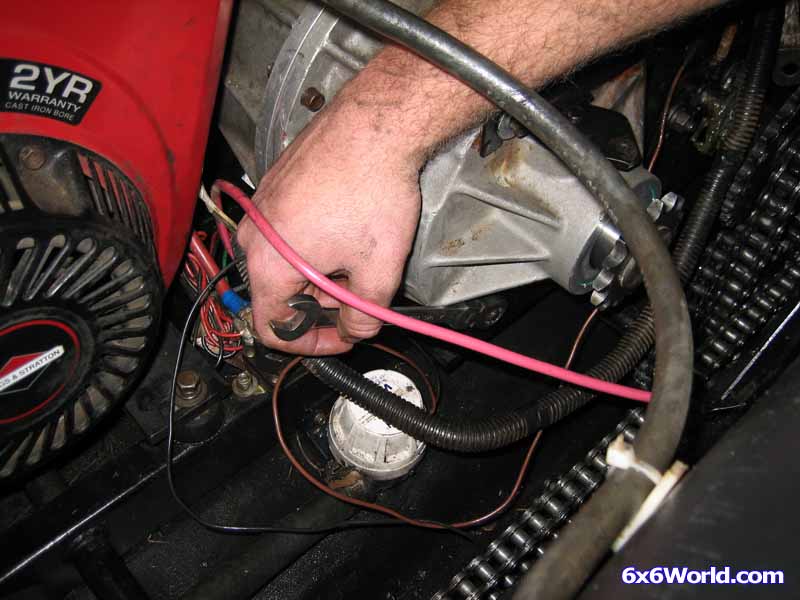
Disconnect and remove the battery.
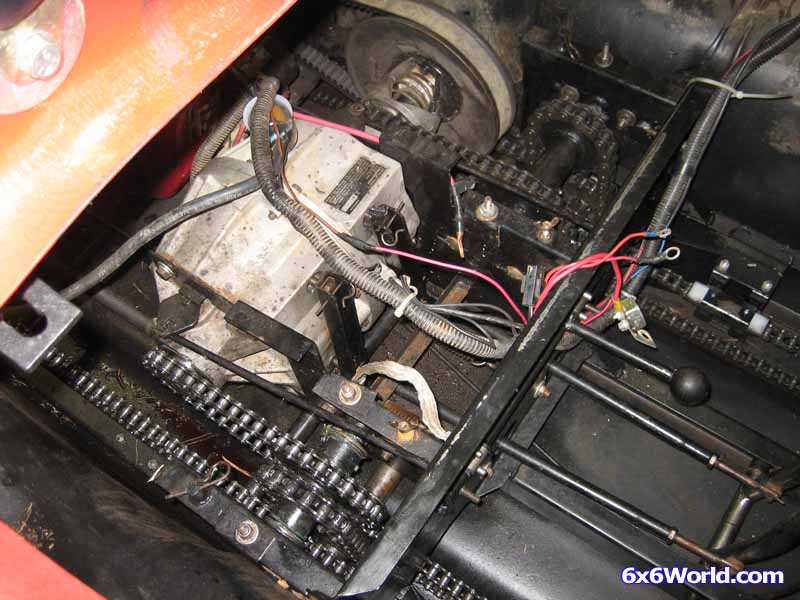
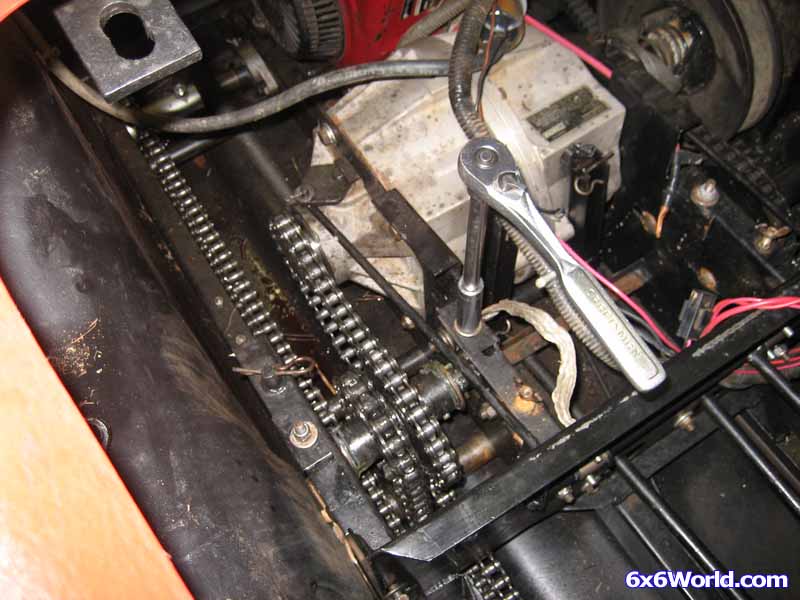
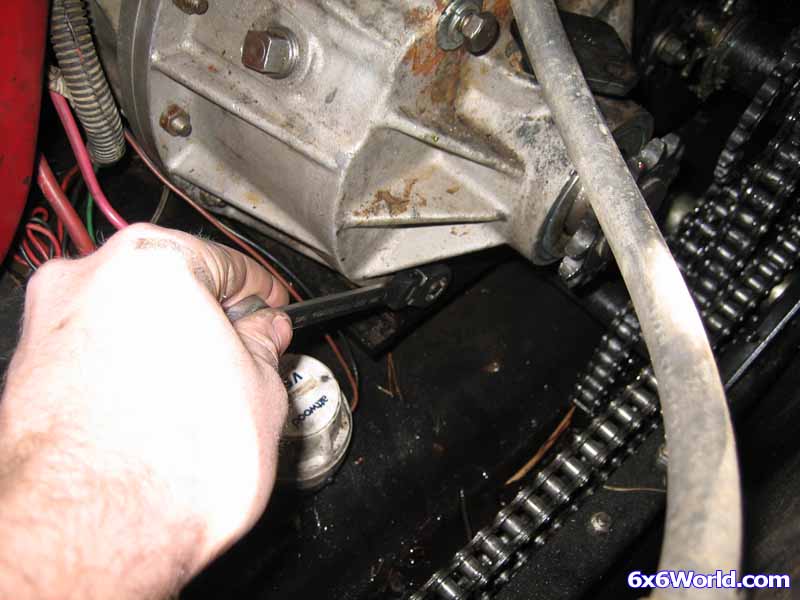
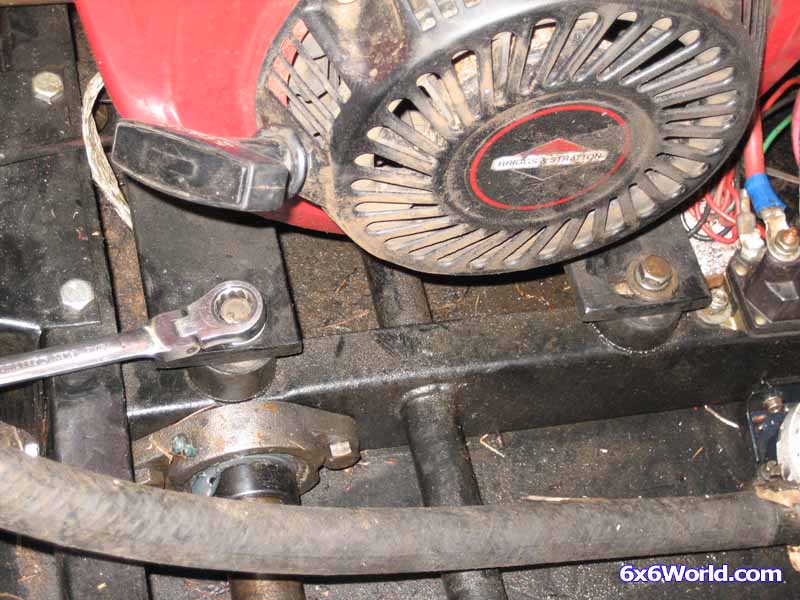
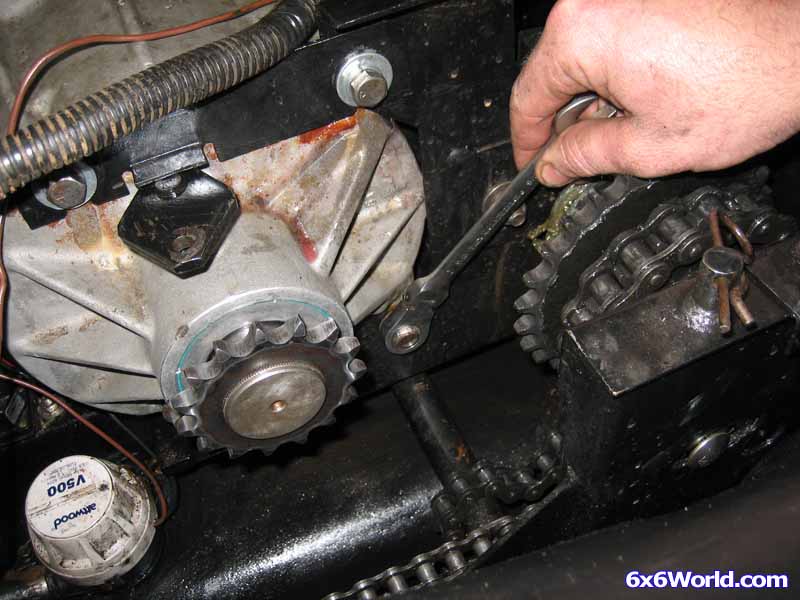
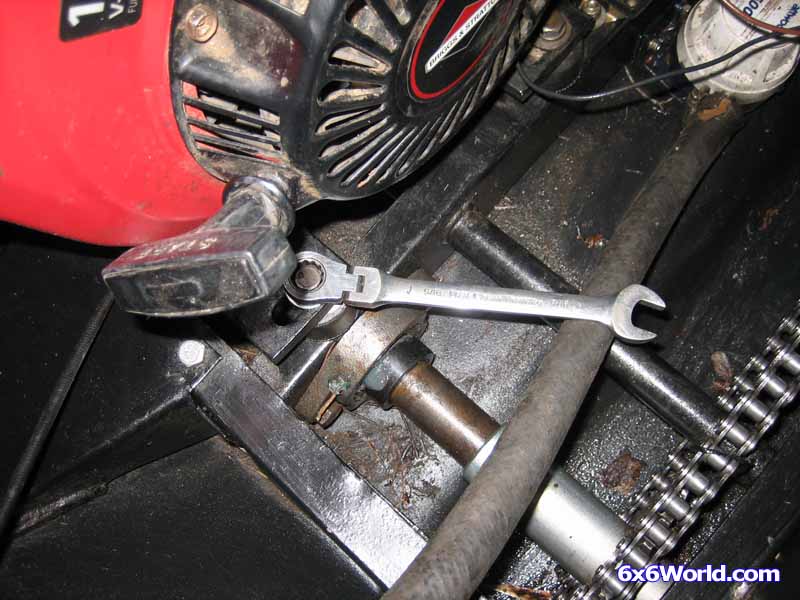
Slightly loosen the 8 nuts that hold the jackshafts in place. There are four for each jackshaft (two on each side of the jackshaft). They take a 9/16” wrench and I found that the easiest way to reach them is with a ratcheting and pivoting wrench. You can easily loosen all four nuts on each side with that.
Loosen the jackshaft adjuster nuts. Again, there are 8 nuts total, four on each side. The two jackshaft nuts on the front adjust the jackshaft from the front to rear.
The two on top adjust the jackshaft up and down.
TIP: Loosen each nut the same number of turns (about 5 complete turns). This will allow you to easily adjust the jackshafts back to where they were.
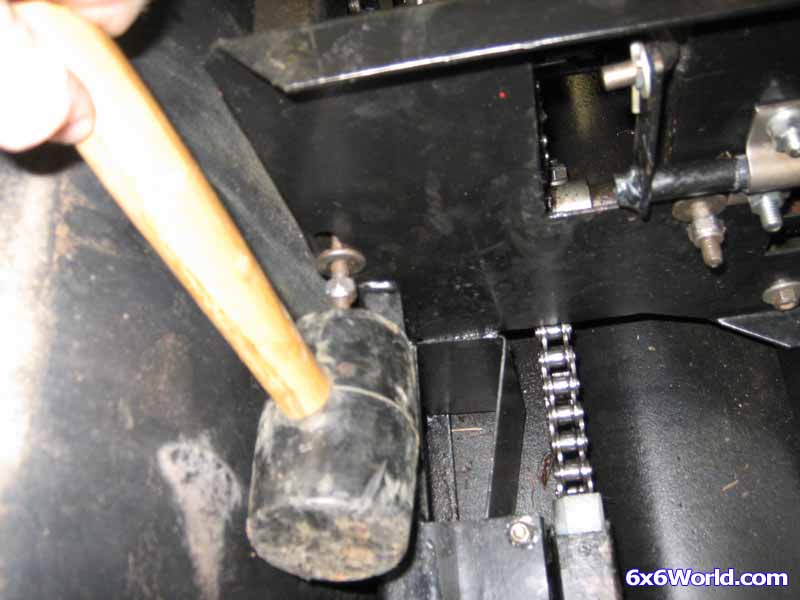
Now the jackshaft should have moved back enough to give you slack in the chains. If not, you can gently tap the front adjusters with a rubber mallet.
[BREAK=Removal continued]
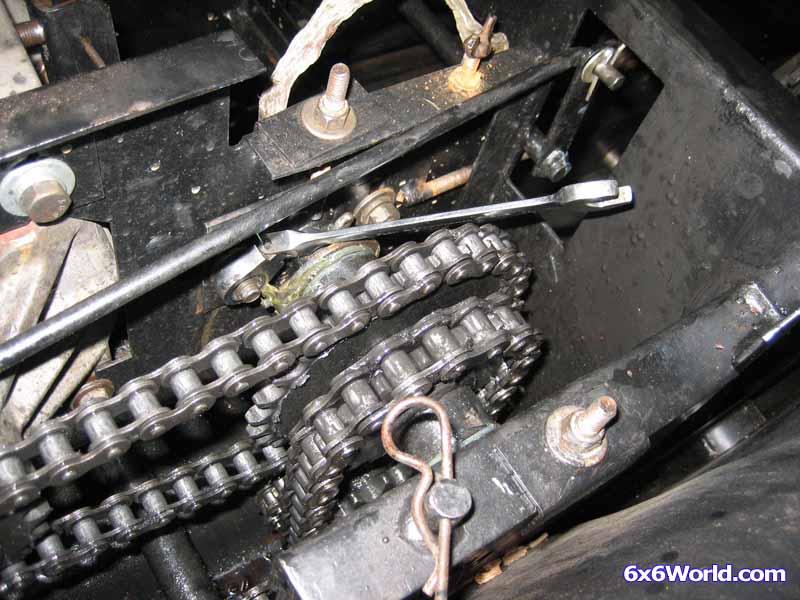
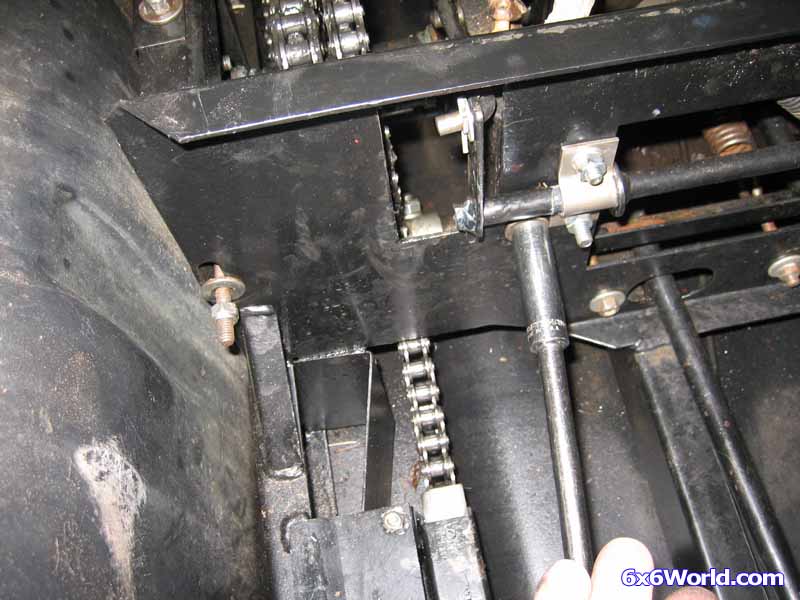
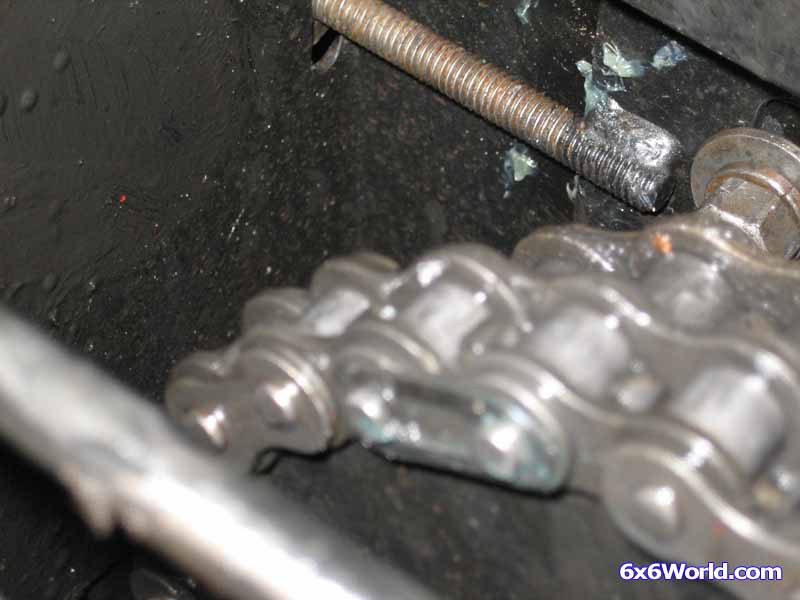
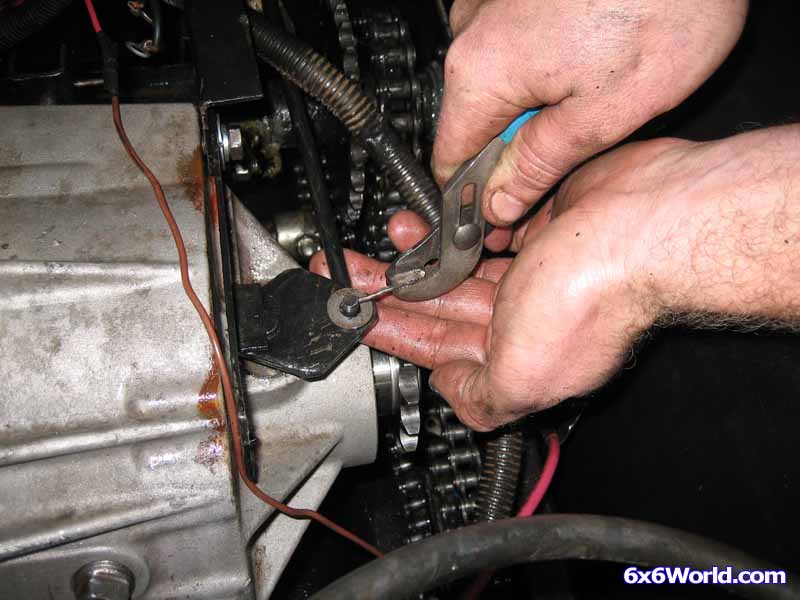
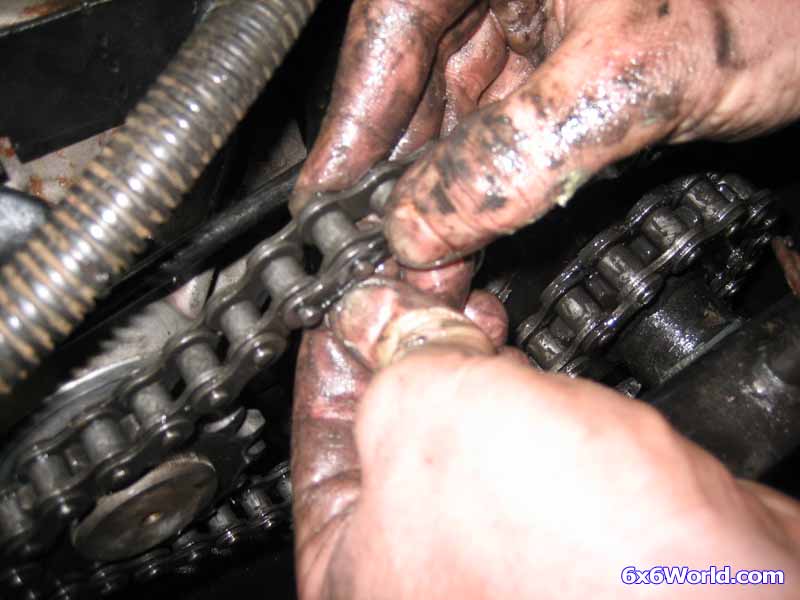
Locate the link in the #50 chain and remove it.
Now you can disconnect the chain. Repeat on other side.
TIP: Put the link back on the chain so that you don’t loose it.
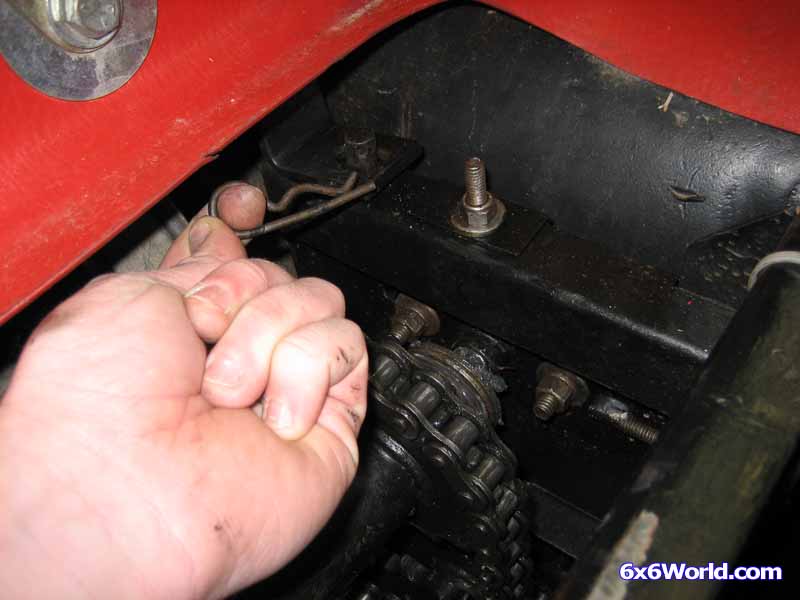
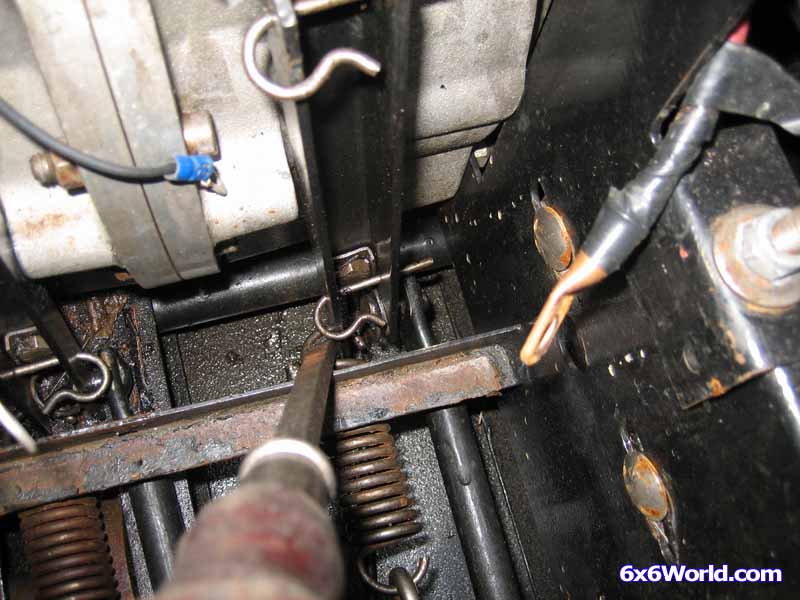
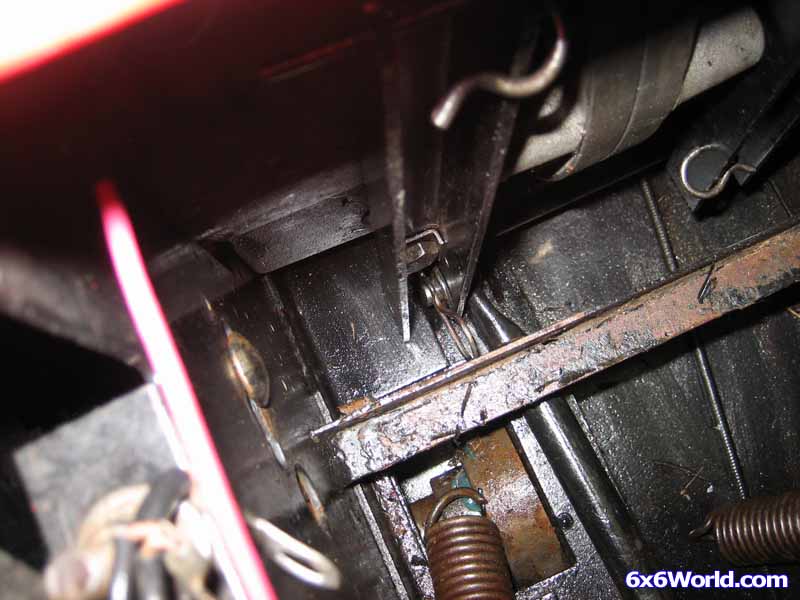
Loosen the 5/16” nuts on the steering return spring eyebolts.
Remove the springs. I always use a screwdriver to pry the spring towards the back of the Max out of the U channel. Just be careful not to let it fly off.
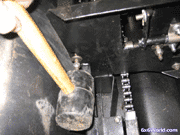
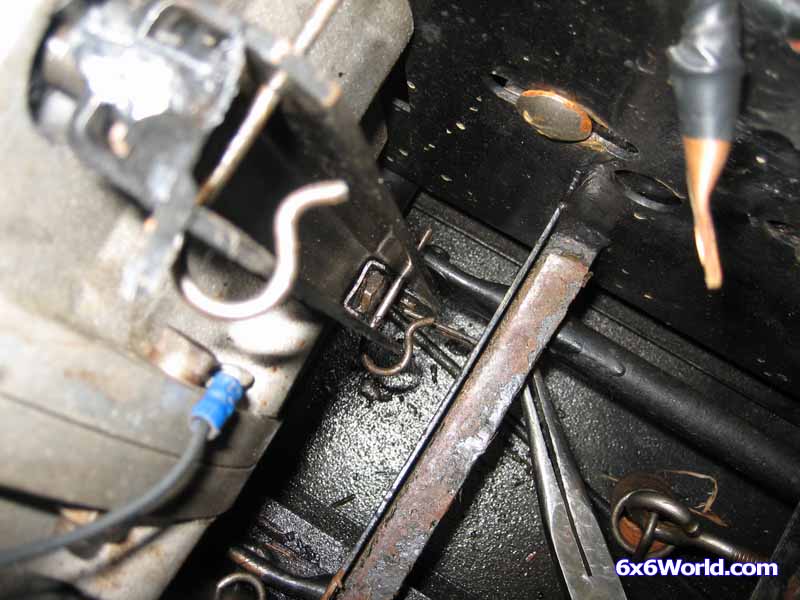
Remove the cotter pins or spring clips from the steering push rods at the bottom of the U channel. Then remove the shift rods. Again, you may want to put the pins back in the rods after you remove them from the channel so that you don’t lose them.
These are some of the most difficult to remove on the whole 6x6. Long needle nose pliers really come in handy.
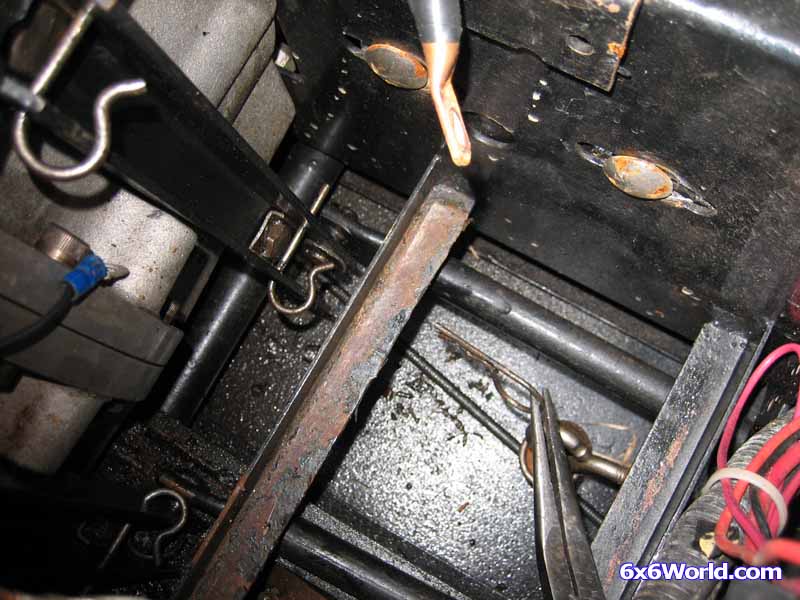
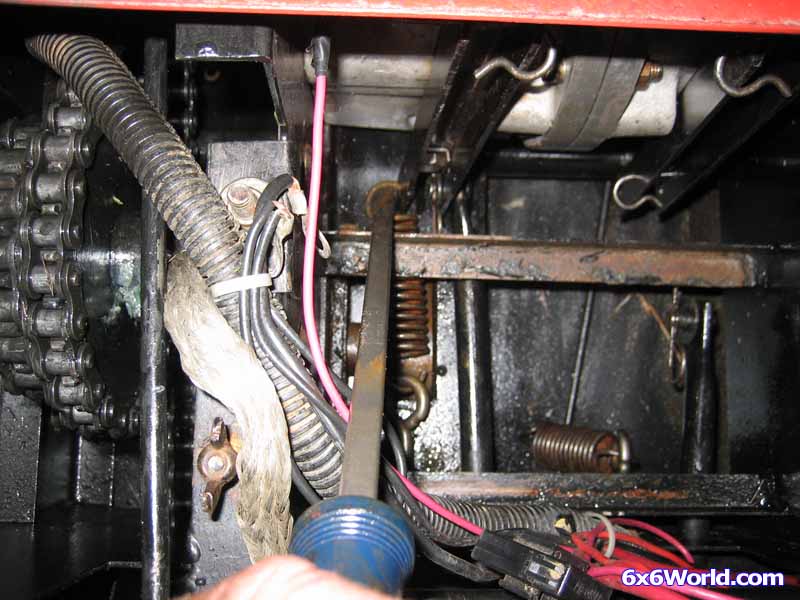
Remove the cotter pins from the transmission shift rods.
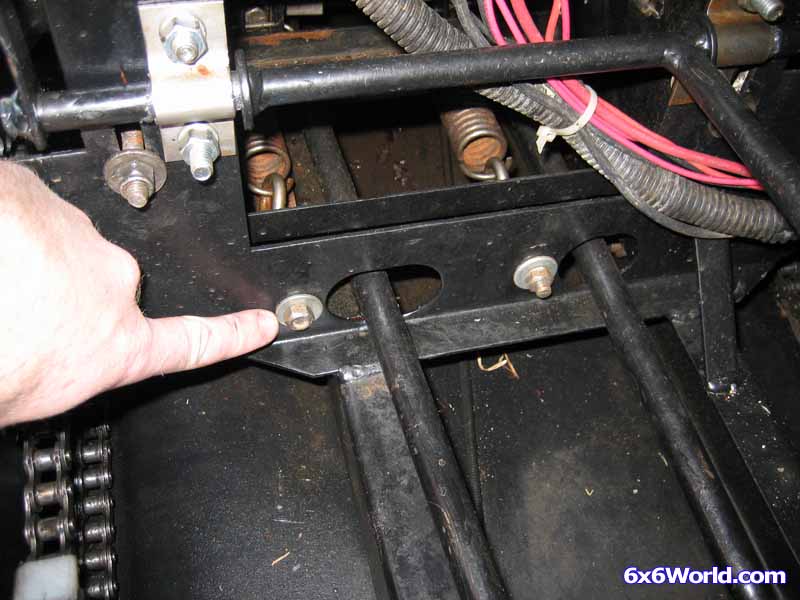
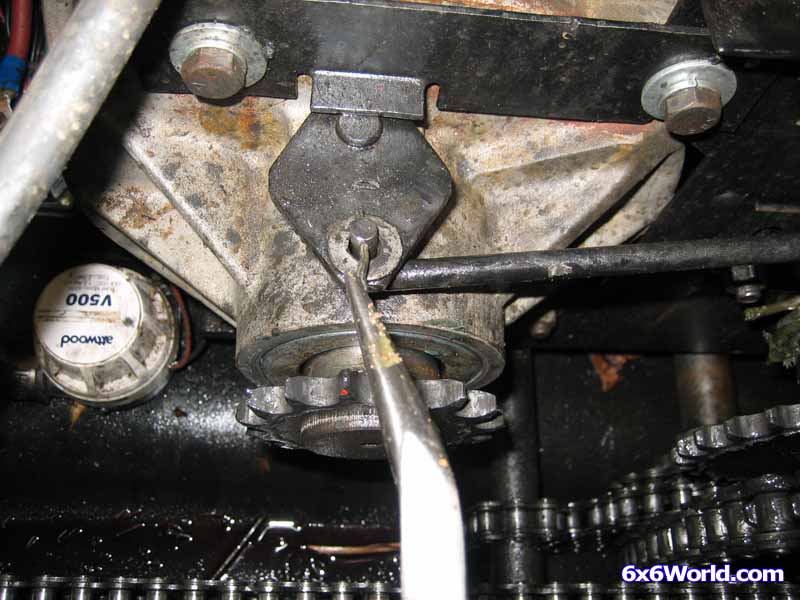
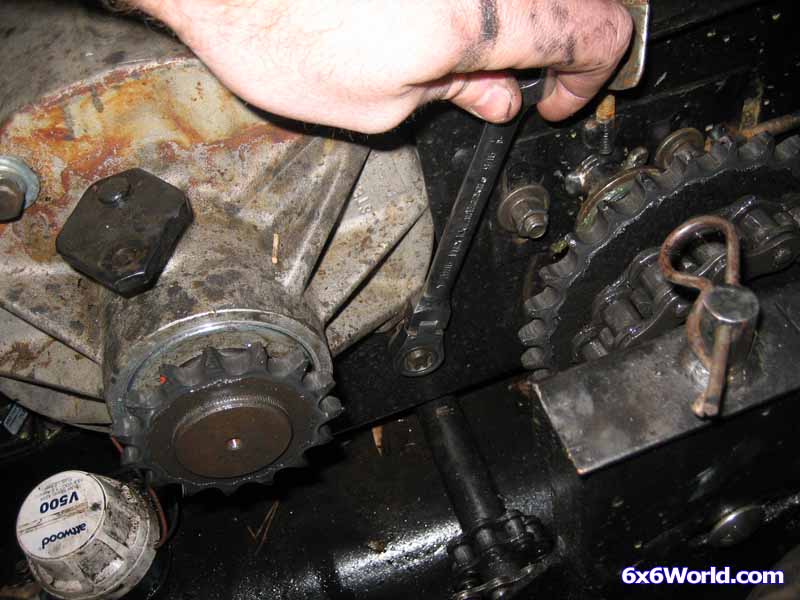
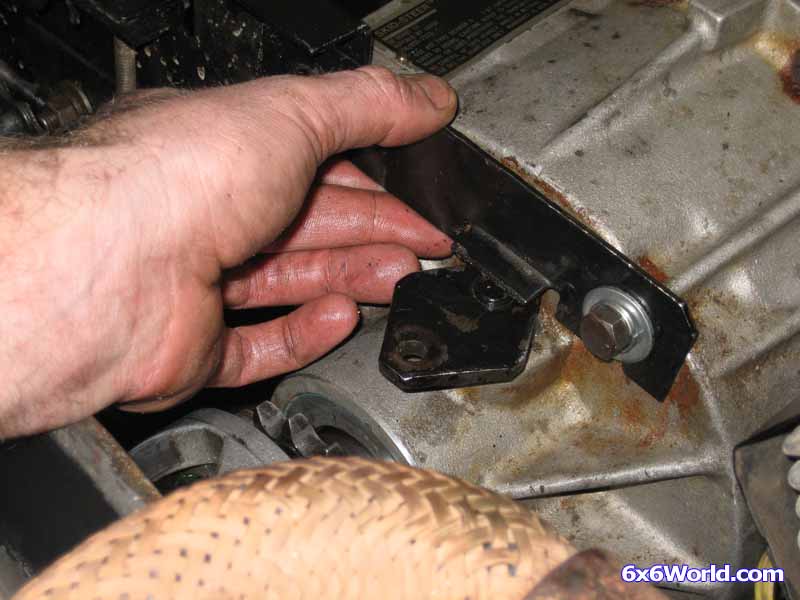
Loosen the four 9/16” bolts on the top half of the T20. (There are two on each side)
This will allow you to slide the shifters up enough to get the shift rods out.
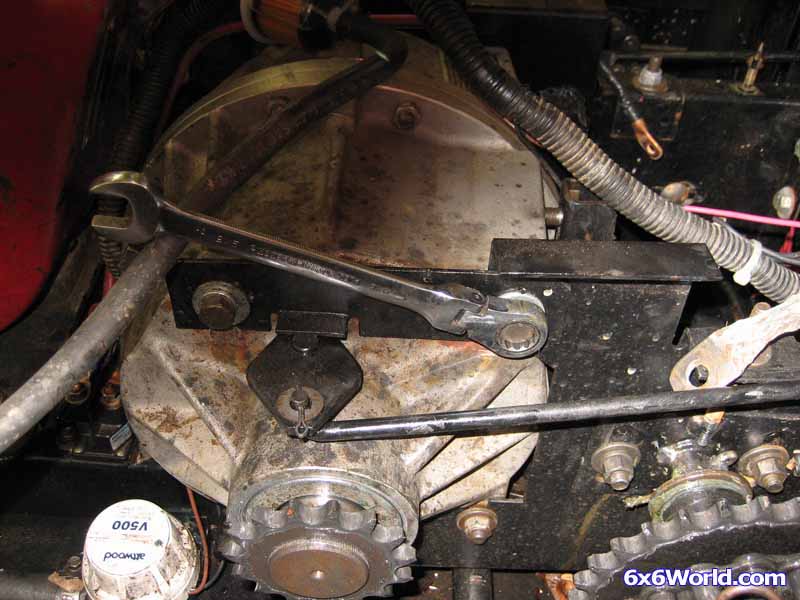
Loosen the remaining four 9/16” bolts on the bottom half of the T20. (Again, there are two on each side)
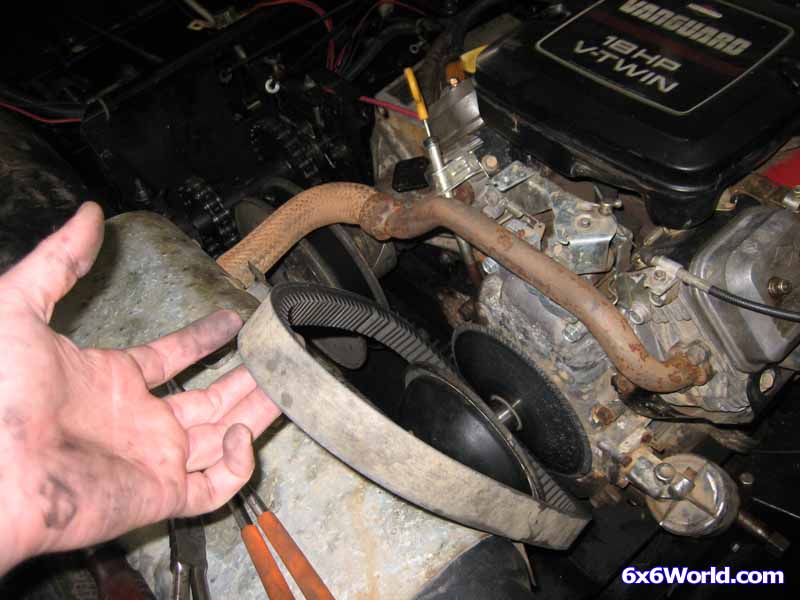
You can now tilt the T20 towards the rear of the 6x6 and remove the belt.
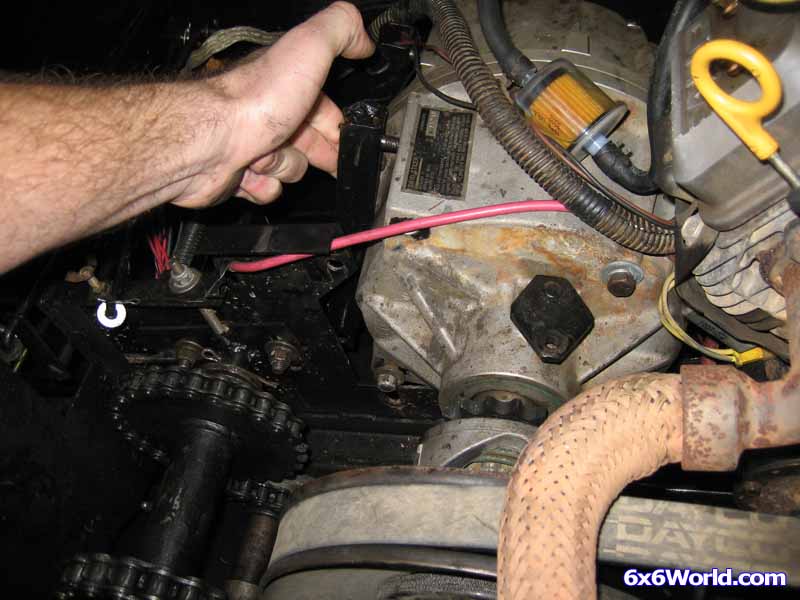
Loosen the four bolts that hold the engine to the frame and slid it towards the rear.
Remove the T20 from the frame: Tilt the transmission back so that the bolts clear the front two slots. Then slide the T20 towards the rear to clear the back slots. You can see the slots in this picture:
Now on to the installation ...
[BREAK=T20 Installation]
Place the T20 back in the frame. Slide the rear bolts in the slots first and then tilt the transmission down so that the front two bolts slide in the front slots.
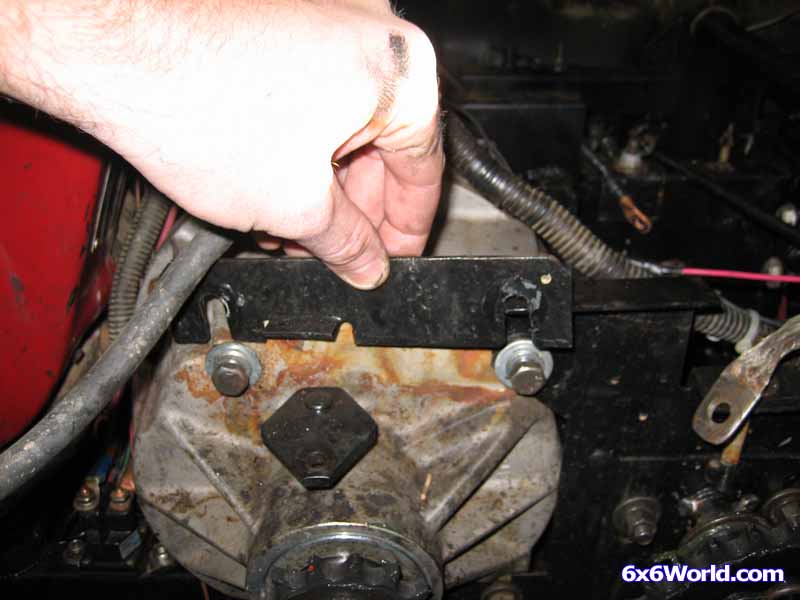
Slide the shifter retainer plate back into position but do not tighten yet.
Tighten the bottom four bolts on the T20.
Replace the shifter rods and insert the cotter pins. Press the shifter retainer plate down and tighten the top two bolts on both sides.
[BREAK=T20 Jackshaft Adjustment]
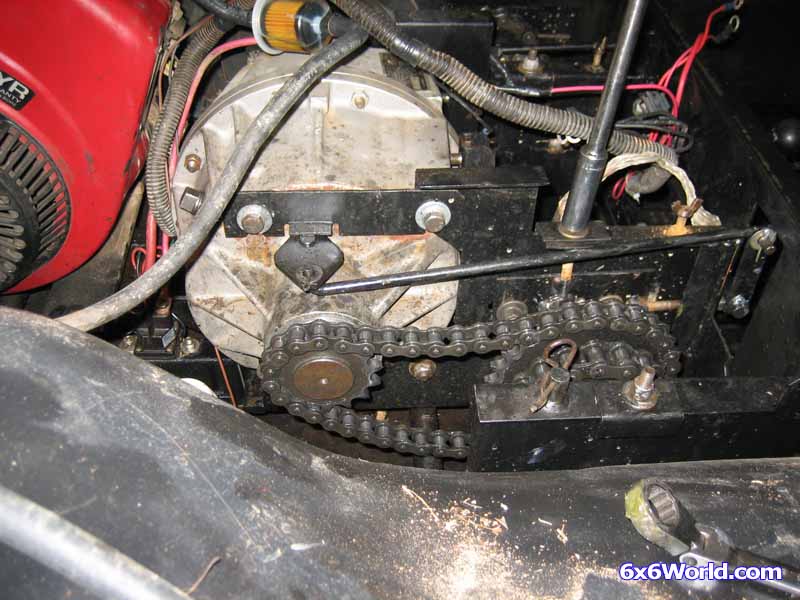
Replace the #50 chains and put the link back on.
Now you can tighten the chains by tightening the four jackshaft adjuster nuts on each side. If you loosened them 5 turns each in the beginning then you can just tighten them 5 turns now. If not, then you can start from from the beginning:
The main goal is to have the jackshaft perpendicular to the frame. You can eye this but it is better to take measurements from the frame on each side of the jackshaft. Make sure that they are equal. Once the jackshaft is sitting perpendicular to the frame (level) you will want to tighten each nut equal turns until the chain is properly adjusted so that the jackshaft remains level.
The chain is properly adjusted when it has 1/2” of total deflection. This means that it should move 1/4” up and 1/4” down from the rest position. Once you have the chain at the proper tension you should tighten the eight nuts (four on each side) next to the jackshafts that hold them in place.
Put the belt back on and slide the engine to the rear to tighten it. Make sure that the belt is running parallel to the frame and straight on the clutch.
Tighten the four bolts that hold the engine down.
Put the steering push rods back in the bottom of the U channel and attach the washer and spring clip or cotter pin.
Replace the steering springs.
Replace the battery and close the top back down. You should now test the transmission to make sure that it operates properly. Also pay close attention to the belt to make sure that it is tight enough, tracking straight, and engaging at the correct time. Once you are satisfied with the installation you can put the spring clips that hold the body back on and bolt the upper body to the tub.
 Reply With Quote