Project: Argoceptor

  1. Welcome to 6x6 World.

    You are currently viewing our boards as a guest which gives you limited access to view most discussions and access our other features. By joining our free community you will have access to post topics, communicate privately with other members (PM), respond to polls, upload content and access many other special features. Registration is fast, simple and absolutely free so please, join our community today!

    If you have any problems with the registration process or your account login, please contact us. Looking forward to seeing you in the forums and talking about AATVs!
+ Reply to Thread
Page 2 of 15 FirstFirst 1 2 3 4 12 ... LastLast
Results 11 to 20 of 148

Thread: Project: Argoceptor

  1. #11
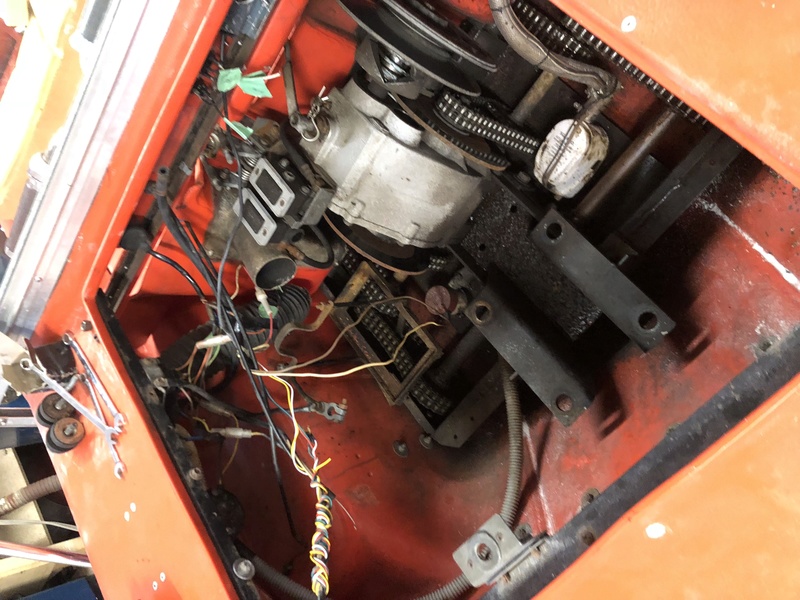
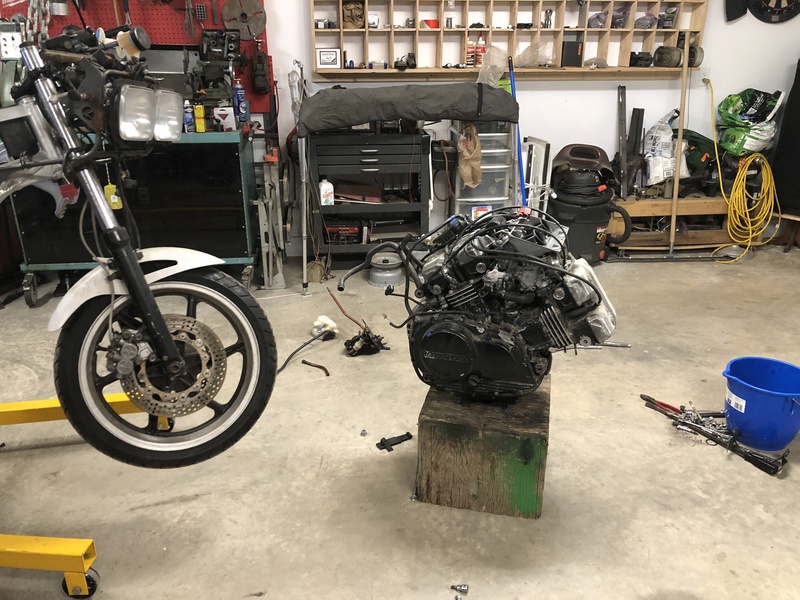
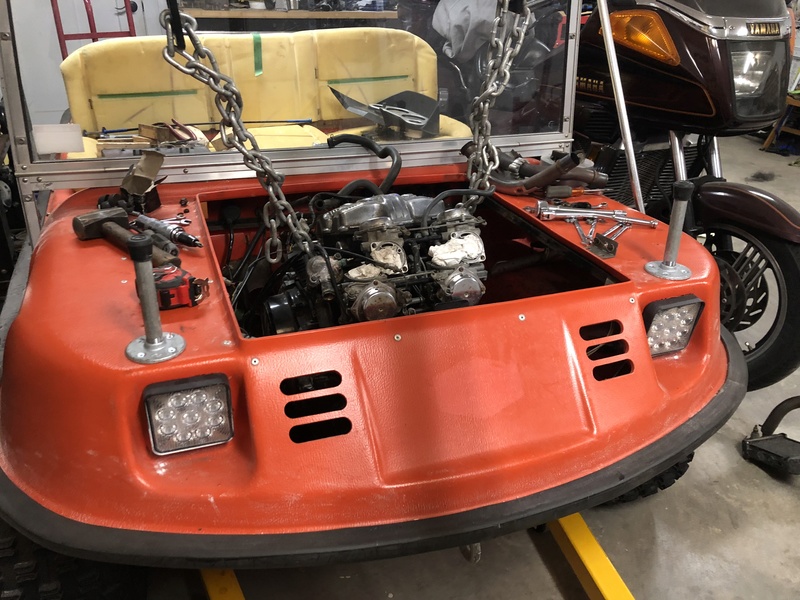
    Put some work into getting the Kohler ready to pull. With most of the bits out, i could take better measurements. That big v4 750 is going to be a squeeze!

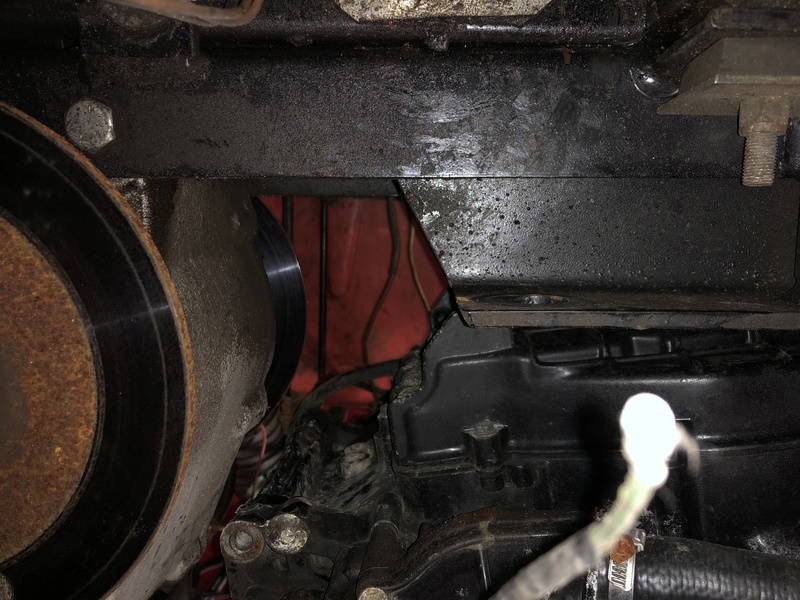
    I’m not sure if it will fit lengthwise. Its a good 8-10” longer than the Kohler and the Argo transmission might be an issue, space wise. Theres room in the tub to go further forward with the v4, but its hard to say how tight a fit it will be until I actually set it down in the engine bay. I also don’t want to get the front cylinder header pipes too close to the plastic hull. I may end up having to see if I can sneak the argo transmission back a few inches, but there’s precious little room for driver and passenger legs in the front seat already.

    Height of the V4 is also a problem. Well, it’s not a problem if I dont use hood. Yeah...that's not going to happen!

    I will have to modify the airbox. It’s just too tall with it sitting down in the engine V between the cylinders. But it only means making a cut and rotating the front half of it down to level. I can then plastic weld a patch piece in and there should be minimal disruption to the airbox other than added volume (not always a bad thing!).

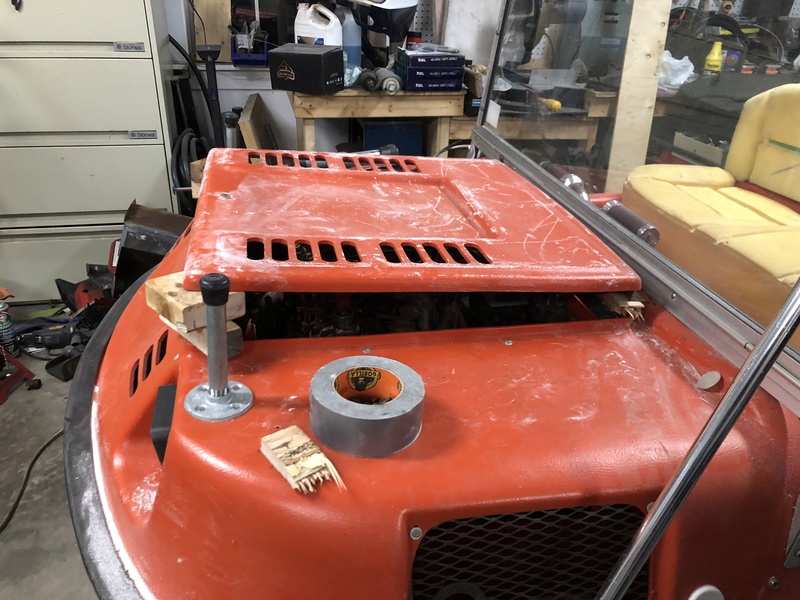
    The hood I have a couple options. I can make a spacer to pop the oem hood up about 3-4 inches:


    But I have to leave the rear lower than the front in order to still be able to lower the windshield and still get the height I need in the front to clear the V4.

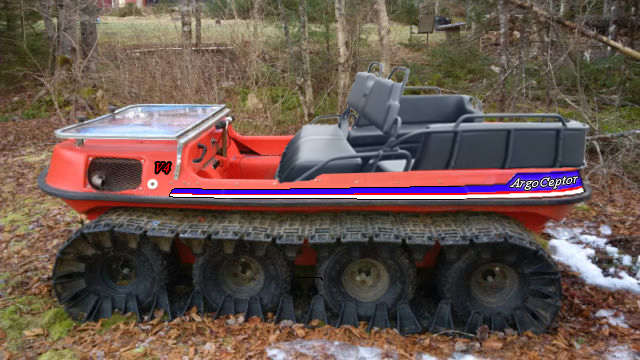
    Second and third options are I can mount the fiberglass hood facing forward or rearward:


    Opening facing forward still doesn’t look right to me and the hood slopes to the back pretty severely to clear the windshield pivot. I’m also not sure how to make the opening look like anything else besides “unfinished, even if I add some kind of meshing. I could make it look like something finished, ut it will always stand out as “odd”. The angles are just all wrong.

    Open rearward still looks the best, but the front still looks pretty high. The scoop is actually sitting level across the top as it has a taper built in to it for the “scoop forward” orientation, so the “nose high” is a bit of an illusion from the angles.

    I think I’m still going to go with the rear facing fiberglass hood. The front I can mitigate the “blocky look” by sculpting the side and leading edge to more of a taper to meet the body and the V4 engine is only about 10” wide at the air cleaner and heads. That means I may still have to make a “bump” in the middle at the front, but that's pretty easy to make look OK on a hood. I might even be a to add the firebird vents to the sides of the bulge to make it look more integrated and pull it all together more visually. IOW: like the bulge is designed to be there.

    The v4 swap is not exactly “falling together” like it’s meant to be there, but a plan is taking shape...

  2. #12
    Fooling around with photoshop:


    just kicking ideas around......

  3. #13
    Hey that looks cool.i bet a separate V4 badge would look nice between exhaust screen and where the windshield frame comes down.

  4. #14
    I officiated over 2 divorces today:


    After the official proceedings were finished, they went their separate ways for that happy and swinging single time everyone experiences after getting out of a dying/dead relationship:


    Then they noticed someone new that they might like to “get with”:


    Then the always awkward first date, a night cap at the end and inevitably, someone ends up in bed with someone else:


    It was awkward, slightly uncomfortable and maybe even a bit painful, but still strangely satisfying. Both have enough curiosity to want to try a second date!

    :lol:

    Man, that V-four looks the business sitting in there! Quite a serious looking piece of kit! Like a 60’s muscle car with too much engine in too small a chassis, it looks ready to party!

    So the big V45 fits....well, mostly. It’s sitting quite high right now, but there’s a good 5” it can be dropped. The old Kohler engine mount bracket is narrower than the V45 oil pan and the engine is sitting up on top of it right now:


    There may also be an additional inch or two I can drop if I rework the “power pack” tray. But with just the 5” drop from removing the Kohler bracket, that will get all of the V45 under the stock hood height. All of it except for the carb plenum/air cleaner housing. That's easily handled with a custom hood. The real issue is its further forward than what I measured, which may be a problem with packaging it all inside the Argo body. Anything that alters the airbox too much turns CV carbs in to a total jetting nightmare...

    Tomorrow I’ll look at getting it fit in there at a proper height. Which means cutting the Kohler engine mount brackets off. Sort of a “not turning back” point, but in reality I can always weld them back on if needed.

    Lots more to sort out and build, but its a good start!

    Last edited by great white; 12-03-2018 at 09:11 PM.

  5. #15
    Join Date
    Jul 2007
    Location
    Savannah, Georgia
    Posts
    1,817
    Soooo, how are you going to go from a chain sprocket out put to a clutch and belt system??

  6. #16
    Quote Originally Posted by mightymaxIV View Post
    Soooo, how are you going to go from a chain sprocket out put to a clutch and belt system??
    No belt, chain only. Regular clutch like any other motorcycle drive. It's pretty much second nature to me to use a motorcycle clutch vice "snowmobile drive'...

  7. #17
    Wow. This is amazing. Love following along on this build. Looking forward to the updates and final drive impressions!

  8. #18
    Still playing around with photoshop:


    That's starting to look pretty good!

  9. #19
    Join Date
    Feb 2013
    Location
    shenendoah valley,va.
    Posts
    2,631
    i must say it is a very cool project and i imagine alot of fun figuring everything out. thanks for all the photos ! i'm really enjoying following along. it's neat remodifying an original machine . my max 2 highboy looks nothing like the original . i just went from 22'' tires to 25 ''. with the tracks on , the edge where the top and bottom tub bolt together is 42 '' off the ground !! fun, fun . johnboy va.

  10. #20
    looking good!

+ Reply to Thread

Posting Permissions

  • You may not post new threads
  • You may not post replies
  • You may not post attachments
  • You may not edit your posts