Keeping them alive...

  1. Welcome to 6x6 World.

    You are currently viewing our boards as a guest which gives you limited access to view most discussions and access our other features. By joining our free community you will have access to post topics, communicate privately with other members (PM), respond to polls, upload content and access many other special features. Registration is fast, simple and absolutely free so please, join our community today!

    If you have any problems with the registration process or your account login, please contact us. Looking forward to seeing you in the forums and talking about AATVs!
+ Reply to Thread
Page 1 of 2 1 2 LastLast
Results 1 to 10 of 15

Thread: Keeping them alive...

  1. #1
    Join Date
    Jun 2007
    Location
    Buffalo, NY area
    Posts
    2,968

    Keeping them alive...

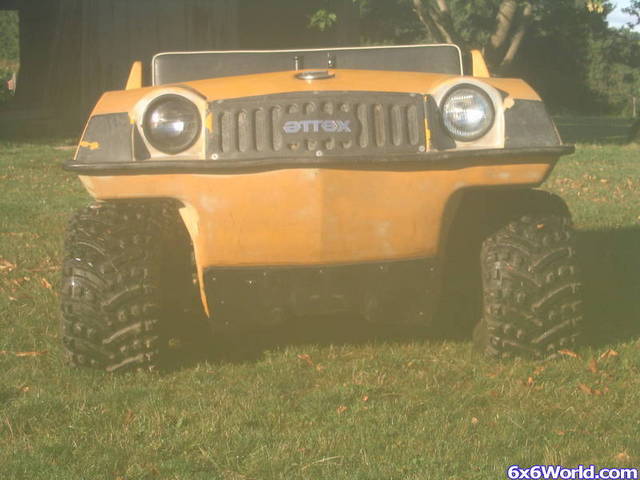
    I've just about put the finishing touches on the poly skid plate on the Chief. The bottom was cracked in a few spots, and quite frankly, I feel there is no "ultimate fix" to a cracked bottom of you want it to be waterproof, and want to be able to actually use an AATV for its intended purpose. Other fixes include riveting steel to the body(heavy), using fiberglass resin and mat (OK, but doesn't stand up to abuse well) and other methods, but I wanted something that would really take what I wanted to dish out on the machine.

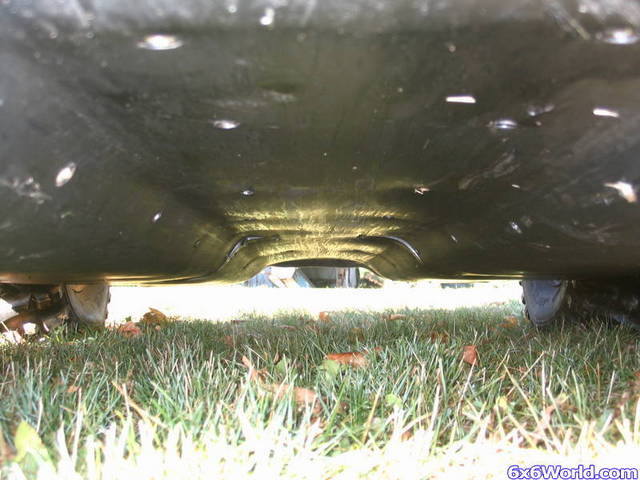
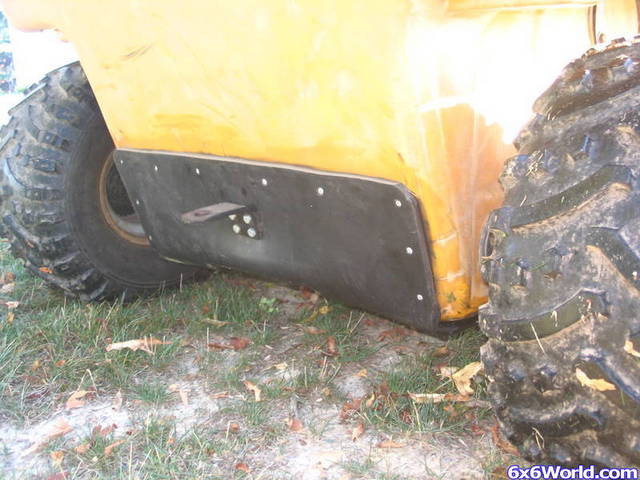
    The skid plate is a full 1/4" thick HDPE that is in two pieces. I would have used one sheet, but it had to be cut for shipping. It turns out that two pieces was a bit easier. Its held on with 72 (or so) steel shank waterproof rivets that RI uses on their machines. I was dismayed that I couldn't get the poly to wrap up around the sides well enough to incorporate into the axle flanges. It's plenty strong, though. I'm just not entirely pleased with how it terminates so abruptly on the bottom.

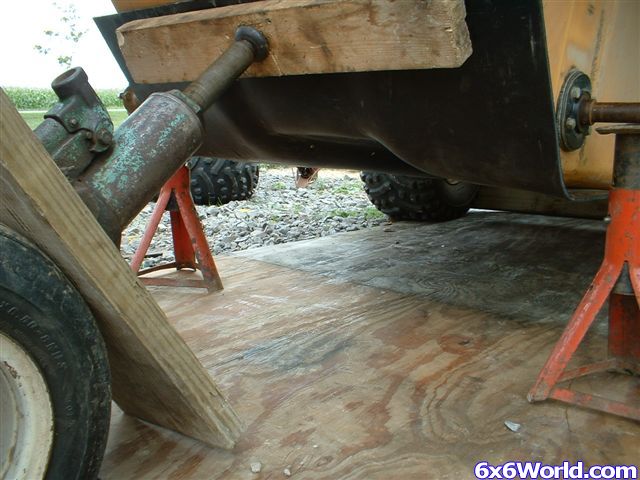
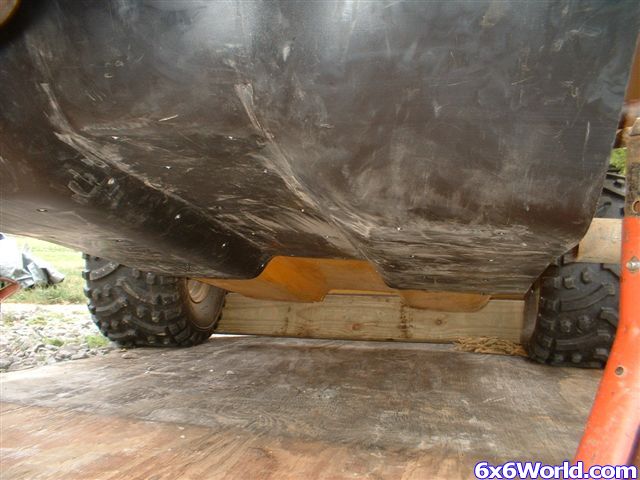
    The forming was done with a heat gun. It works tremendously well, as long as you're patient. There was a lot of force with jacks to bend the poly and hold it in place once it was good and mushy. It incorporates the rear trailer hitch, and it has two threaded drain plugs I've added since the pictures were taken. The first time I had it out (and many times since then) I've been forging through the brush and found that I suddenly stopped forward progress altogether. Each time, I was centered on a different large boulder. No cracking, thumping, creaking or anything. It just rides up it and stops. There's virtually no deformation in the body, either. I can jack up the entire machine with a floor jack right in the center of the body. It was quite a bit of work, but well worth it to keep the 'ol gal around for a few more years. There's no water around here yet, so I haven't had the opportunity to check for water-tightness.

    I recommend it to anyone with a body that they're thinking about junking because of lower tub issues. The pics aren't great, but you get the idea. More pics in my gallery...


  2. #2
    Join Date
    Aug 2007
    Location
    Texas
    Posts
    582
    Man...that looks really good. Especially the bottom, it is obvious you spent some time on that.

    What is the scoop on welding HDPE with the plastic welding kits they sell? I seem to remember reading that it did not work too well for some reason. It would be sweet if it did, you could weld pieces to the side to incorporate the axle flanges. But that is definitely some great work and information.

  3. #3
    Join Date
    Jun 2007
    Location
    Buffalo, NY area
    Posts
    2,968
    thanks for the compliment... The bottom took the longest. Lots of heat and jacks, etc., lying on my back.

    I have a plastic welding gun, but it's a budget unit, and I've only ever tried it on ABS for about 2 min. I couldn't get it to work right, and I haven't tried it since, since I haven't really needed it. Some welders work a lot better than others, but I can't comment on which one's do. This project didn't need any welding. The seams are sealed with black silicone adhesive. It should hold out any water and debris...

    Oh, forgot to add the most important part of the project. It was cheap. The poly was $19, $20 to ship it... here's some more on this ebay auction.

    ~m
    Last edited by hydromike; 09-10-2007 at 02:24 PM.

  4. #4
    Join Date
    Jun 2007
    Location
    Buffalo, NY
    Posts
    6,442
    Looks great, Mike! I think I might have to copy you when I start on the body work for the ST/295.
    "Looks like you have a problem with your 4 wheeler........you're missin' two wheels there"

  5. #5
    Join Date
    Jun 2007
    Location
    Northern VA
    Posts
    2,766
    Excellent work, Mike; I never would have thought HDPE would comform that well to the bottom of the machine. It must have taken LOTS of effort.

    Now it makes the top look really drab..... I guess now you'll have to start PAINTING the rest of the machine!!!???

    Stuck in the seventies- not in the swamp.

    (6) Attex, a Hustler, a Super Swamp Fox, (2) Tricarts, (3) Tri-sports, a Sno-co trike, 3 Dunecycles, and a Starcraft! ...so far

  6. #6
    Join Date
    May 2007
    Location
    Kings Mountain, NC
    Posts
    7,788
    Mike, that looks great! I would love to do that to my Max too I just don't know if I have the patience There have been a few times that I have tried to push sharp rocks with my tub and I was worried about the outcome. This would be perfect for that. Plus with the kind of rigidity that you got I'm sure it helps keep everything else in line too. Great job!

  7. #7
    Join Date
    Jun 2007
    Location
    Buffalo, NY area
    Posts
    2,968
    Quote Originally Posted by Don View Post

    Now it makes the top look really drab.....

    Awww... C'mon... I already have the new stickers made electronically, and I have plenty of sand paper to get the color back.... I just don't have time now...
    She'll have to stay fugly for a bit longer.

    The effort was certainly there, but it was more patience than anything. A 2x6 under the body and jacked up with 4 floor jacks in strategic places was the key to forming it to the bottom. Here are a couple more pics (also in the gallery) of how it came together. No laughing at my equipment.

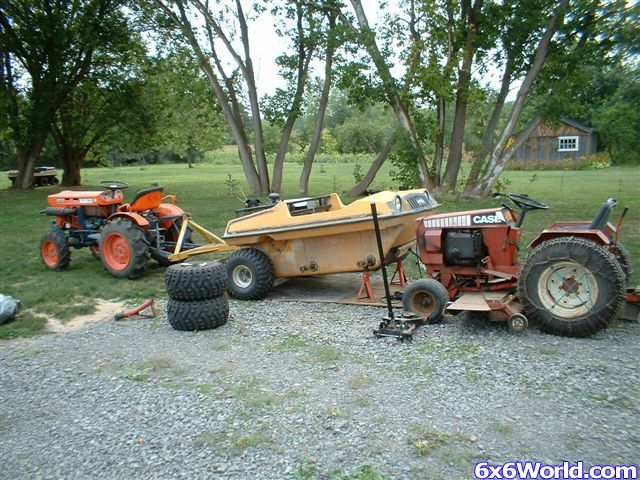
    Hey, is that a RIM hiding back there???


  8. #8
    Join Date
    Jun 2007
    Location
    Phoenix,Az.
    Posts
    1,629
    That's one great looking skid plate. Good job. When can we start drop shipping our cars to you for this well needed upgrade? I'm laughing at your equipment only because I remember you saying once in an old post that there was always a tractor in the background when Don took a pic of you. 
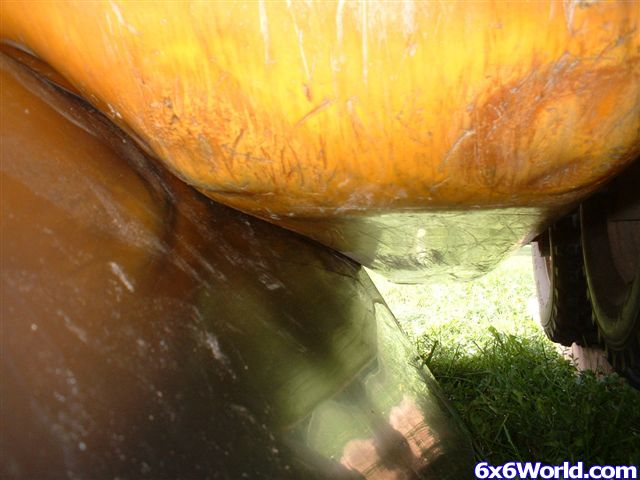
Very creative. How thick is that? I have alum skid plates down the troughs of my Attex and they are torn up pretty bad already. I hate to think what it would look like without them. I think what you've done would slide over things a lot better. Great job.

  9. #9
    Join Date
    Jun 2007
    Location
    Buffalo, NY area
    Posts
    2,968
    Thanks Whipper... the poly is 1/4" thick... it's easier to bend it in more direction than once than aluminum, and it does slide over stuff pretty nicely. I really like the abrasion resistance, and the fact that you can't really "dent" it, unless you're doing something really nuts.

    I wasn't sure what the outcome would be and how well it would conform, but I'm super pleased. The threaded drain plugs (no pic yet) really round it out. I hope I don't shear them off on something, but I don't do a lot of heavy rock-cruising, aside from the "practice rock". With this plate, I've tripled the amount of material on the bottom of the machine, with a weight gain of under 12 pounds. A solid trade-off, I think. The next one, if I do it, will be a bit cleaner. My arm still needs to heal from pulling the 72 steel-shank rivets, 99% of which were done on my back underneath the machine. No pneumatic riveter here, folks. (flexing and pointing at a full 6" diameter bicep...)

    ~m

  10. #10
    Join Date
    Sep 2007
    Location
    South Central, PA
    Posts
    13
    I like the way that poly looks on yours. NICE, clean install. You say it forms decent when heated? Did you form it then seal it before riviting? just worried about heating it with the sealent on, weather it would hurt the bond by making it set-up faster. Sorry about so many questions, I just bought some of that 1/4" thick HDPE to put on my Argo. Ummmm....hey Mike by the way.......can I borrow a tractor or two?
    Last edited by z-partsman; 10-02-2007 at 02:45 AM.

+ Reply to Thread

Posting Permissions

  • You may not post new threads
  • You may not post replies
  • You may not post attachments
  • You may not edit your posts