Announcement

Collapse
No announcement yet.

T20 Skid Steer Rebuild

Collapse
X
Collapse
  •  
  • Disassembly - Right Side 2

  • T20 Skid Steer Rebuild


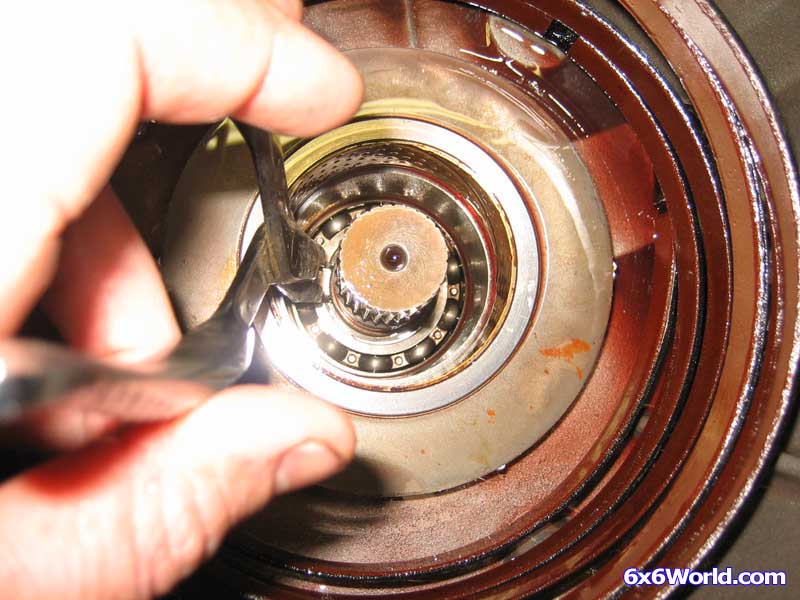
    This ring can be a little tricky to get off. A set of pliers made for lock rings can really come in handy.


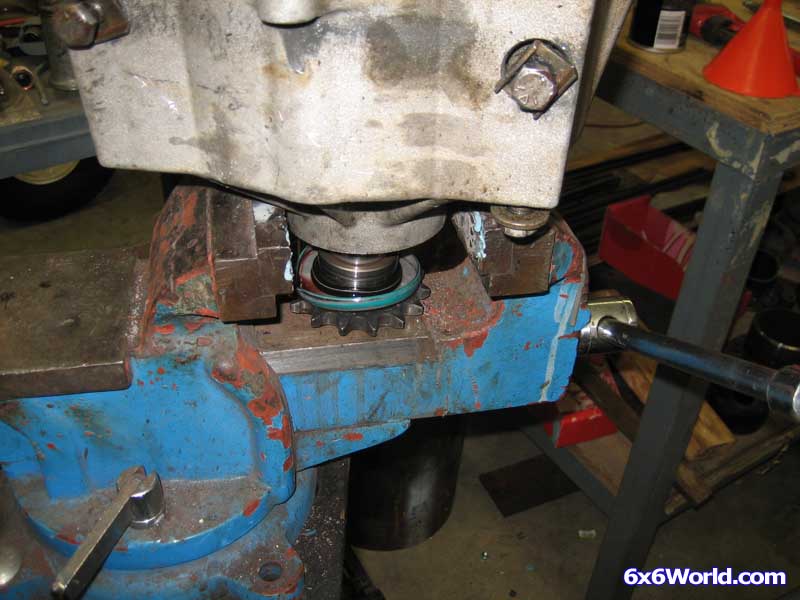
    Tip: Once you get the ring out of the groove, if you have trouble getting it off the output shaft you can put the housing in a vise and tap the output shaft out. The lock ring should come right off.


    Finish removing the output shaft.


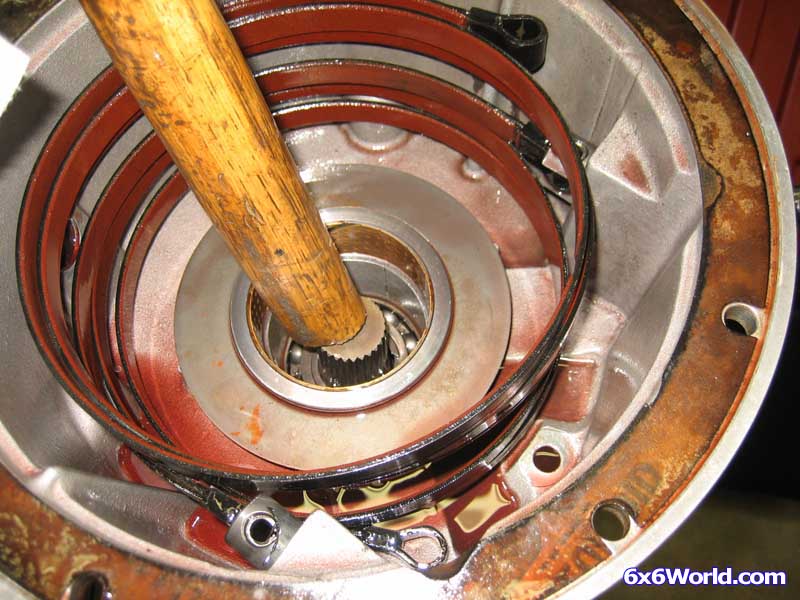
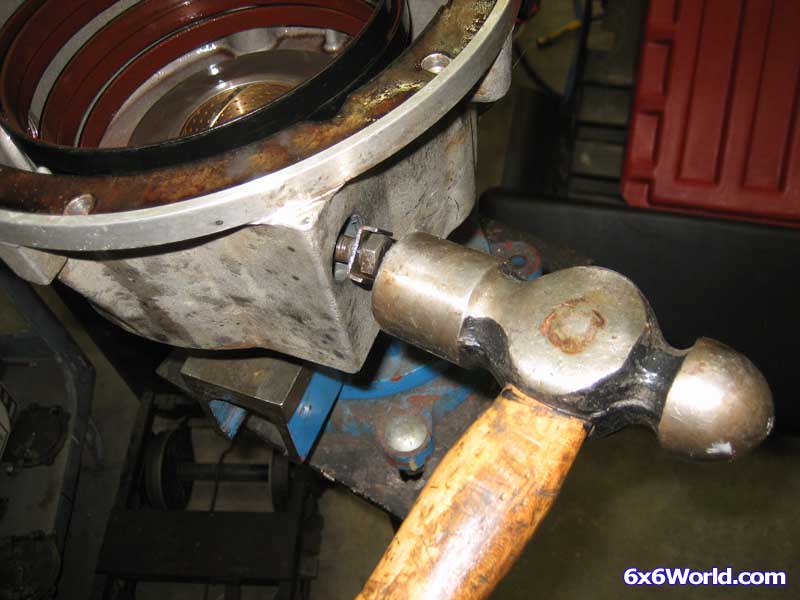
    Remove the band plunger through the inside of the transmission. Insert the bolt back in the clevis and tap it through with a hammer. Then remove the bolt and finish pulling the plunger through from the inside of the transmission housing.


    Note: If you are not planning on replacing the o-rings on the clevis then you don’t want to push the plunger through on the inside. Once the o-rings and plunger come out of the hole the hole in the housing, they will get torn trying to go back in because that is a sharp edge. They have to be installed on the outside of the transmission and pushed to the inside where the edge is beveled.

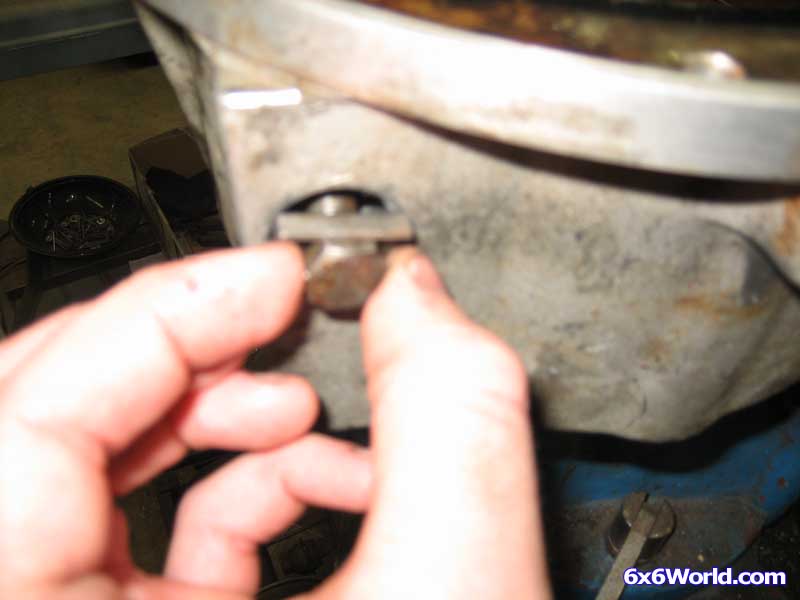
    If you are going to change a band, you will need to remove the pin that holds the band to the clevis. Then the band will slide out. You can do this once the band and plunger assembly is removed from the transmission housing but here is a picture of the pin just for reference.


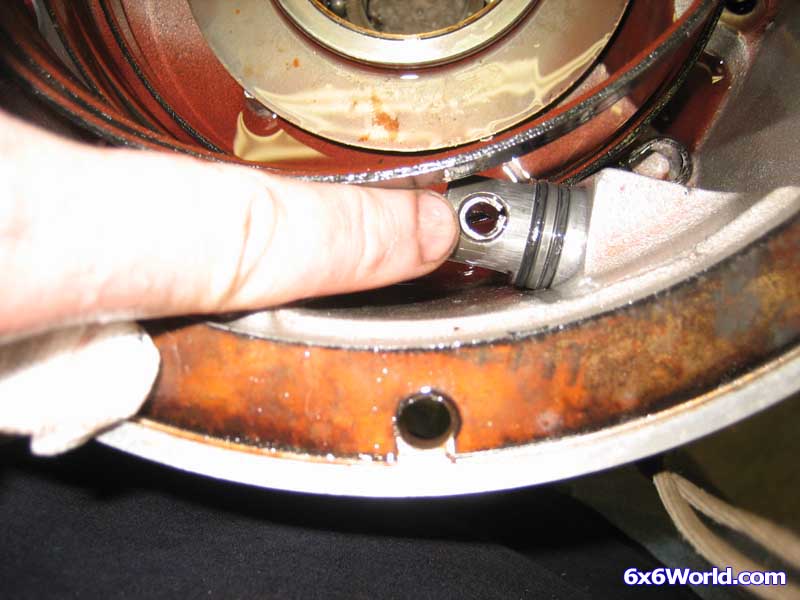
    Take out the other plunger and remove the band from the transmission.


    When I pulled my output shaft, the oil seal came off with it. Most of the time this does not happen. So the next step is to remove the main output shaft oil seal. Usually a small screwdriver can do the trick. Just be careful not to damage the housing.

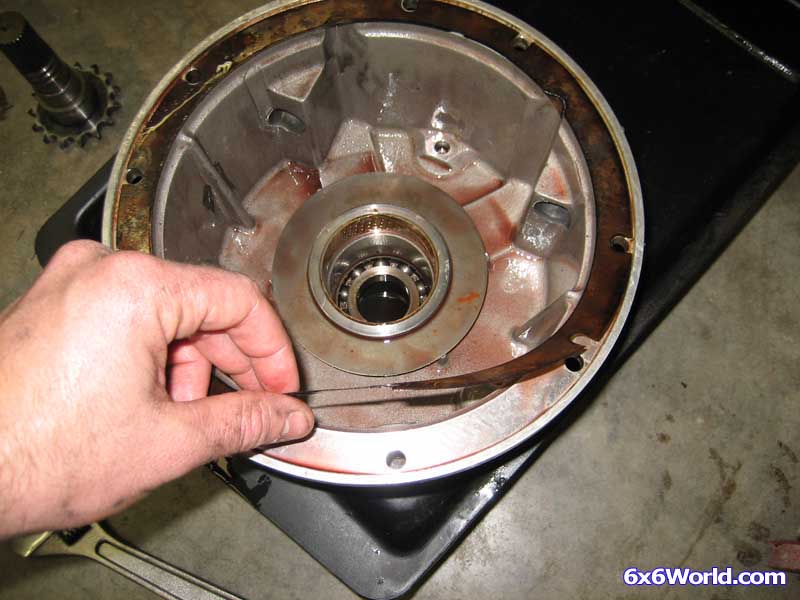
    Once the oil seal is out you now have to remove a large lock ring that holds the bearing in place. Utilize the same pliers as before and walk it out of the housing.


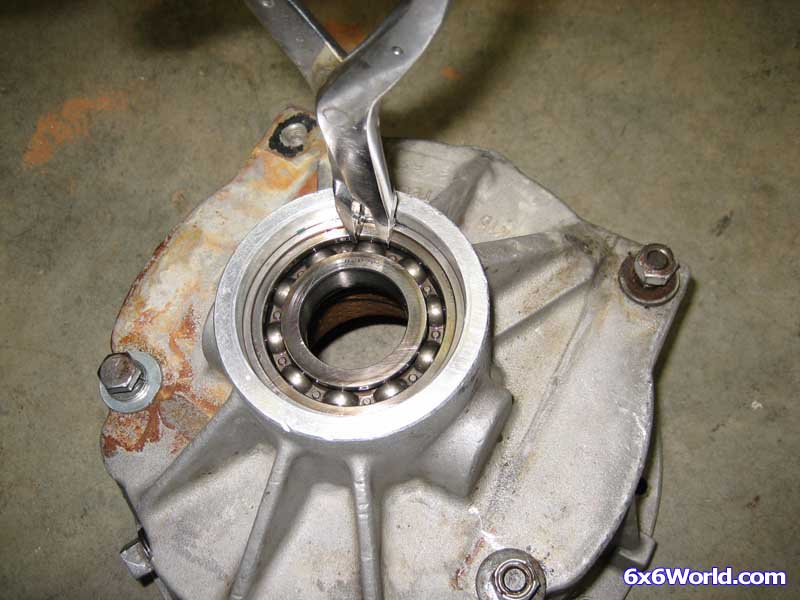
    The bearing is now free to come out.


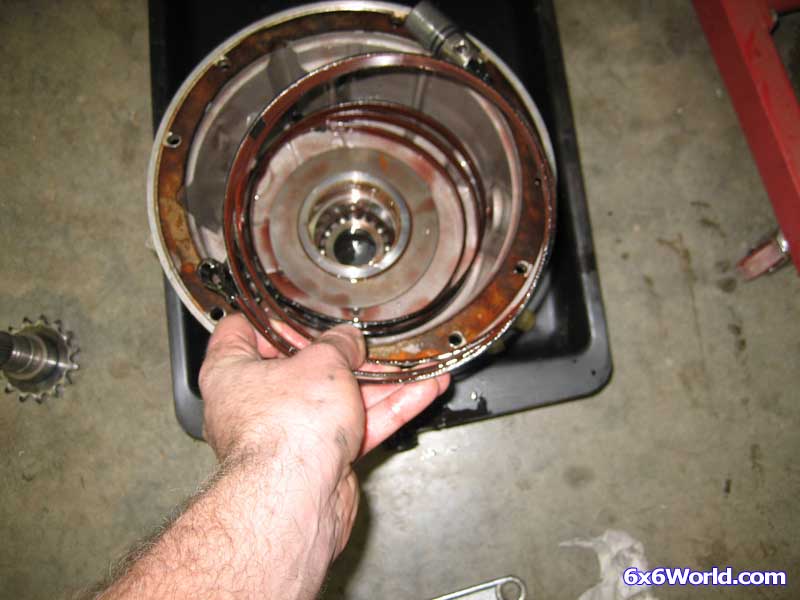
    Remove the main housing gasket.


    Now you need to clean the housing good. Be sure to remove all of the old gasket. Also where the output shaft oil seal goes be sure to remove any remnants of the old seal. I find a razor blade to be the most effective but you have to be careful not to damage the surface.

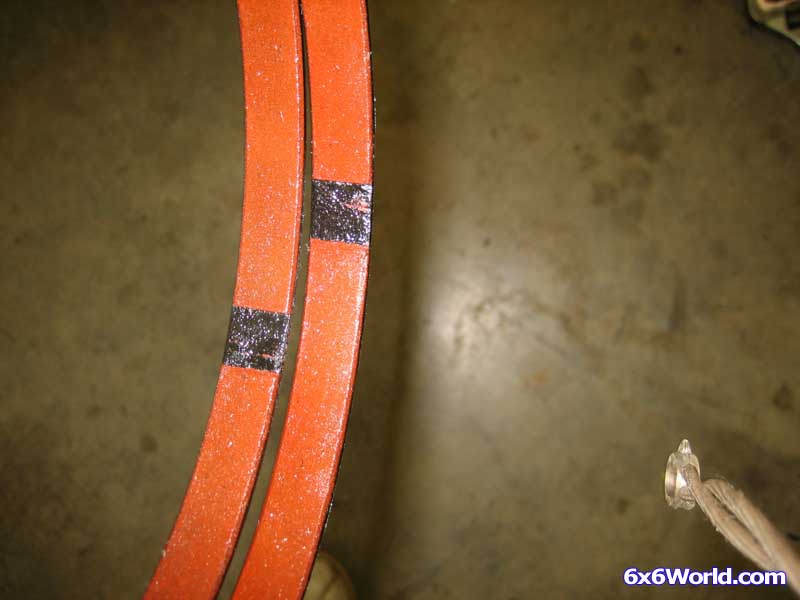
    If you are just replacing seals, now is a good time to check your brake bands. Make sure they have a uniform thickness and no cracks anywhere. Usually if you have problems you will immediately know it because one band will look much different than the other.


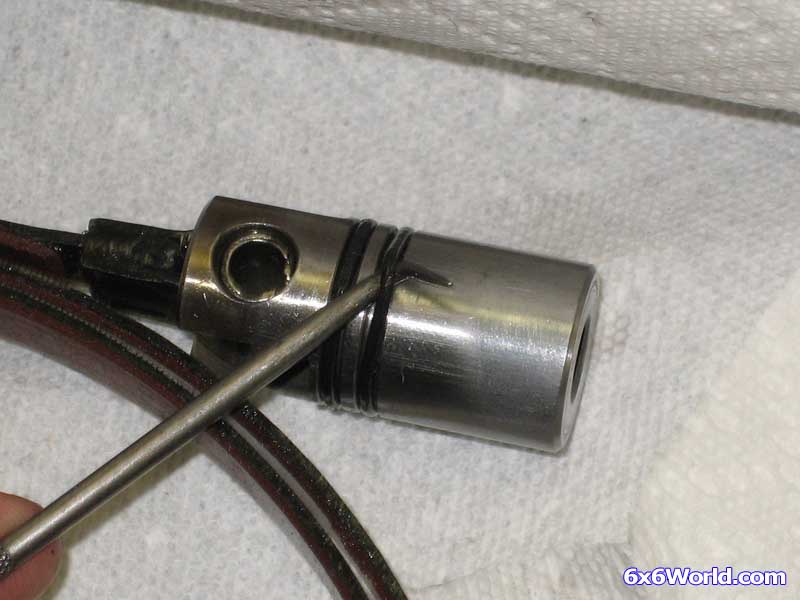
    Remove the o-rings from the plungers and the shift lever. Be careful again not to damage the surface of the plunger. If you scratch it, it can be detrimental to the performance and seal of that plunger.


    So far, so good. We are half way through the disassembly so don’t give up now. Let’s start on the other half of the T20 transmission with the center housing plate still attached.

      Posting comments is disabled.

    article_tags

    Collapse

    Latest Articles

    Collapse

    • Easy T-20 split shifter Guide
      by Rabbit929
      This is on a 94 Max II 18hp Briggs and Stratton You will need: Grinder Welder I got all my parts from tractor supply. Parts List: -1/2x1x2 inch steel bushing (anything will work but the inside diameter needs to be 1/2in) -1/2in steel pipe (hollow or solid, you only need about a foot) -shift knob of your choosing, I haven't found a matching one yet. -2 1/2in inside diameter spacers/washers (the think ones) Start by cutting the cross shaft. I cut mine an inch and a half from the ...
      10-31-2016, 05:36 PM
    • T-20 Assembly video
      by George
      This video walks you through the assembly of a Borg Warner Skid Steer T20 transmission.

      ...
      09-26-2012, 06:59 PM
    • Rework an Early T20 to Accept Thrust Washers
      by whipper-ag
      I'm sure that some of you have opened up some Early T-20's & found them FUBAR. Once the gears start digging into the drum face, it doesn't take long to ruin the bearings, wear the bands down & cause excessive wear on the ring gear. Fortunately, all is not lost. In most cases, it can be modified to add the fiber thrust washers which are now used in the Late Model T-20's. Here's a video how to do it.


      Whipper :6x6burnou t:...
      02-18-2012, 11:18 PM
    • Max II T20 Split Shift Modification Video
      by LarryW
      This is a how-to video for making a split shifter for your T20. While I did the modification on my Max II, the same principals will apply on most Borg Warner Skid Steer T20 transmissions regardless of which ATV it is in. Instead of having one lever that controls shifting of both sides this mod will let you shift each side of the transmission independently allowing you to counter rotate. I even got to scare myself a little.


      ...
      03-22-2010, 08:47 PM
    • T20 Skid Steer Rebuild
      by Mike
      Borg Warner T20 Transmission Rebuild A large percentage of 6 wheelers utilized the Borg Warner / Skid Steer T20 transmission. While they are virtually indestructible when properly maintained many of these skid steer transmissions have been around for over 30 years. It is only natural that at some point in their life whether it is due to improper maintenance or old age, they will need new seals, bands, drums, o-rings, or bearings. This article will walk you through a tear-down and re...
      02-12-2010, 06:29 PM
    • Salsbury Clutch Rebuild
      by Don
      How-To rebuild your Salsbury Clutch Salsbury was a very popular brand of clutch system for many of the amphibious ATVs from the 1960s to around 1980 when they closed up shop. Attex, Hustler, Scrambler and Max used them on at least some of their models, and I'm sure more of the lesser known machines used Salsbury as well. Attex used model 910 for the ST400, Chief, Thunderchief and Superchief and the 780 for most of it's single cylinder two-strokes. I'll try and be clear on how to do a...
      02-11-2010, 11:36 PM
    Working...
    X