10 miles is a long way to limp on anything rigged up. I can only assume that you can't remove that one chain and still make it through the terrain?
Could you rig up something like these floating tensioners? McMaster-Carr
I hated to think of trying to limp out with only 2 tires driving, but would have done it if I had to. Don't think it would have worked very good though.
The first thing I thought of was this chain tensioner: Roll-Ring Chain Tensioner If you had something big enough for this or even if you could use something like a roll of duct tape in between the top and bottom of the chain.
I thought about the roll ring too, but think it would cause the chain to wear through the bottom tub.
Cut a piece if tree 2" 3" 4" in diameter what ever it takes to take up the slack. Wire or rope it in place on the bottom and drive it out of that hard spot. hope it works. Terry :-)
Didn't test this option, but think it would also have worked
My thought, just to get out of the woods, would be to rig up 2 pieces of HDPE for above and below the chain. Drill some holes in them and hold them together with tywraps.
If the tywraps contacted the chain I'm sure they would wear thru. Tightening the tywraps would provide more chain tension.
Too many parts to control, could not keep everything together.
I dont think you can bind it top and bottom, it would evently get sucked into a sproket.
Wedge a piece of wood ( i know you have a chains saw!) between the frame rails on the bottom of the tub to hold the chain tight. You will have to secure it from moving back and forth, i would hate to see the carnage if it gets sucked under a sprocket, it my not come back out or wreck something.
good luck
Made a 2x4 to length, and cut a chain trough along it for the chain to run in, also worked to guide the chain. Wired to frame braces to hold in place. This would have worked.
Hope you get out with no extra damage. This sounds like something to make some kind of an emergency repair kit for. Let us know how it comes out. Terry
I have never even heard of this happening before, can't pack spares for everything. I think this is kinda a "one of" incident.
remove 2 links from the chain to tighten it without the tensionner ?
but wedging a piece of wood over or under the chain is also a good idea
2 links was too much, that's why I had to get the half-link brought to me. With the chain shortened that much, I managed to get the old tensioner back in place, and when I pulled the ends of the chain together, it was so tight, that the chain held the tensioner tighly in place. The tensioner was NOT properly working, at all, all it was doing was sitting in the bottom of the guides, with the chain sliding over it.
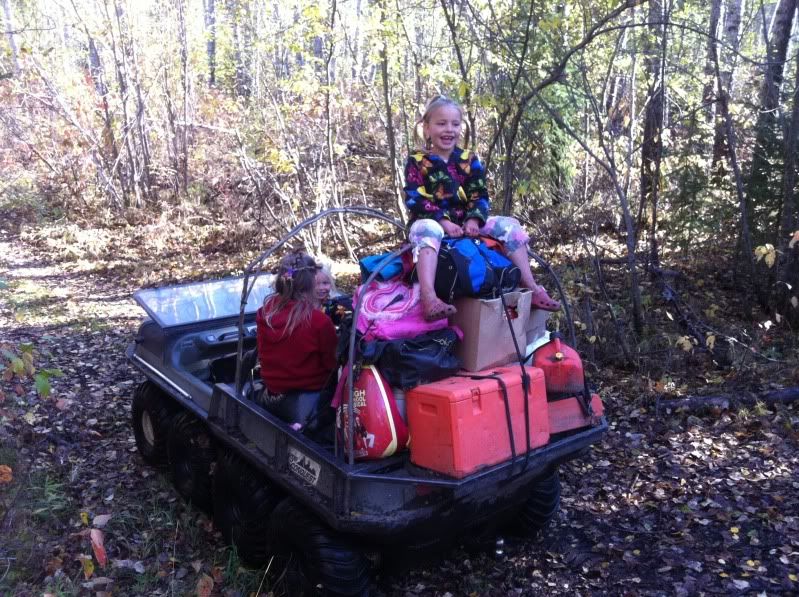
Anyway, I made it out. Loaded to the hilt. My Winch quite working after the first use (Had to winch out of a creek). Wife swamped her bike crossing the creek, and got some schmeg in her carb. I had to ride her bike out, feathering the choke to keep it running (Barely), and my daughter had to drive my Argo the rest of the way out. Never a dull moment
Tks Guy
I have heard of doing this, but never have had it explained well, nor have I seen it done. Having read the article, I can't believe the simplicity and I assure you that all the componets for rigging this up will be in my Argo "Stuff" box before the end of the day. Thanks a bunch.
Tks Guy
I have heard of doing this, but never have had it explained well, nor have I seen it done. Having read the article, I can't believe the simplicity and I assure you that all the componets for rigging this up will be in my Argo "Stuff" box before the end of the day. Thanks a bunch.
RD
Don't forget to pack a set of welding goggles. It wasn't mentioned in the article. There is also some low weld temp alum alloy that can be melted with a plumbers torch.
Don't forget to pack a set of welding goggles. It wasn't mentioned in the article. There is also some low weld temp alum alloy that can be melted with a plumbers torch.
Actually it was mentioned, you may not have scrolled down far enough:
Quote:
While you're at the hardware store buying sticks, you'll want to pick up some eye protection. A full-face welding helmet is your best bet, but if you're looking at this setup as an emergency-only trail welder and don't want to have to carry anything big with you, you can get away with a set of welding goggles. Just make sure you get a set of goggles with a shield dark enough for welding. You may have to buy the shield separately from the goggles, as most goggles sold in local stores are brazing goggles. These use a much lighter lens than is required for adequate protection while welding. The darker replacement lenses should be located in close proximity to the goggles, just make sure they're marked as replacement welding lenses. While you're there, you might consider a pair of welding gloves, although these are not entirely necessary if you're careful and don't mind a little bit of welding splatter splashing back at you.
Once you've got your batteries, goggles, sticks, and cables, you're ready to weld. Just remove the two batteries from the vehicles, and hook the positive terminal on the first battery to the negative terminal on the second battery. This will hook up the two batteries in series, yielding 24 Volts of power.

 Tweet
Tweet


Comment