
 Tweet
Tweet
Was out Sumerizing the Conquests, and found this on my second axle, inner brng. I did not even notice that it had failed untill I pulled my tracks off and wiggled my axles.
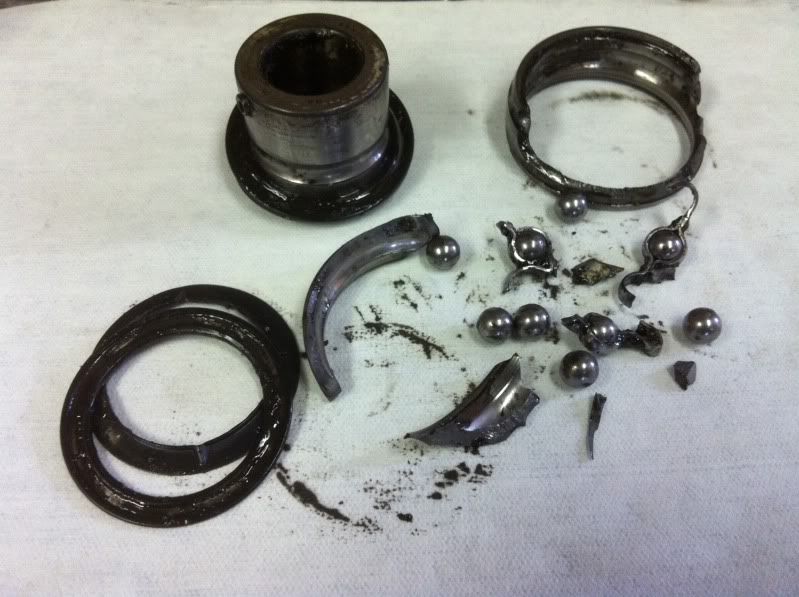
Also noticed on one of my new Outer HDI Brngs that the Brng is loose in the brng carrier. So now I have a little slop in that axle, and it looks like I will have to replace the Brng Carrier to fix it . That's not impressing me right now.
RD
Also noticed on one of my new Outer HDI Brngs that the Brng is loose in the brng carrier. So now I have a little slop in that axle, and it looks like I will have to replace the Brng Carrier to fix it
. That's not impressing me right now.RD


 , but I'm feeling better now.
 . I always like to see what guys pack as far as TOOLS with them as well ( I can do MOST services and maintenance with the tools I carry in my Argo)


Comment