
 Tweet
Tweet
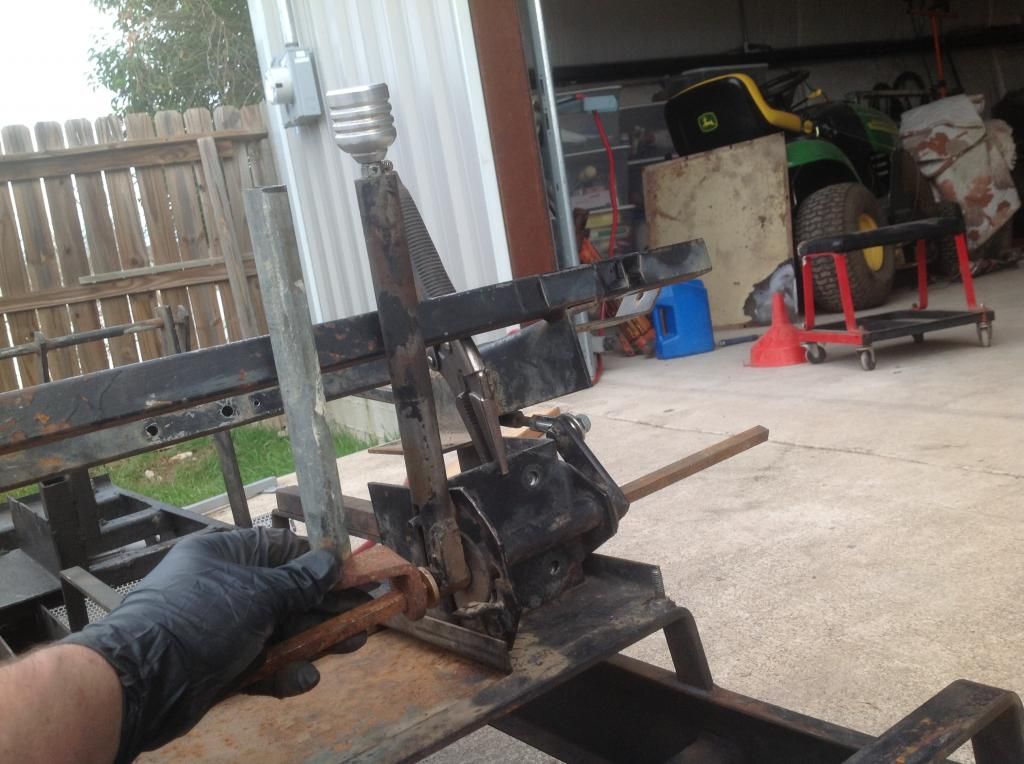
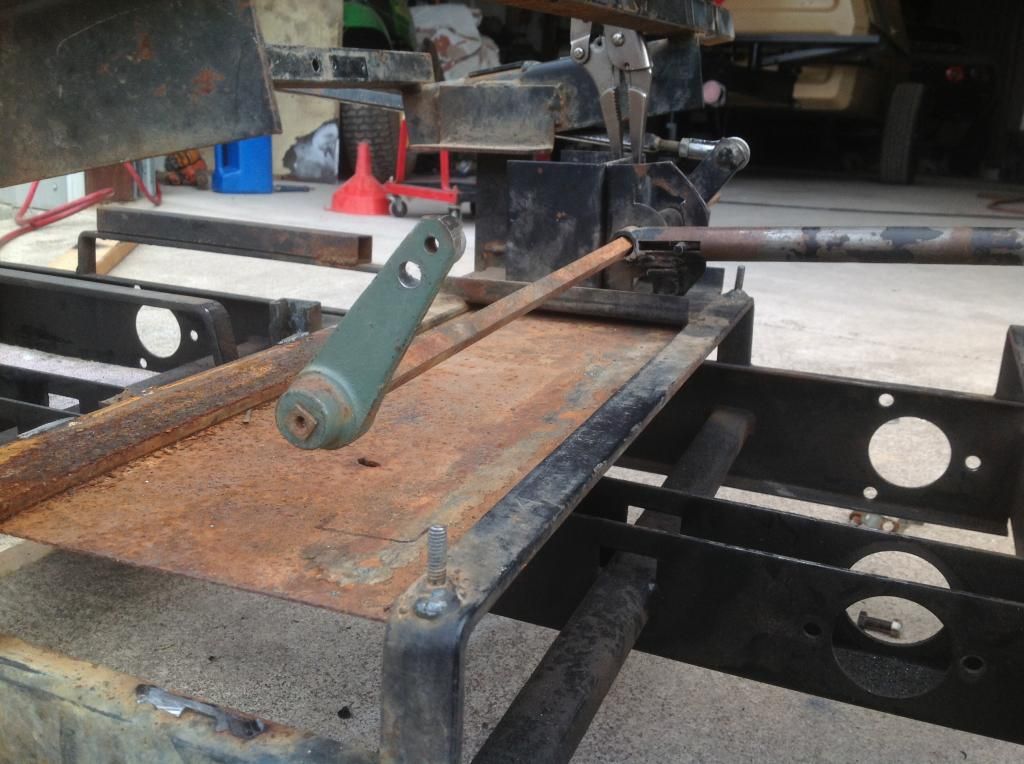
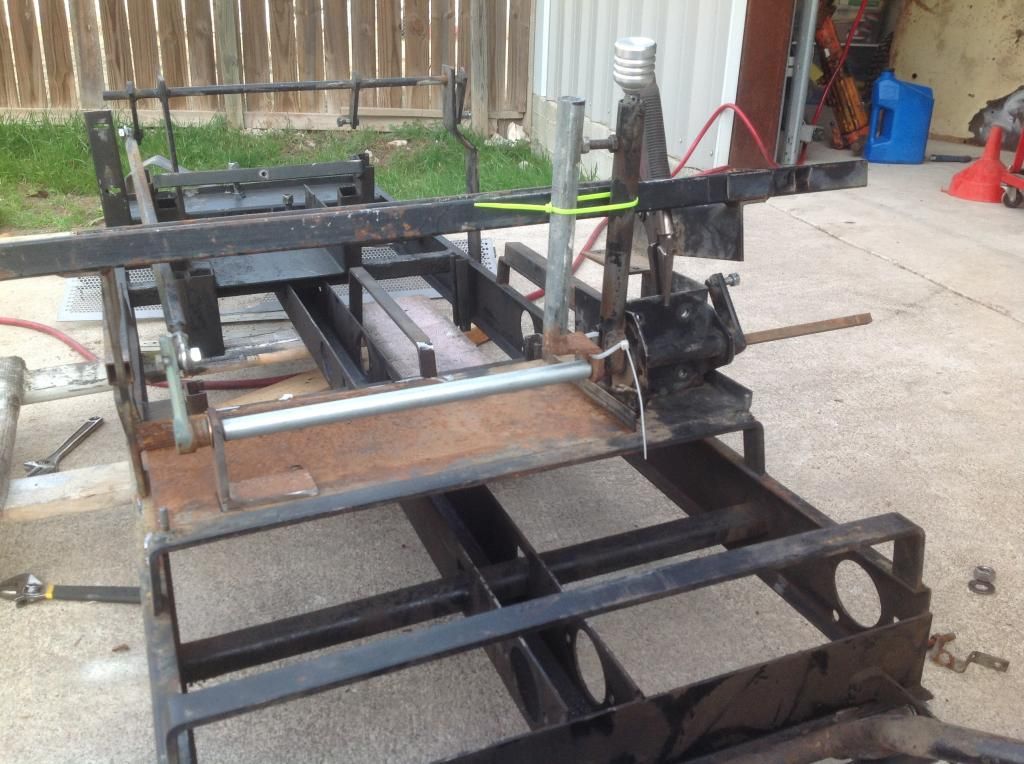
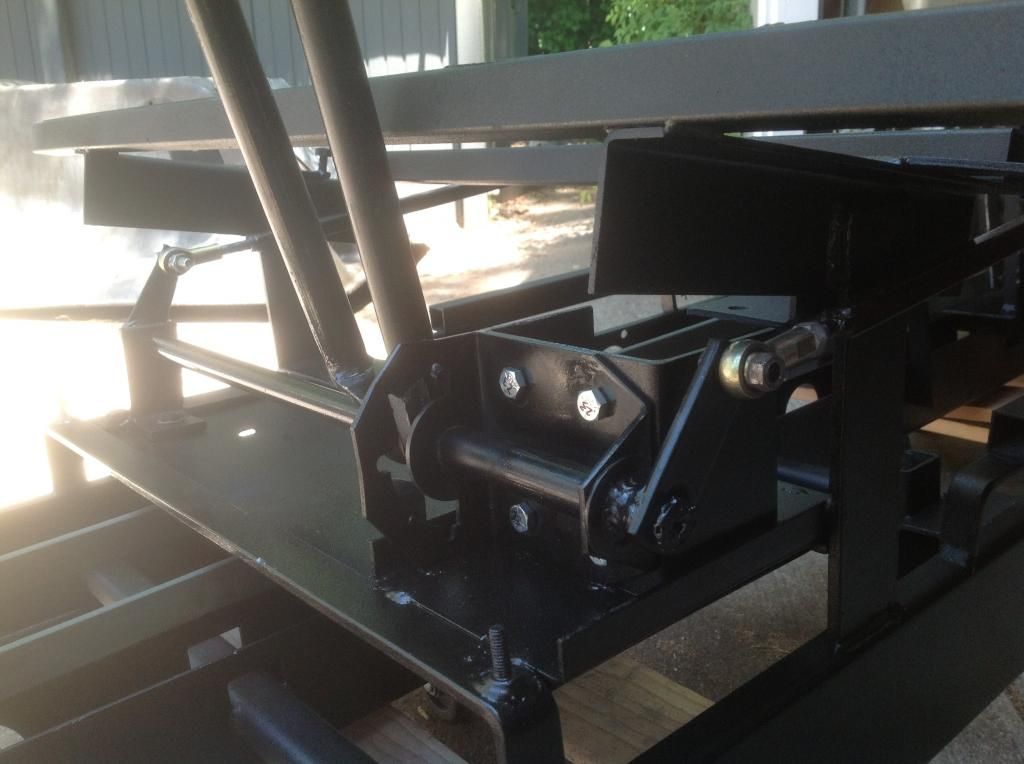
Well, I've enjoyed reading everyone else's build thread and have been gaining a lot of insight and ideas from everyone, so I figured I'd start documenting my rebuild and contributing, in a small way, to the body of knowledge that this site has accumulated.
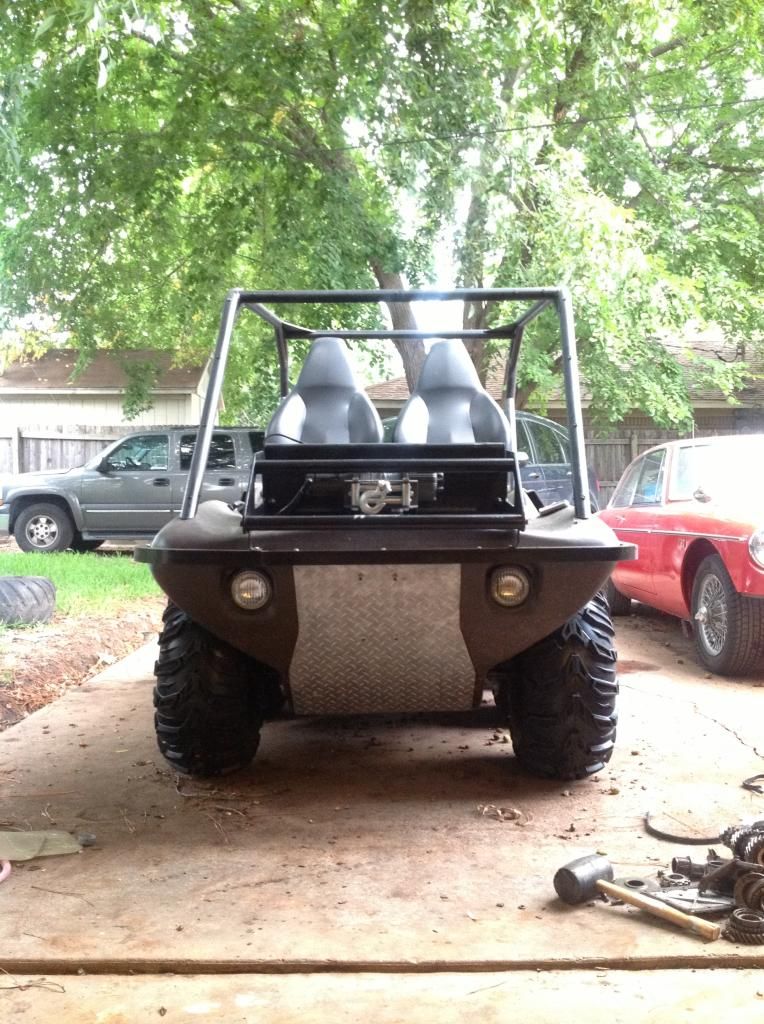
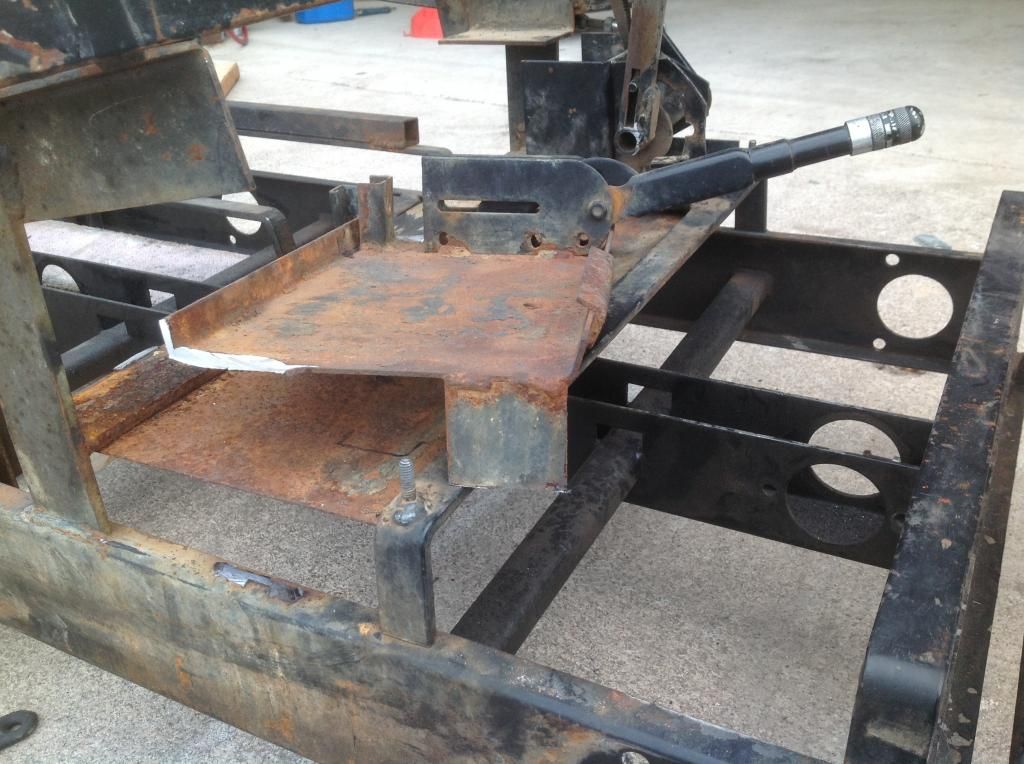
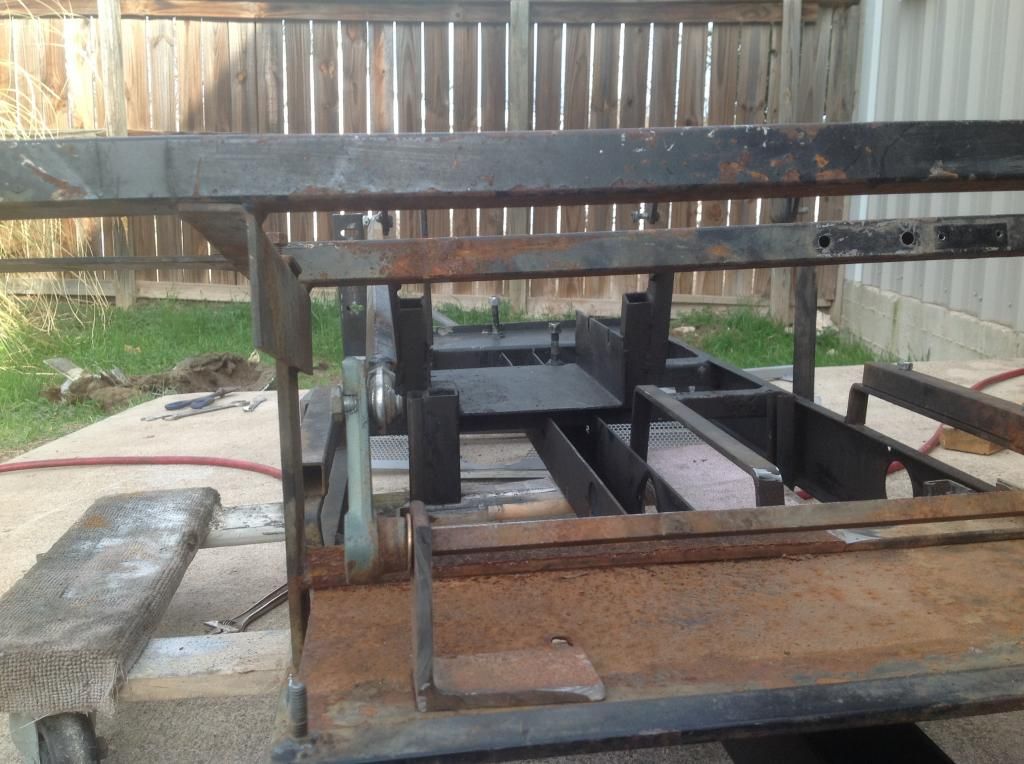
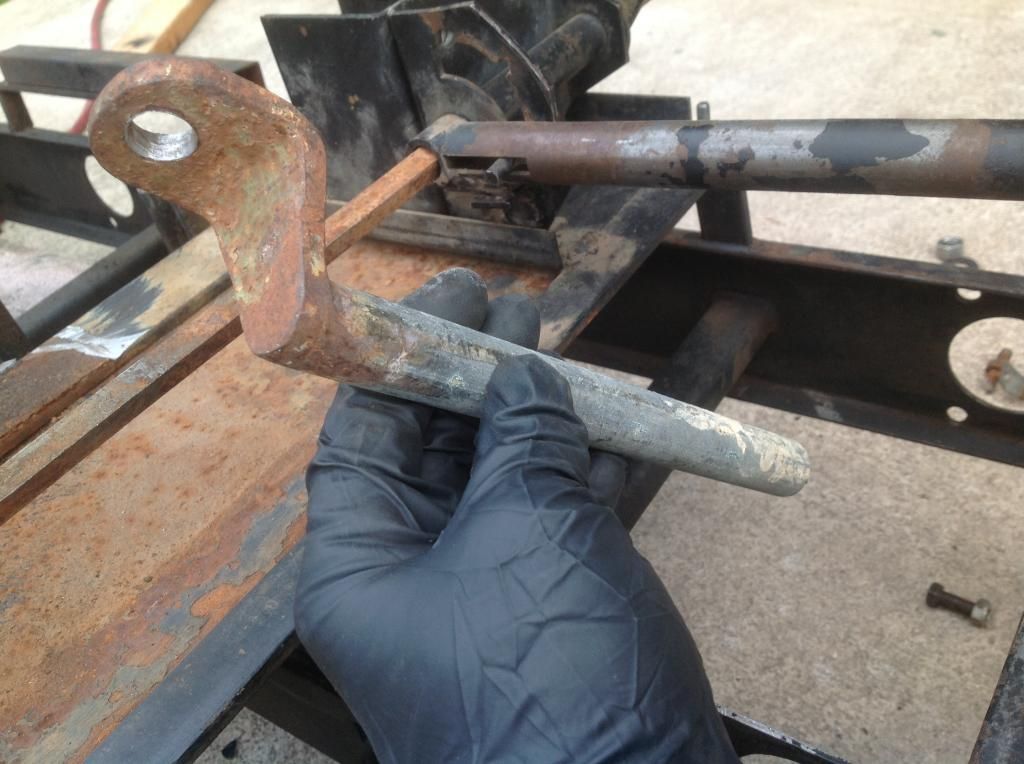
I'm going to start by just posting a couple of pics of the Hustler as I received it, and a few of where its at now. Then I'll follow up some posts getting into the details with various stages of completion. I still have a ways to go... gotta wire everything back up, pry the trans apart to fix a output shaft play issue (parts for that are on the way), and throw my new chains on, but I can at least see the light at the end of the tunnel.
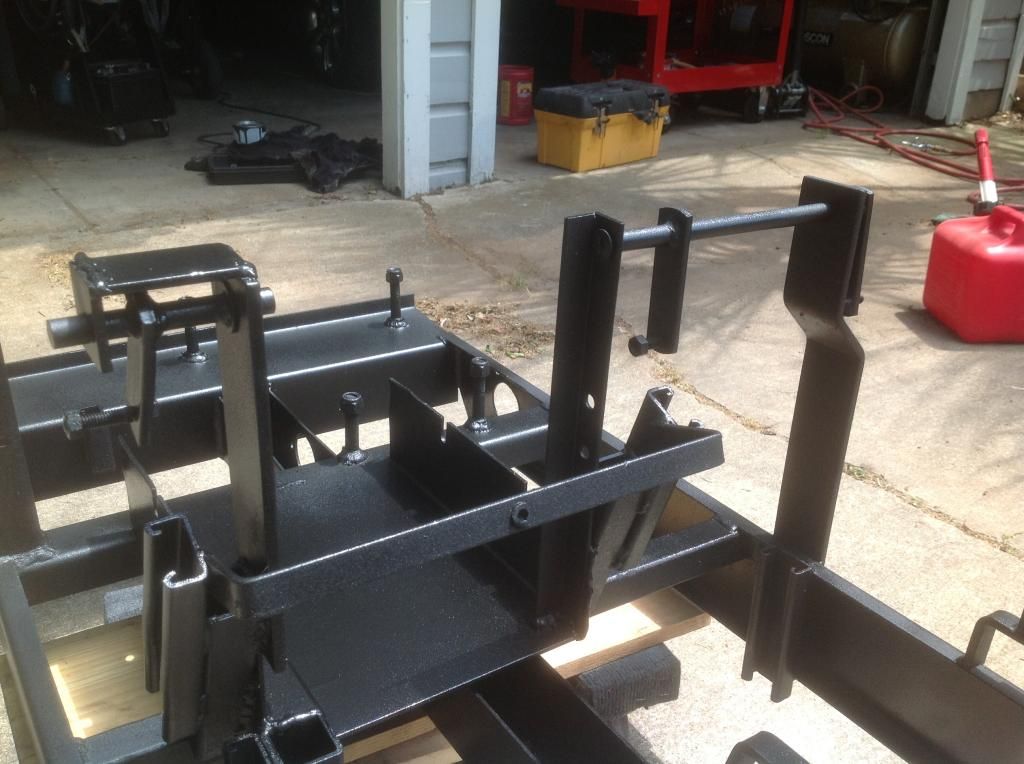
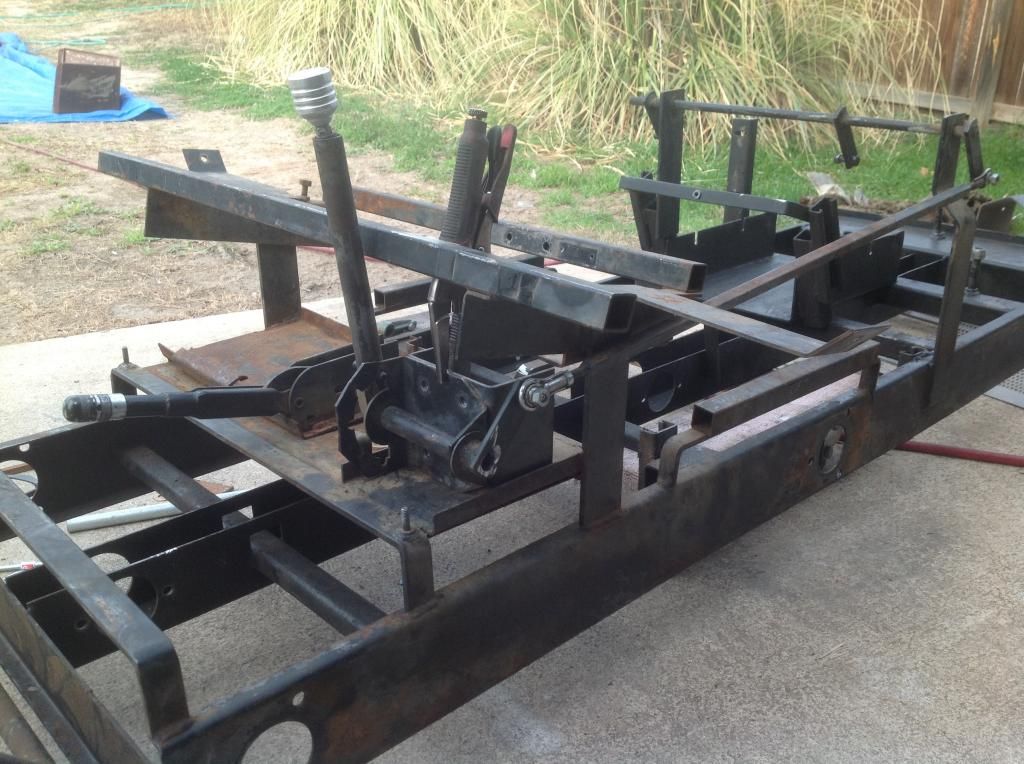
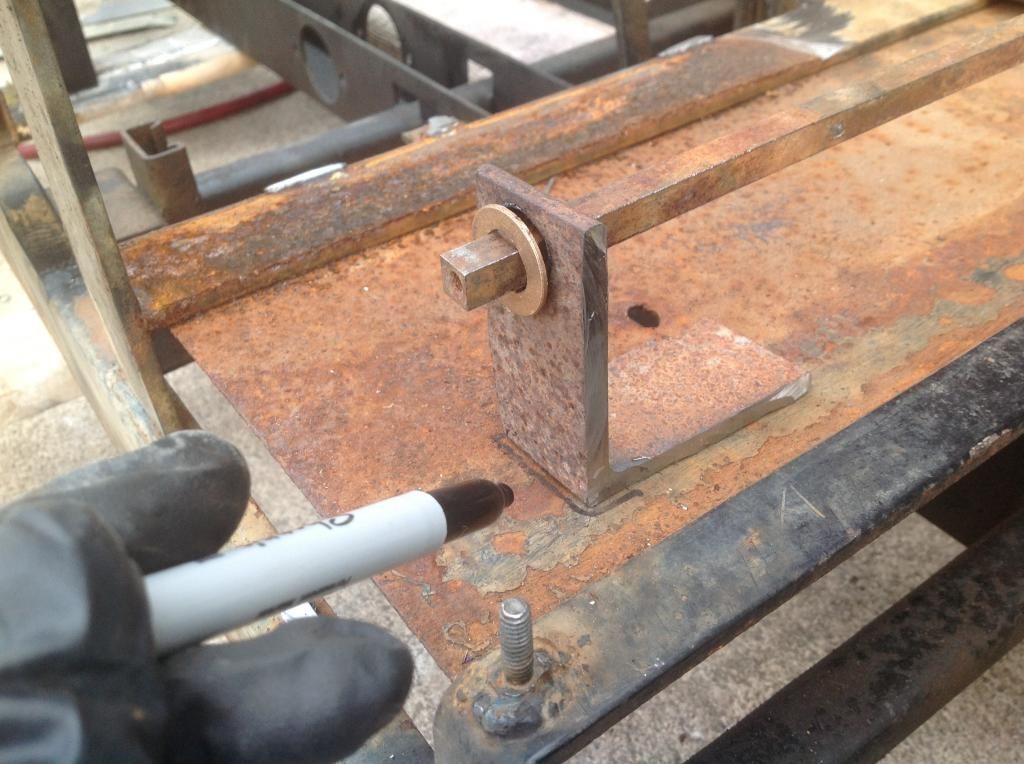
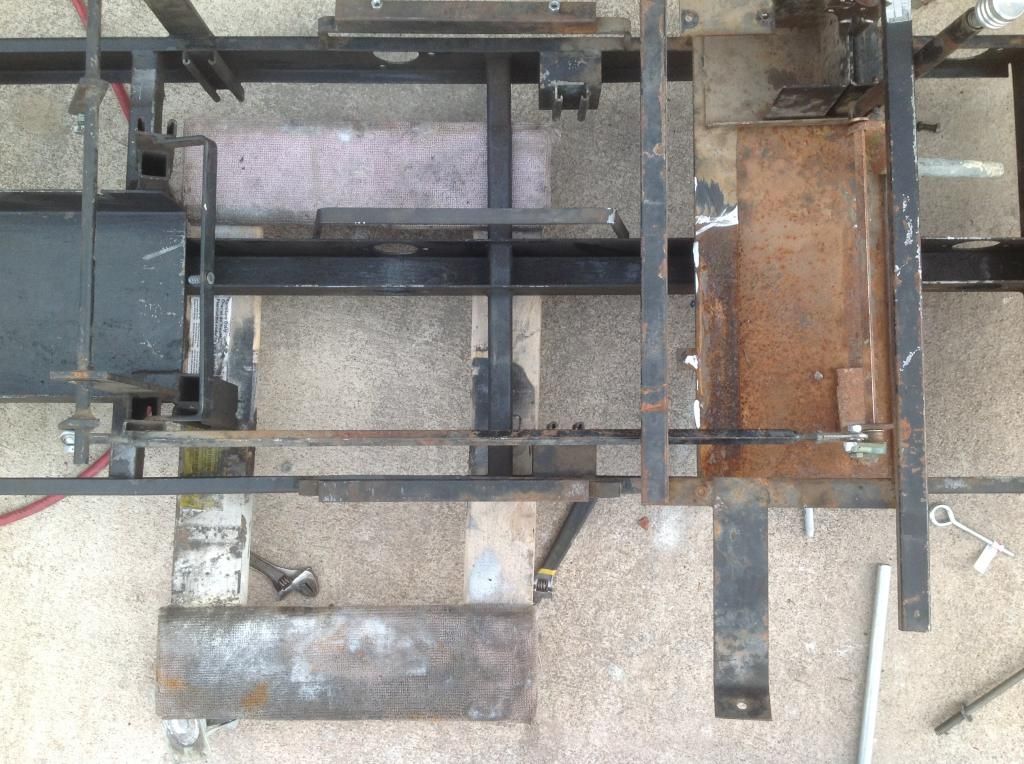
Things I've done so far: frame out, sandblast and respray, split shift set up, transmission bracing, plastic welded multiple body holes, bearings, flange seals, upgraded lights, made: diamond plate skid plate, winch mount/bumper/future instrument panel, resprayed roll cage, replaced seats, upgraded tires and wheels.
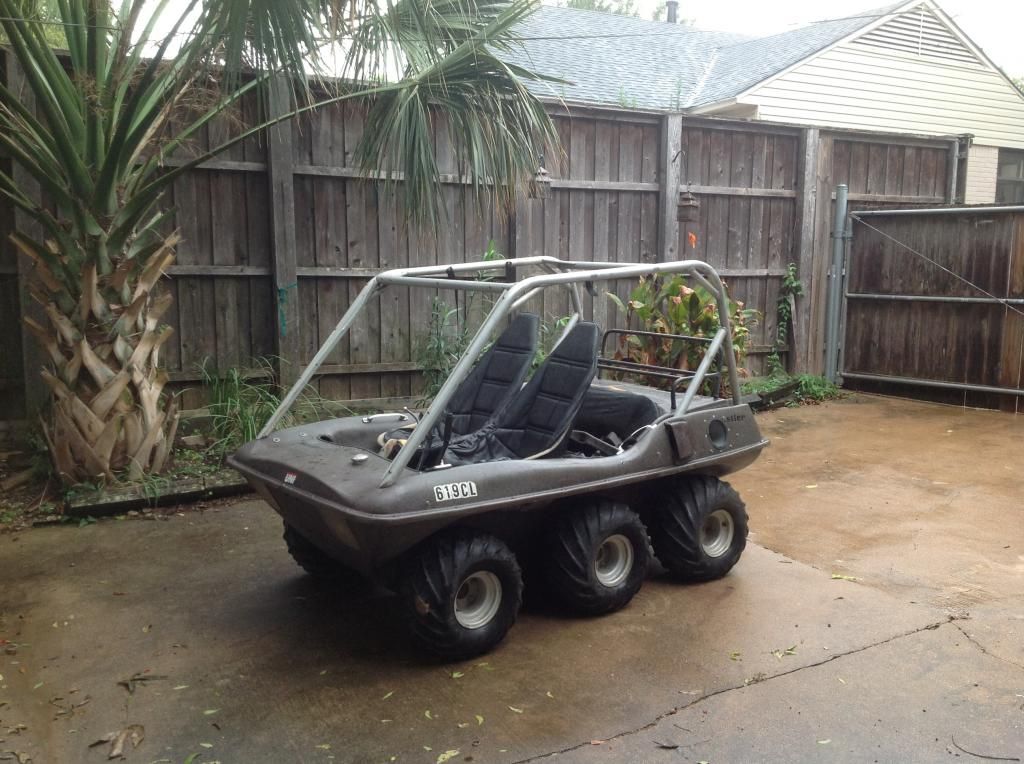
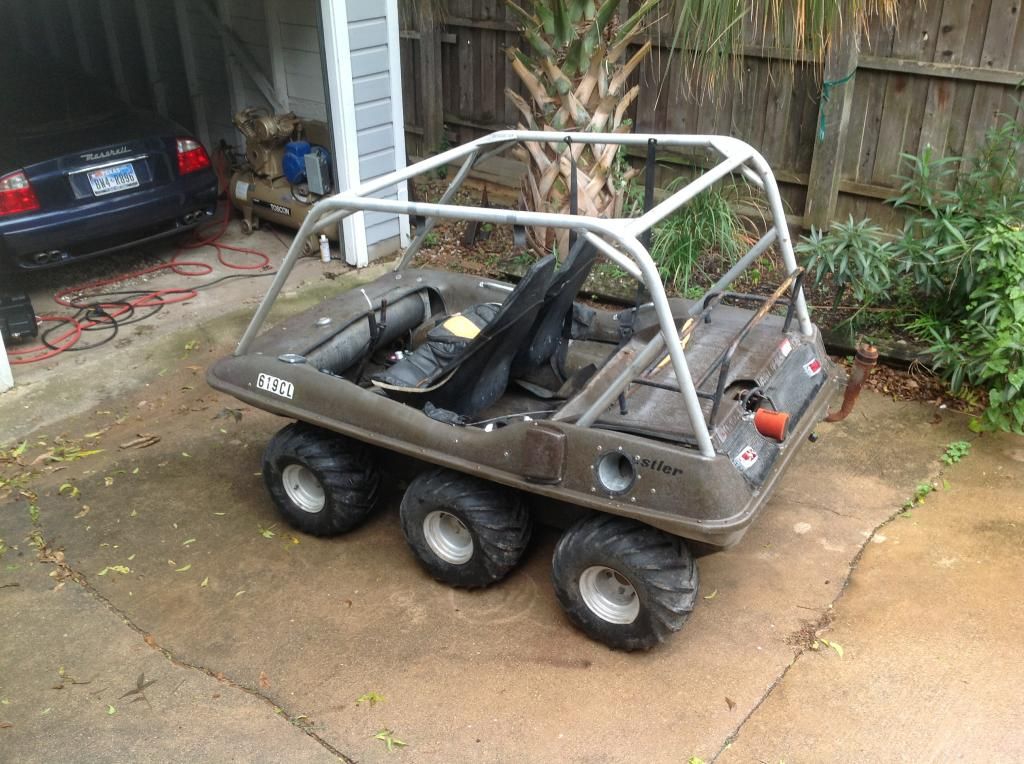
Before
After
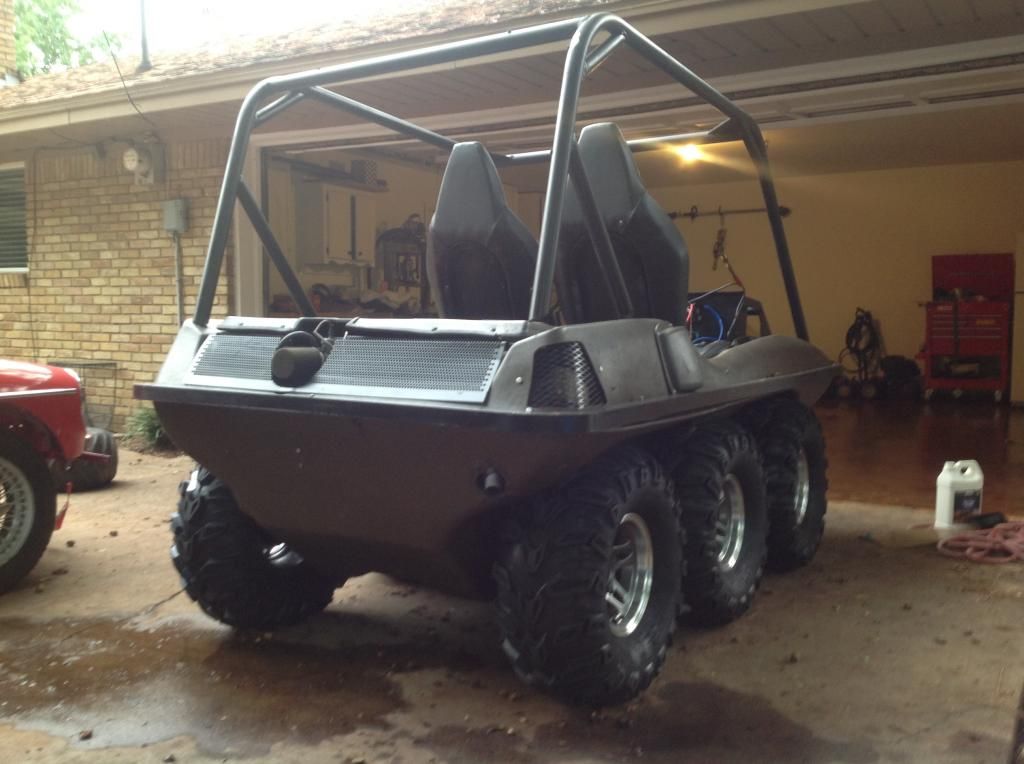
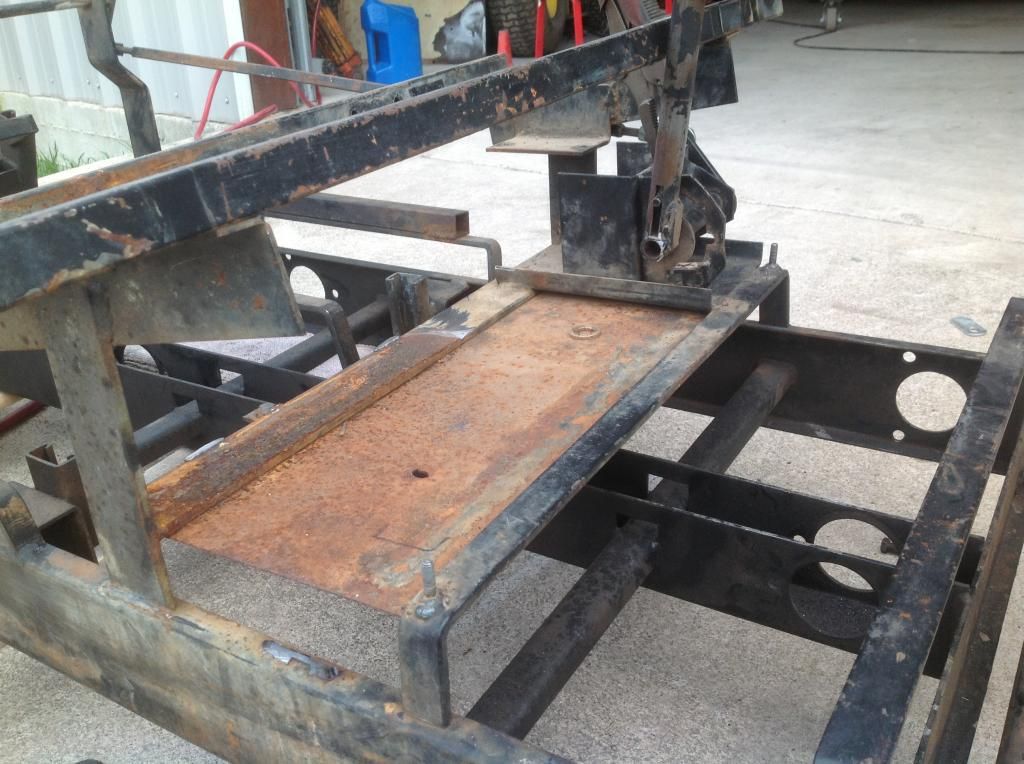
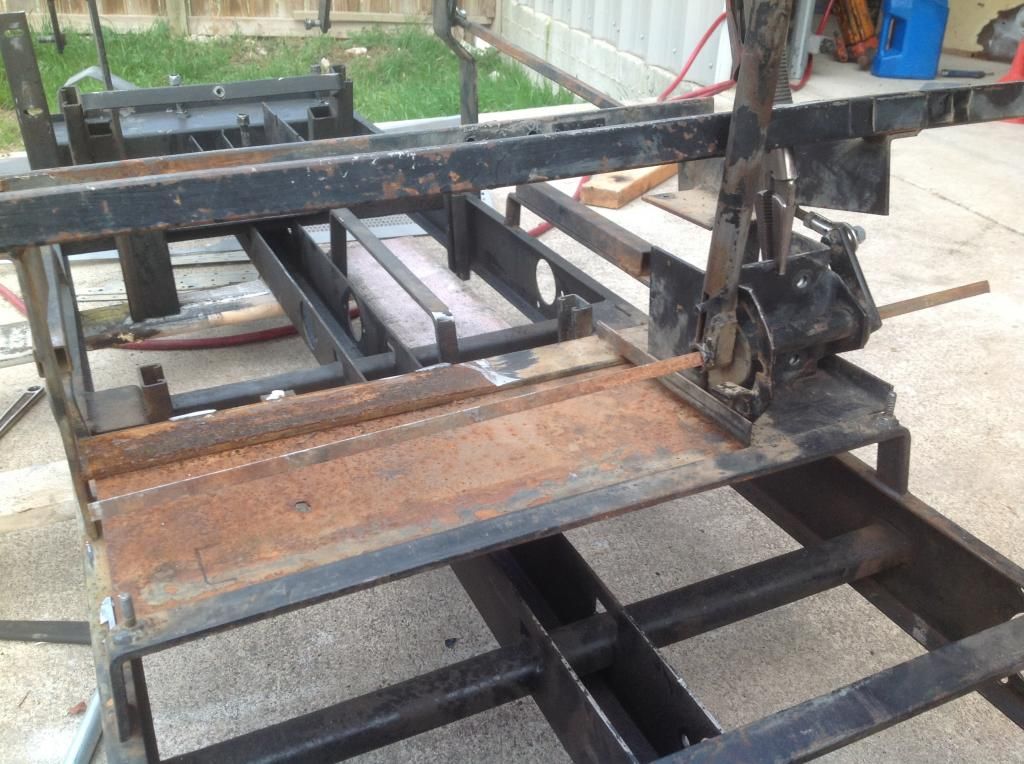
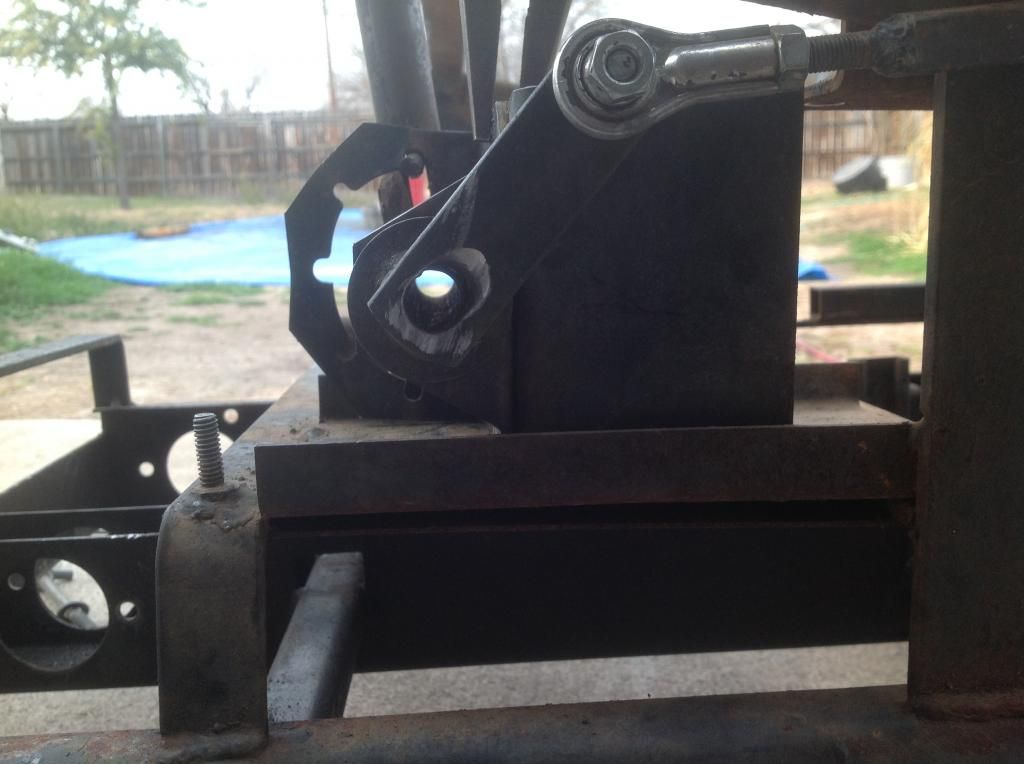
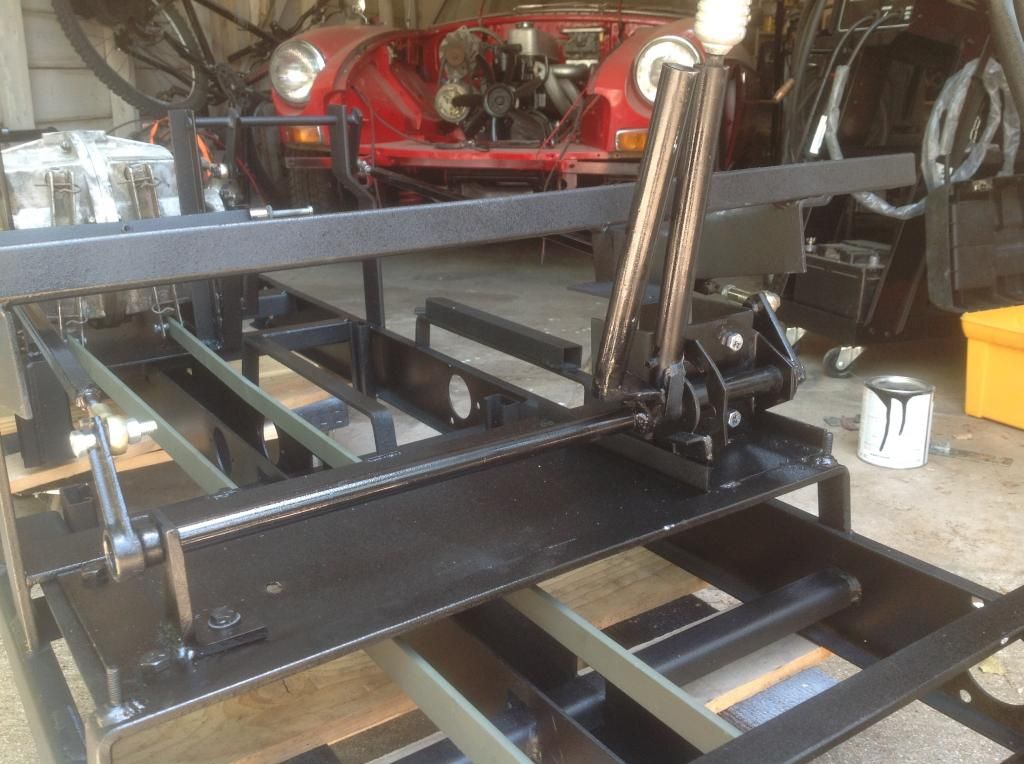
I'm going to start by just posting a couple of pics of the Hustler as I received it, and a few of where its at now. Then I'll follow up some posts getting into the details with various stages of completion. I still have a ways to go... gotta wire everything back up, pry the trans apart to fix a output shaft play issue (parts for that are on the way), and throw my new chains on, but I can at least see the light at the end of the tunnel.
Things I've done so far: frame out, sandblast and respray, split shift set up, transmission bracing, plastic welded multiple body holes, bearings, flange seals, upgraded lights, made: diamond plate skid plate, winch mount/bumper/future instrument panel, resprayed roll cage, replaced seats, upgraded tires and wheels.
Before
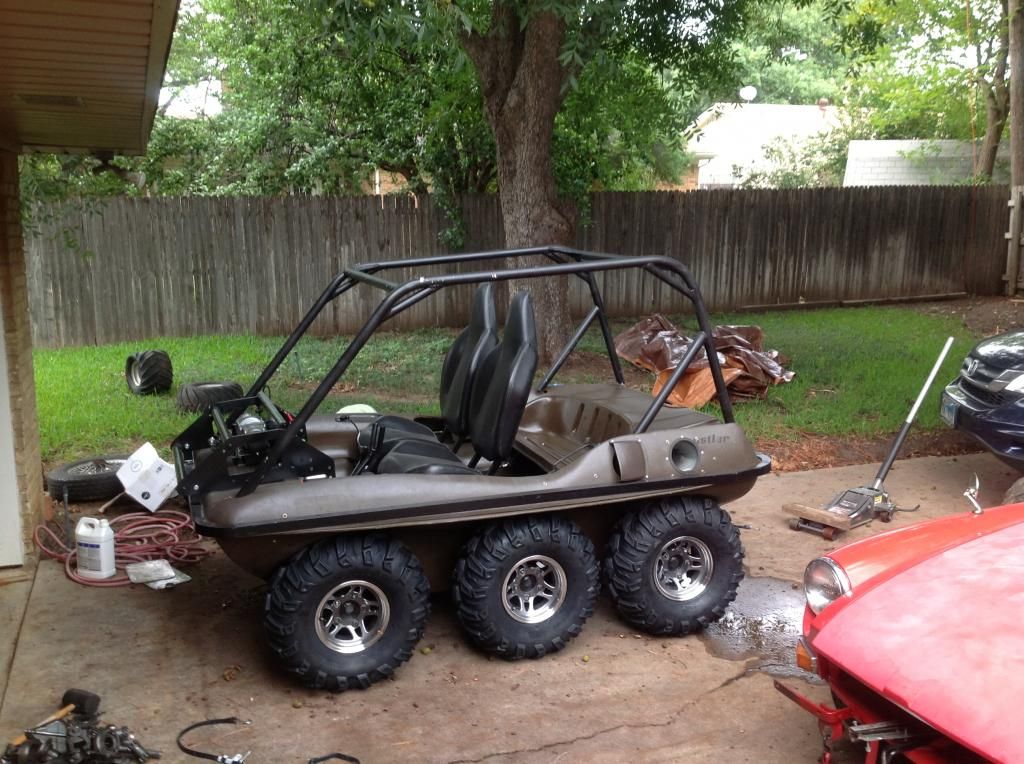
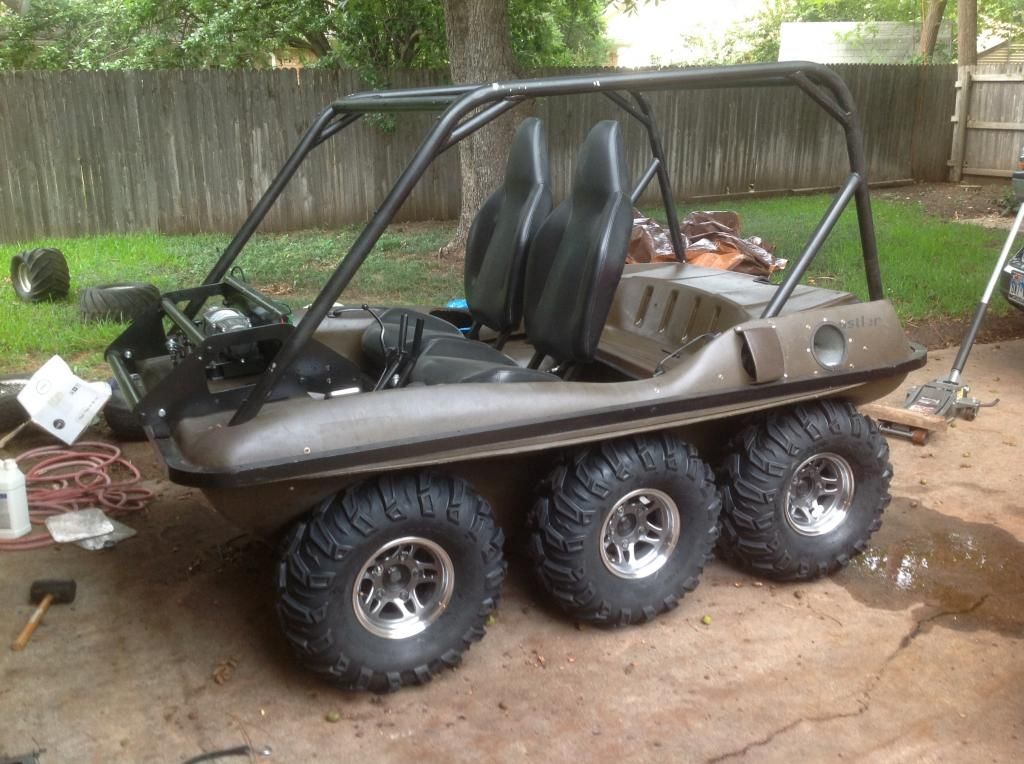
After


Comment