


yes please do, im not sure how that will allow me to run a HDI axel in the front?But thanks for helping good buddy! cant wait to see the drawing. guess i had better go get that frame out of there so i can do some work on it! And they quit putting the tube in there for the HDi machines.... different bearing extensions too!
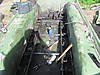
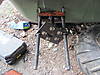
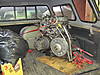
Fenders up
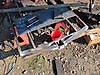
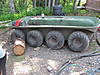
other side up
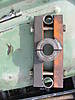
That didnt turn out too bad! Im sure ill have to do it again before i put it all back together, i keep on leaning on them and putting heavy stuff on it!
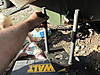
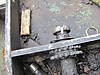
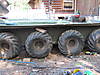
TIRE RUB OF DOOM:
more rub... i see daylight!
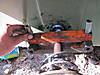
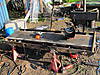
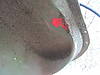
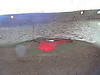
there is a hole in the argo dear friends dear friends with what shall i mend it dear friends dear friends..... what is the red stuff? silicone or fiber glass???? HMMM
 Reply With Quote