Announcement

Collapse
No announcement yet.

Max II Engine Replacement

Collapse
X
Collapse
  •  
  • Engine Installation

  • Max II Engine Replacement


    Place the motor back in the Max and slide the belt back on. Then position the motor over the mounts and insert the four bolts and washers. Leave them loose for now so that you can adjust the position of the motor.


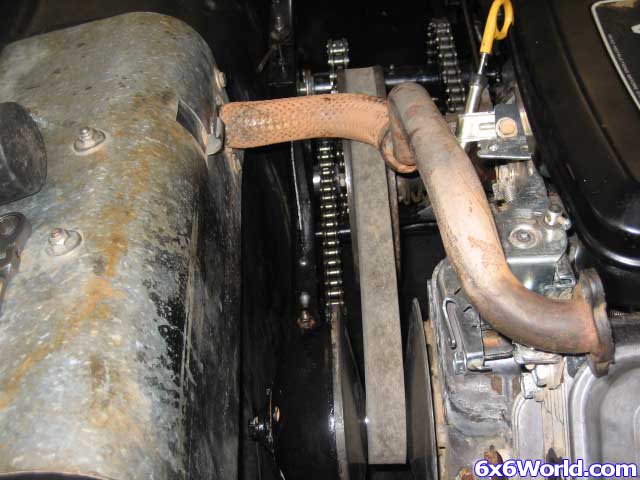
    Position the motor so that the belt runs straight and true. Then slide the motor towards the back of the Max to get the belt tight.


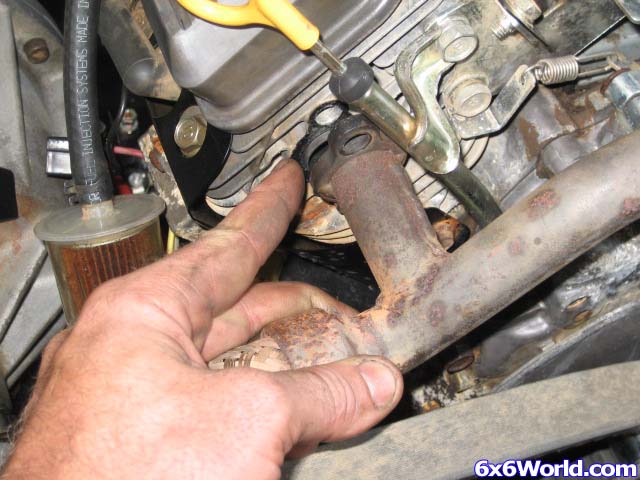
    Place the exhaust gaskets between the exhaust and the engine and bolt the exhaust back into place.


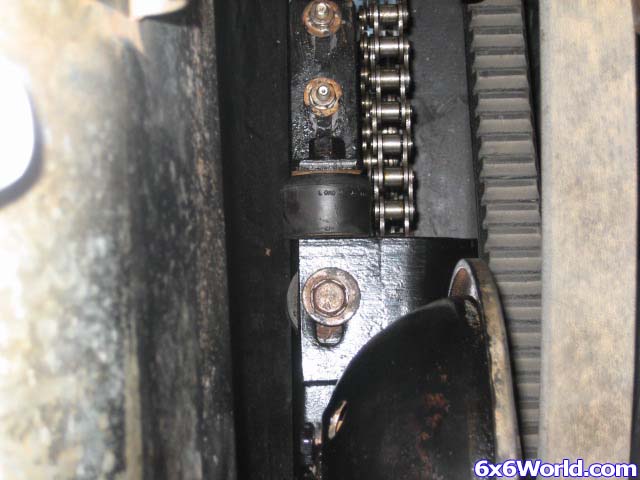
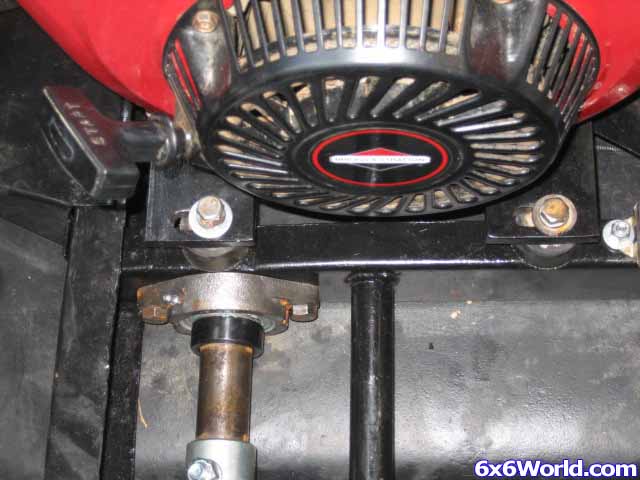
    Tighten the motor mount bolts while keeping tension on the belt. Then slide the stop on the left side of the frame towards the rear until it touches the motor mount. (See the photo below) This helps to keep the belt from pulling that side of the motor forward over time.


    If you missed it earlier, reconnect the ground strap to the motor.


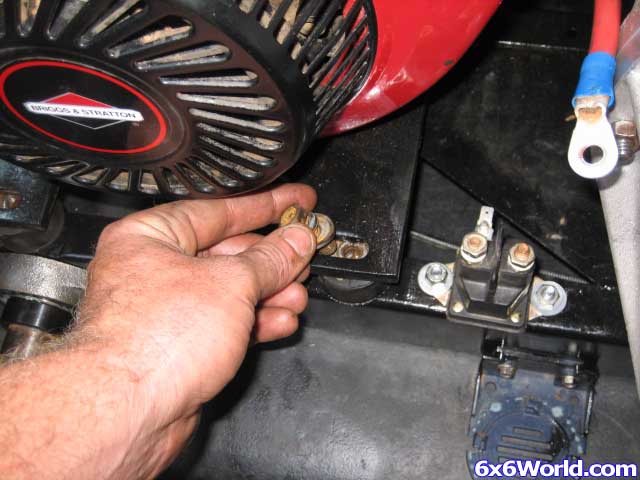
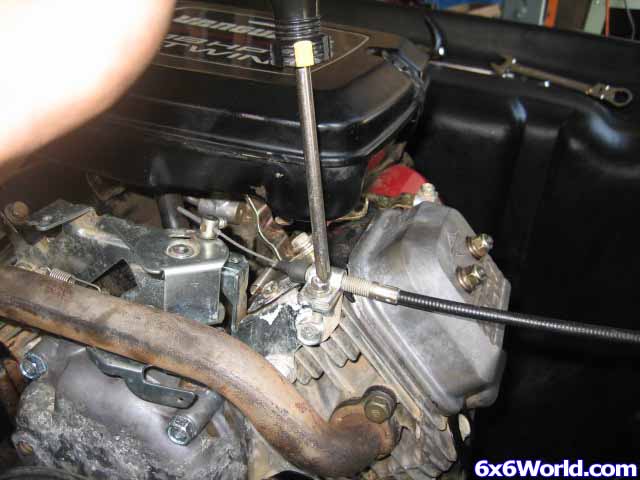
    Reconnect the fuel line, starter solenoid wire, and wiring harness plug. Then reconnect the throttle and choke cables.


    Happy 6x6ing!
     
      Posting comments is disabled.

    article_tags

    Collapse

    Latest Articles

    Collapse

    • Pressure lubricating a Max throttle cable
      by MAX IV Mark
      Every time I go to start my Max in winter the throttle cable is frozen. I have a heated throttle cable but it takes about 20 min idling to get it free. I figured a good way to lube, purge the water and keep it from freezing.

      I took a condiment squeeze bottle I had laying around and filled it with antifreeze. You could put your own mixture in it if you are worried about using antifreeze.
      Removed the engine cover to get at the cable end. This engine is the 29 Kawasaki...
      01-01-2014, 12:32 AM
    • Max II Engine Replacement
      by Mike
      Max II Engine Replacement

      This article will act as a basic guide for removing and replacing the engine in a Max II AATV. Before you begin be sure that you disconnect the battery under the seat. Note: Click thumbnails to view larger photos
      Start by disconnecting the ground strap and the throttle and choke cables at the motor. Then disconnect the wire at the starter solenoid, the electrical connector at the front of the engine, and the fuel line (1,2,and 3 respectively in th...
      02-11-2010, 10:54 PM
    • Custom exhaust for your Briggs Vanguard!
      by micmac
      Well I finished my exhaust tonight and here is the info on what I did:

      the pipe I ordered from this site
      Exhaust Header U-weld Kit - BMI Karts and Supplies - Home With 2 of these kits I had all the bends I needed to make my exhaust in the size I wanted. The price was decent for mandrel bent tubing from what I've seen. I made the pipes 16 inches of 1 " O.D. pipe. I did this based on what the mower racing guys recommend. Actually they recommend 12 to 15 inches but 16 worked e...
      02-11-2010, 10:28 PM
    • Small Engine Maintenance
      by Mike
      Many 6x6 ATVs utilize small engines for power due to their availability, price, and reliablility. These engines can provide a lifetime of trouble free use if you properly maintain them. Of course anytime that you subject them to abrasive environments you will have to maintain them more frequently and if you happen to be as unfortunate as my Max II in this photo it and submerge the motor under water you should always change the oil and filters. Here I will list the recommended maintenance sched...
      02-11-2010, 10:19 PM
    Working...
    X