 Tweet
Tweet
This article will walk you through the steps necessary to recover/restore a Max II seat. While some parts of this article are specific to a Max II, it will also apply to most other machines as well.
Just a quick note before we start. I replaced every part of my seat but you can of course reuse as much or as little of your original seat that you want. Also, the materials that I chose to use vary from the factory application but I thought they would be better suited for my needs.
Materials Needed:
· Vinyl Fabric for the seat cover. This is really your personal preference but try to keep durability in mind.
· Foam Padding – I used a dense foam padding that is often found in gun carrying cases. It is two inches thick.
· 7 each of the following: tee nuts, bolts, and lock washers (4 for the bottom and 3 for the back)
· 1/2 sheet of plywood
· 1 can of 3M Spray Adhesive
· Staples
Let’s Begin!
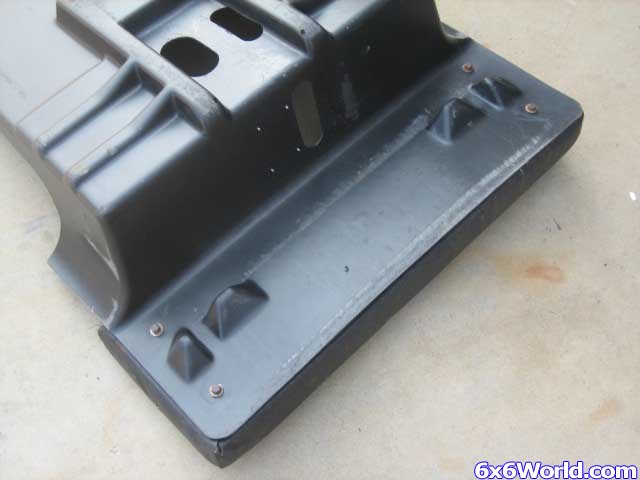
To start with, remove the seat and floorboard from the machine. Flip it over and remove the four bolts on the bottom shown in the picture below.
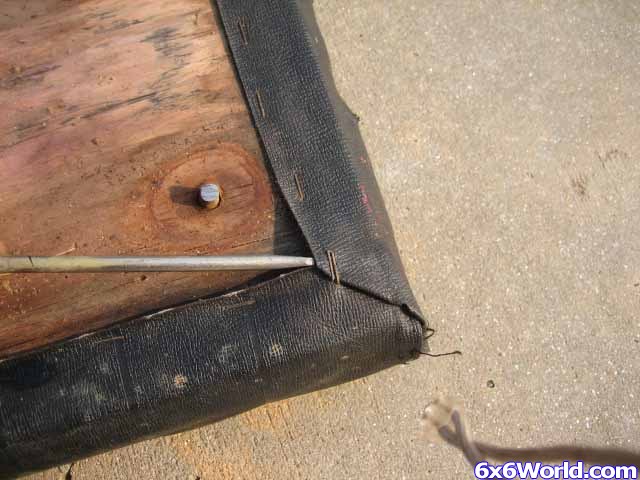
TIP: If your machine is older, you may not be able to back the bolts out with a wrench. The wood will sometimes be rotten allowing the tee nut to spin. I had this happen on mine so I just pulled the bolts away from the plastic with a pair of pliers and then I cut the head of the bolt off with a sawzall.
Once the seat is removed from the floorboard, flip it over and remove the staples being careful not to ruin the material. I found it helpful to first use a screwdriver to pull a few of the staples up. Then a good pair of wire cutters could grip the staples and pull them right out. Once you get going the screwdriver is no longer necessary. I’m sure there is a staple remover that would work better but I didn’t have access to one. Note: Be sure to keep all of the old materials because we will be using them later.
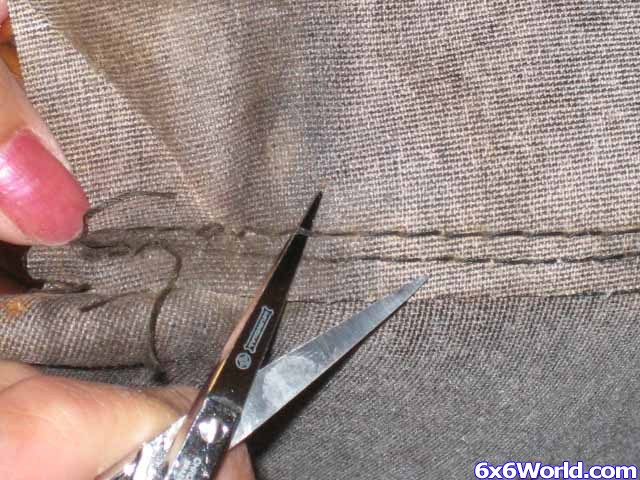
When all of the staples are removed, pull the material off the foam and turn it inside out. Remove the threads with scissors (or a seam ripper if you have one) so that you have three separate pieces of material. (Note my beautiful nails)
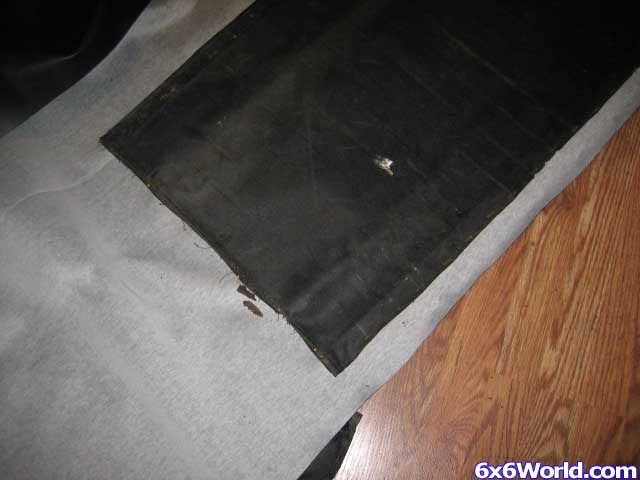
Now lay out your new material face down on the floor. Lay your old material on top of that and use it as a template to trace around. Cut the new material out.
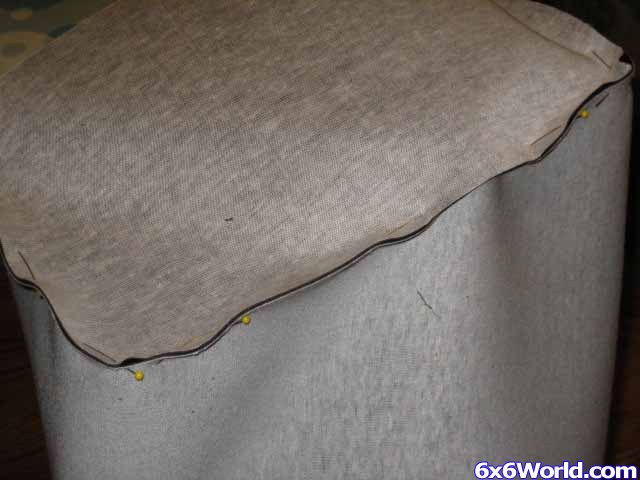
Take the material and pin the ends together inside out. This is going to keep it together while you sew it.
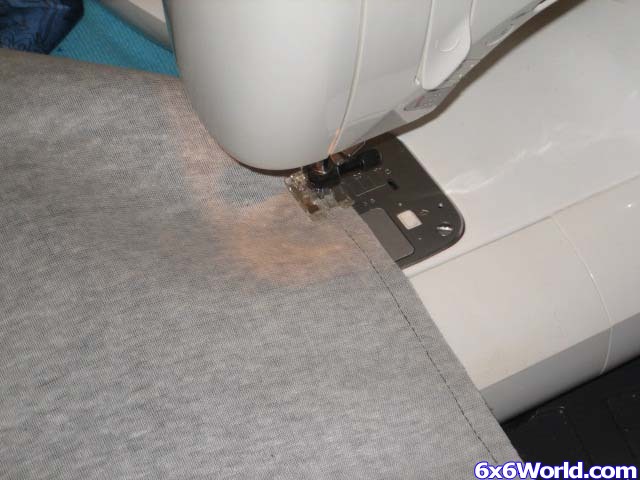
Sew from one end to the next and then repeat this again so that you have a double stitch. Do this on both ends
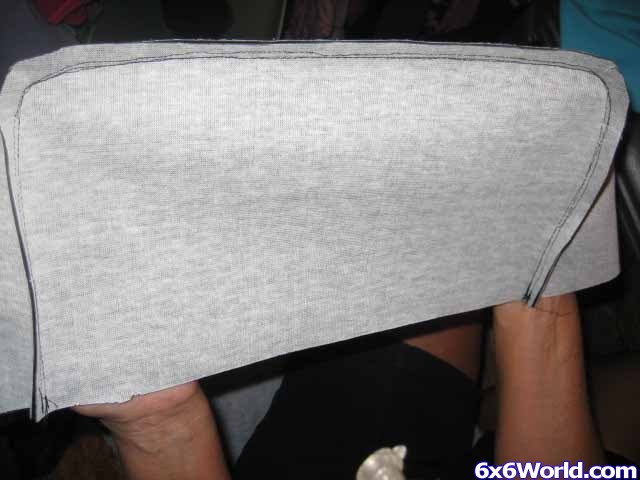
Congratulations, you have now completed your new seat cover and it is ready to be installed!
 . I think everything is going to work out good, but there is still some testing to do. I ran into a couple little issues, but nothing that can't be dealt with.
Sorry about the length of the vids, it was hard to keep the time down on a project like this. I have only uploaded the first part so far, but PT-2 will be edited into this post tomorrow if possible.
I have to say here that I'm NOT SURE if this will work with ALL Conquests. I have noted that some ...
. I think everything is going to work out good, but there is still some testing to do. I ran into a couple little issues, but nothing that can't be dealt with.
Sorry about the length of the vids, it was hard to keep the time down on a project like this. I have only uploaded the first part so far, but PT-2 will be edited into this post tomorrow if possible.
I have to say here that I'm NOT SURE if this will work with ALL Conquests. I have noted that some ...