 Tweet
Tweet
The skid plate is a full 1/4" thick HDPE that is in two pieces. I would have used one sheet, but it had to be cut for shipping. It turns out that two pieces was a bit easier. Its held on with 72 (or so) steel shank waterproof rivets that RI uses on their machines. I was dismayed that I couldn't get the poly to wrap up around the sides well enough to incorporate into the axle flanges. It's plenty strong, though. I'm just not entirely pleased with how it terminates so abruptly on the bottom.
The forming was done with a heat gun. It works tremendously well, as long as you're patient. There was a lot of force with jacks to bend the poly and hold it in place once it was good and mushy. It incorporates the rear trailer hitch, and it has two threaded drain plugs I've added since the pictures were taken. The first time I had it out (and many times since then) I've been forging through the brush and found that I suddenly stopped forward progress altogether. Each time, I was centered on a different large boulder. No cracking, thumping, creaking or anything. It just rides up it and stops. There's virtually no deformation in the body, either. I can jack up the entire machine with a floor jack right in the center of the body. It was quite a bit of work, but well worth it to keep the 'ol gal around for a few more years. There's no water around here yet, so I haven't had the opportunity to check for water-tightness.
I recommend it to anyone with a body that they're thinking about junking because of lower tub issues. The pics aren't great, but you get the idea. More pics in my gallery...
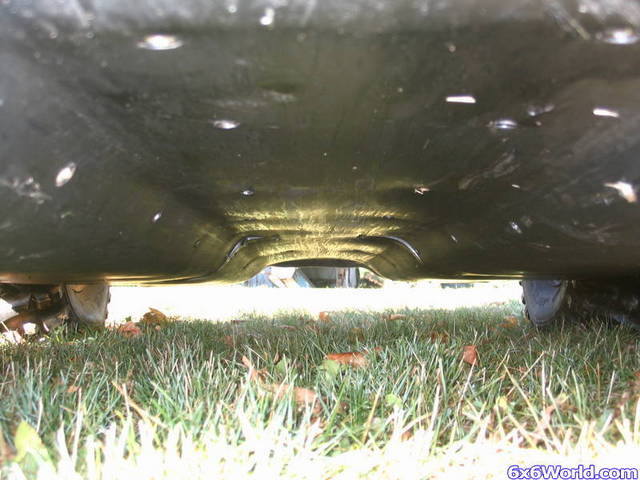
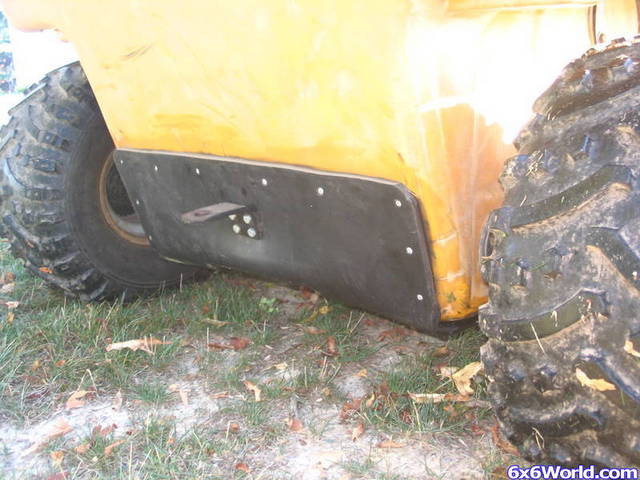
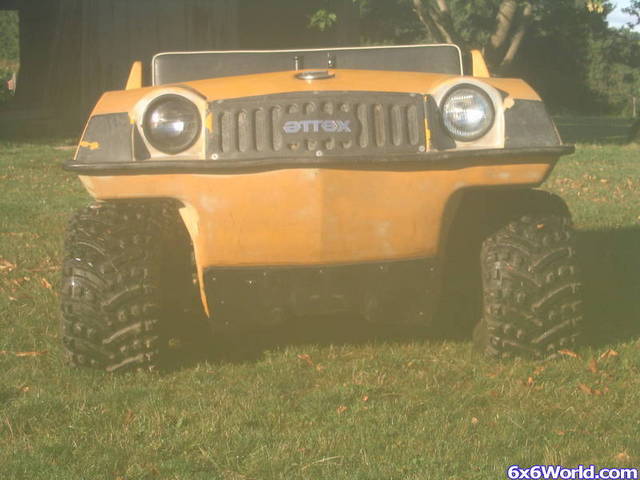
A 2x6 under the body and jacked up with 4 floor jacks in strategic places was the key to forming it to the bottom. Here are a couple more pics (also in the gallery) of how it came together. No laughing at my equipment.
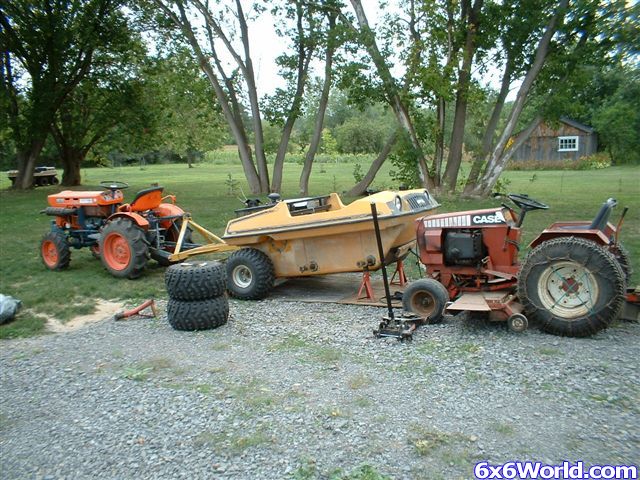
Hey, is that a RIM hiding back there???
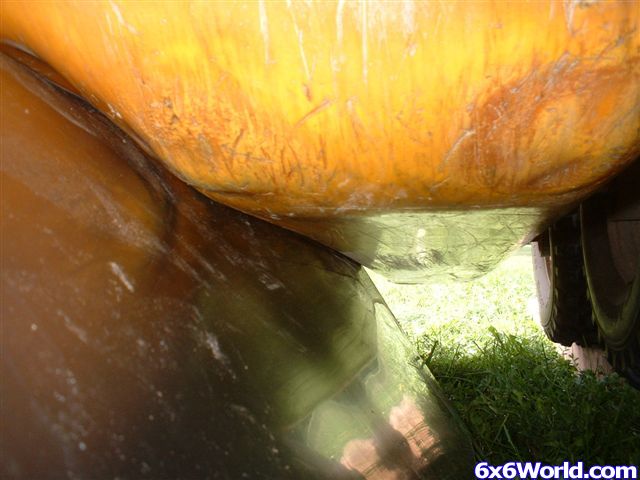
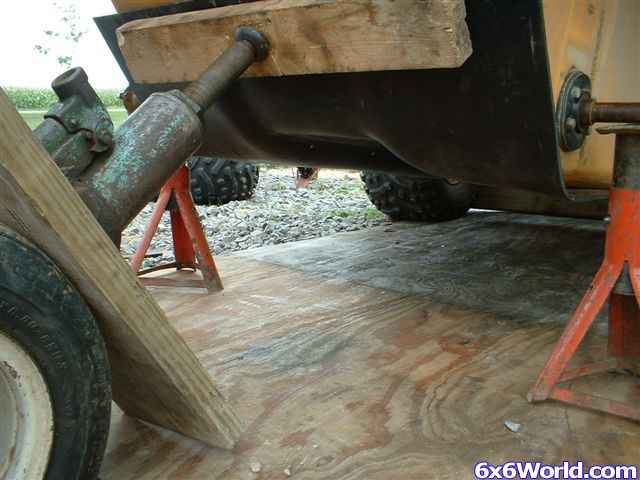
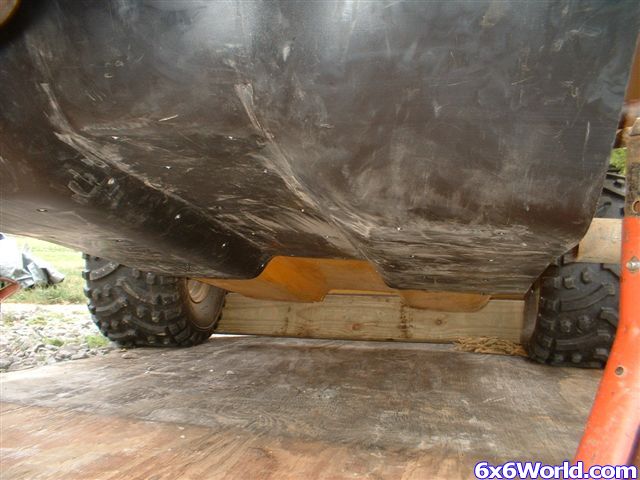
The poly is 1/4" thick... it's easier to bend it in more direction than once than aluminum, and it does slide over stuff pretty nicely. I really like the abrasion resistance, and the fact that you can't really "dent" it, unless you're doing something really nuts.
I wasn't sure what the outcome would be and how well it would conform, but I'm super pleased. The threaded drain plugs (no pic yet) really round it out. I hope I don't shear them off on something, but I don't do a lot of heavy rock-cruising, aside from the "practice rock". With this plate, I've tripled the amount of material on the bottom of the machine, with a weight gain of under 12 pounds. A solid trade-off, I think. The next one, if I do it, will be a bit cleaner. My arm still needs to heal from pulling the 72 steel-shank rivets, 99% of which were done on my back underneath the machine. No pneumatic riveter here, folks. (flexing and pointing at a full 6" diameter bicep...)

The HDPE is very maleable when you heat it up. You can actually bend it around with your hands if you have some nice heavy leather gloves on. Focusing the force with jacks and blocks of wood really make it go easy.
I had the whole thing riveted up before sealing it with black silicone. The goal of the silicone was mainly to keep debris from getting lodged in between the skid and the body, not for waterproof-ness. The rivets have a rubber seal on them to aid in the waterproof-ness, so it should be close to water tight with or without the silicone. The problem with silicone is that it doesn't adhere to either poly or ABS well at all. It'll peal right off. I left a small gap (<1/16") in between the poly and the ABS to get a bead of silicone to work in the gap. As it cures, it should take the shape of the gap, and be difficult to wrip out.
~m
 . I think everything is going to work out good, but there is still some testing to do. I ran into a couple little issues, but nothing that can't be dealt with.
Sorry about the length of the vids, it was hard to keep the time down on a project like this. I have only uploaded the first part so far, but PT-2 will be edited into this post tomorrow if possible.
I have to say here that I'm NOT SURE if this will work with ALL Conquests. I have noted that some ...
. I think everything is going to work out good, but there is still some testing to do. I ran into a couple little issues, but nothing that can't be dealt with.
Sorry about the length of the vids, it was hard to keep the time down on a project like this. I have only uploaded the first part so far, but PT-2 will be edited into this post tomorrow if possible.
I have to say here that I'm NOT SURE if this will work with ALL Conquests. I have noted that some ...