 Tweet
Tweet
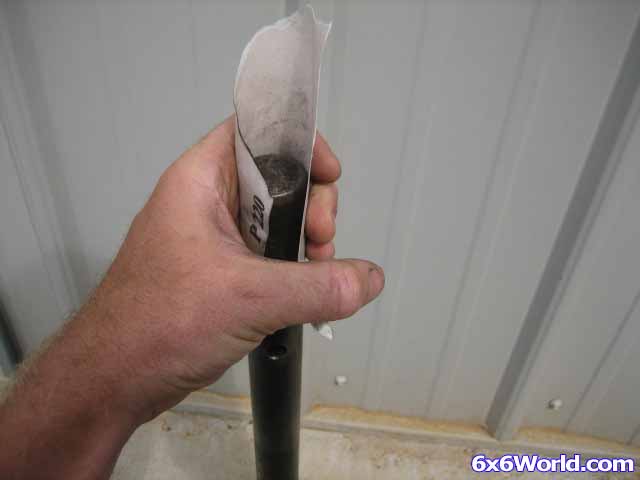
If you have a new axle it shouldn’t be a problem but if you are reinstalling an old axle you will want to take some sandpaper to it so that it is smooth. Pay close attention to the end of the axle and where the outer bearing is going to ride.
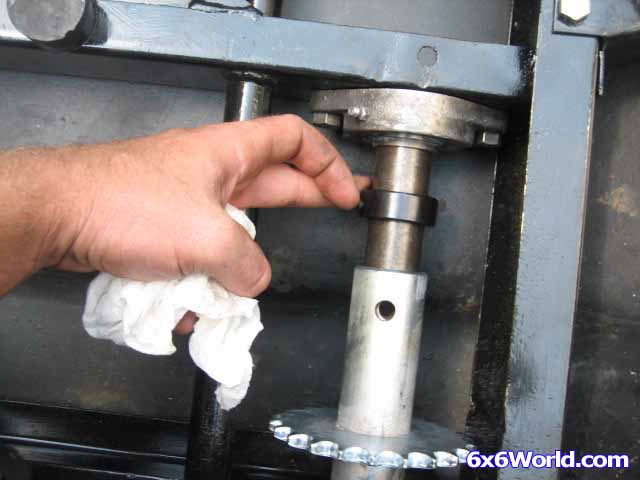
Now that the axle is clean, you can place the outer locking collar on the axle and then begin to slide the axle in the bearing. Note: Dan gave another great tip on the axle installation. He suggested covering the axle with anti seize. This allows for easy removal if you ever have to do it again. If you have ever had a sprocket that wouldn't come off you will appreciate this tip

On the inside of the tub slide the sprocket on the axle. Then place the inner locking collar on and finish sliding the axle into the inner bearing.
Put the bolt, washer, and nut back in the sprocket tube and tighten it down.
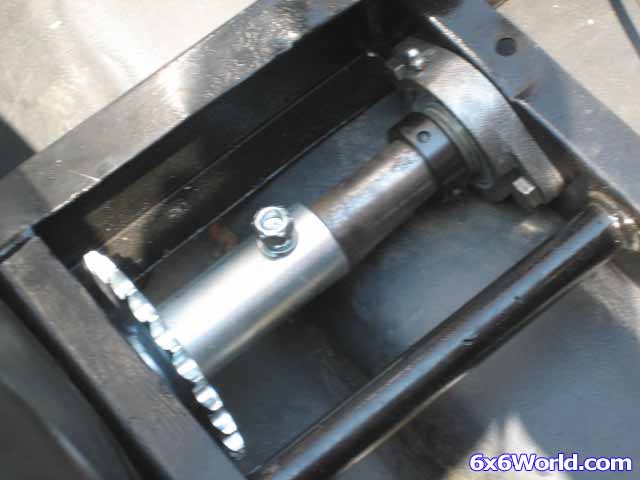
If you just removed one axle then you can put the chain back on to align the axle where it needs to be. If you have removed all of the axles then you may want to get them all to this stage before you lock the collars onto the bearings. This will allow you to slide the axles in or out to get proper chain placement and alignment.
You can actually move the axles in and out a good bit so if you are starting from scratch, as a rule of thumb just place your finger on the inside of the inner bearing and push the axle in until the end of the axle is flush with the inside edge of that bearing.
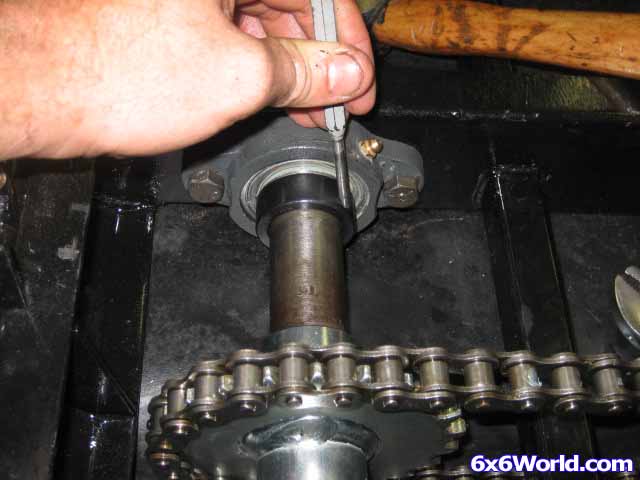
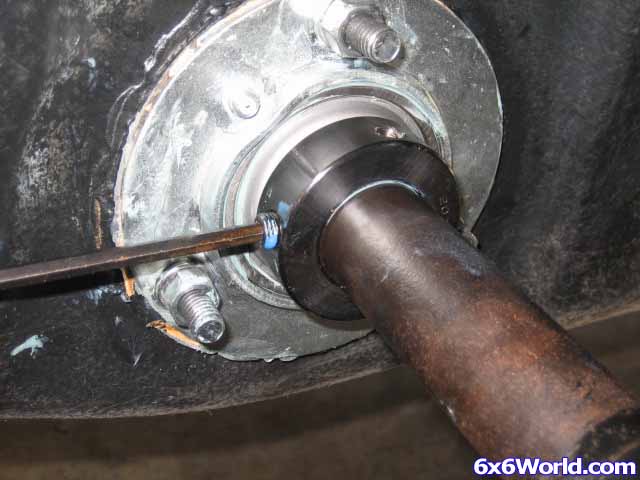
Now you can place the inner bearing collar up to the race and use a punch to rotate/lock it.
TIP: Be sure that you are not placing the punch in the hole with threads where the set screw goes.
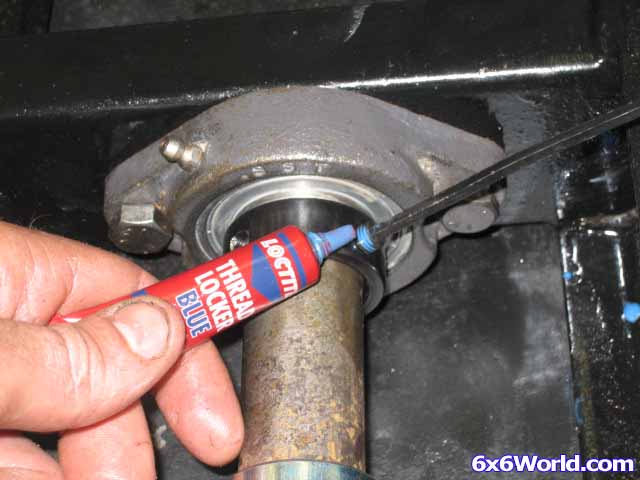
Place the set screw in the collar and apply some thread locker to keep it from backing out. Tighten the set screw.
Repeat the same procedure on the outer bearing’s locking collar. Note: You could put silicone around the outer locking collars to complete the watertight seal.
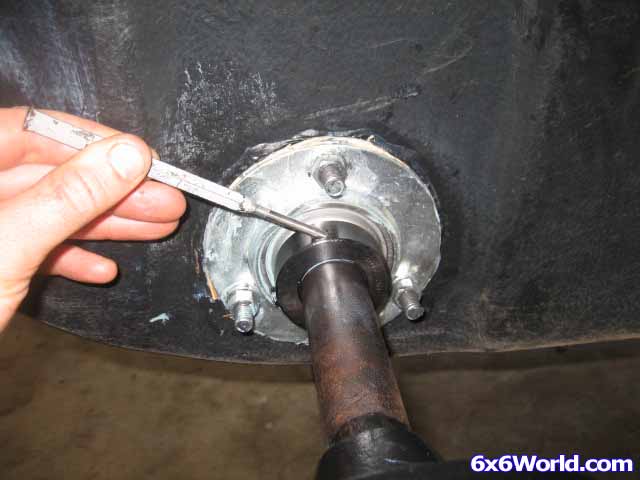
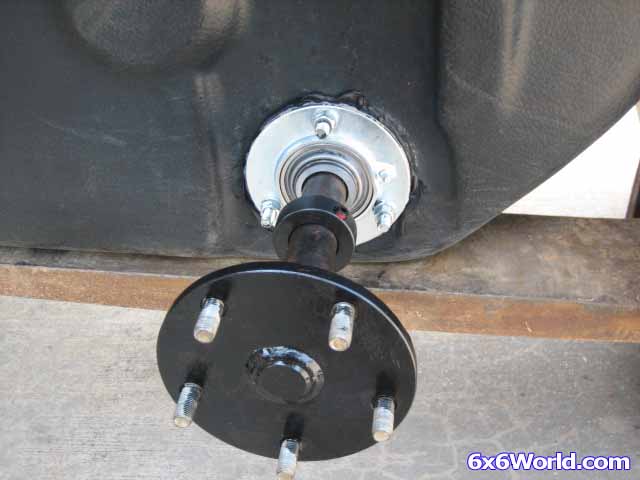
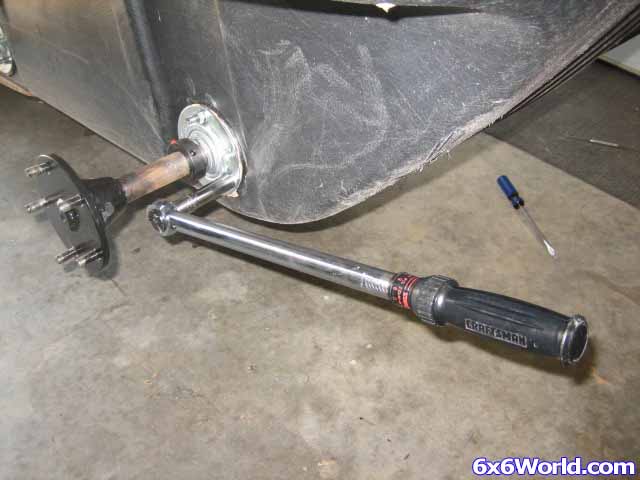
Now the axle is held in place and you can finish the job by torquing the flange bolts to 32 foot pounds. Be sure to torque your inner bearing flange bolts down too but unfortunately I do not have specific torque specs for those.
Grease all bearings again and replace the tires, wheels, and upper body. It is always a good idea to recheck the bolts again after an hour or two of use.
Using this procedure, I replaced all bearings, flanges, and sprockets in my Max II. After I got everything together I immediately proceeded to the pond to test for water tightness. I didn’t have even one drop of water in the tub after 10 minutes of use and still don't to this day! Plus it rolls and turns so much easier on land now too.
Happy 6 wheeling!
 . I think everything is going to work out good, but there is still some testing to do. I ran into a couple little issues, but nothing that can't be dealt with.
Sorry about the length of the vids, it was hard to keep the time down on a project like this. I have only uploaded the first part so far, but PT-2 will be edited into this post tomorrow if possible.
I have to say here that I'm NOT SURE if this will work with ALL Conquests. I have noted that some ...
. I think everything is going to work out good, but there is still some testing to do. I ran into a couple little issues, but nothing that can't be dealt with.
Sorry about the length of the vids, it was hard to keep the time down on a project like this. I have only uploaded the first part so far, but PT-2 will be edited into this post tomorrow if possible.
I have to say here that I'm NOT SURE if this will work with ALL Conquests. I have noted that some ...