 Tweet
Tweet
The angle iron body band will strengthen the structure of your machine and also protect it again collision damage. It can also work for an attachment point for a roll bar or other structure such as a cab.
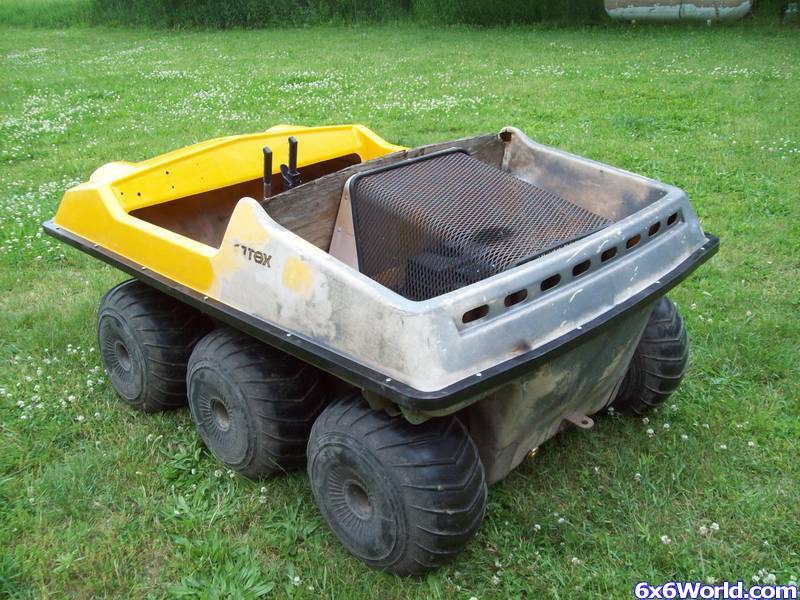
I made mine for an Attex st300d but it will work with any aatv with a body seam. Jiggers for example don’t have the seam. Some models like the Max II have more bends but it’s all done the same way. If your machine is still equipped with a rubber body band, you will have to remove it.
Tools needed
-angle grinder
-cut off wheel
-grinding wheel
-welder
-1/4"-20 x 1" bolts
-flat washer
-7/16 wrench and socket
-1/4" drill bit and drill
-paint
To start, I asked 6x6world members and found that 1 1/4" angle worked the best for my Attex. So I bought some 1 1/4" by 3/16" angle.
The most difficult part of the process is making the corners. It is more time consuming then anything though. With lots of cutting and grinding. I did each of my corners individually. I also did the front corners a little different then the rears. I’ll start with the rear corners.
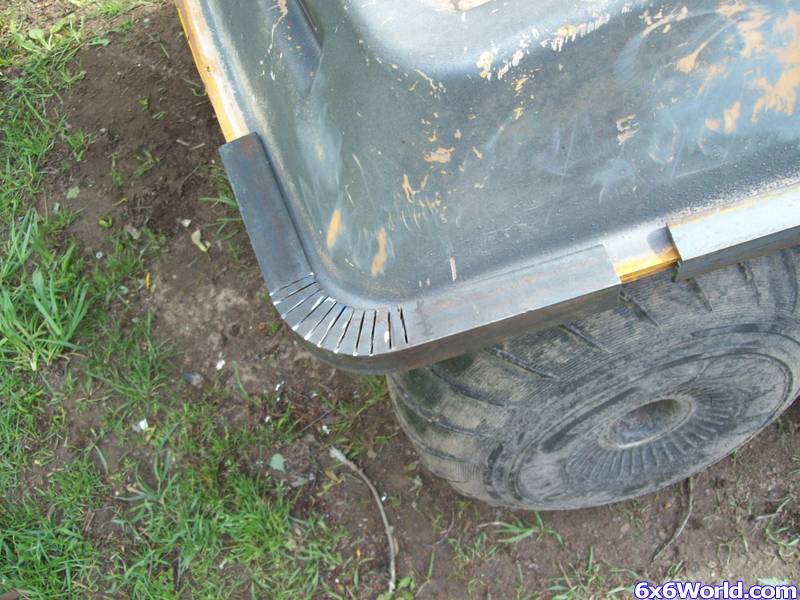
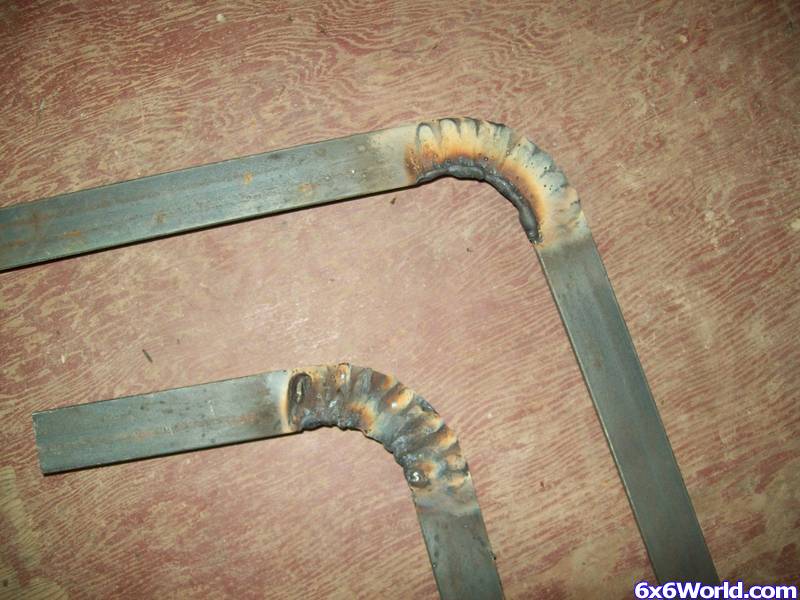
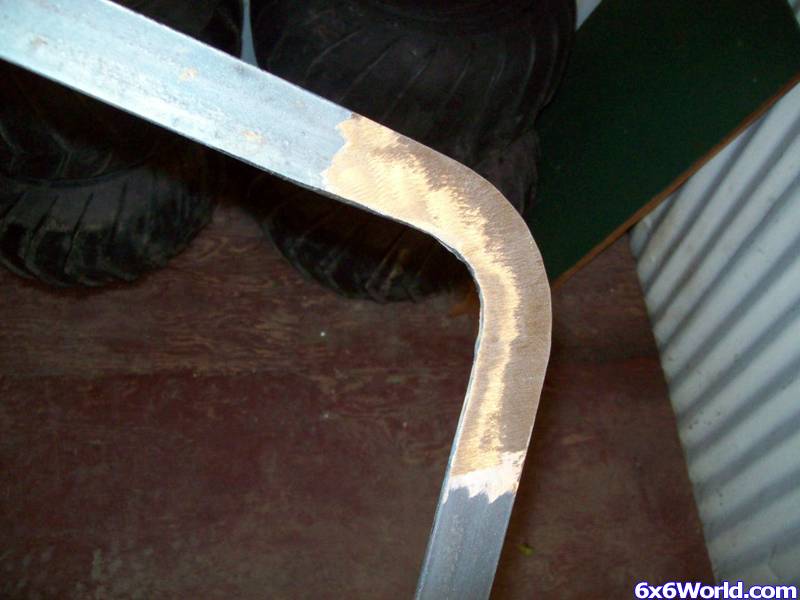
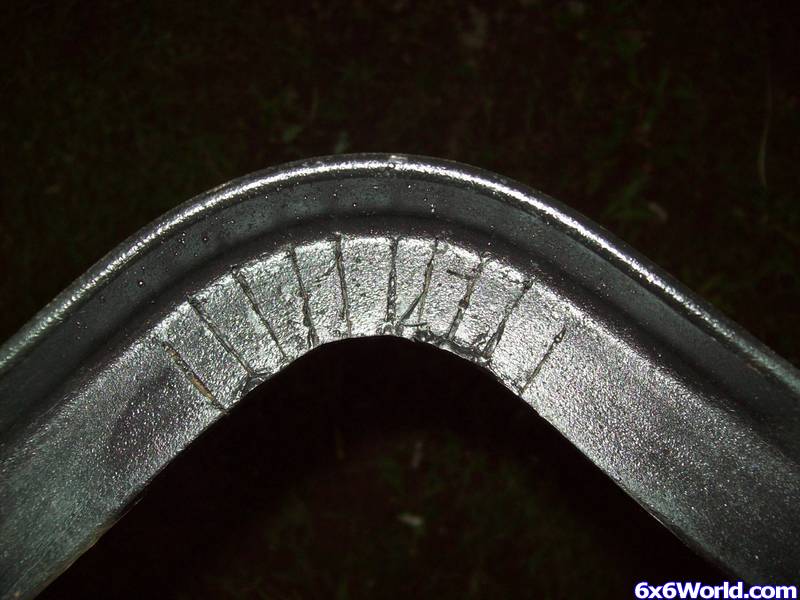
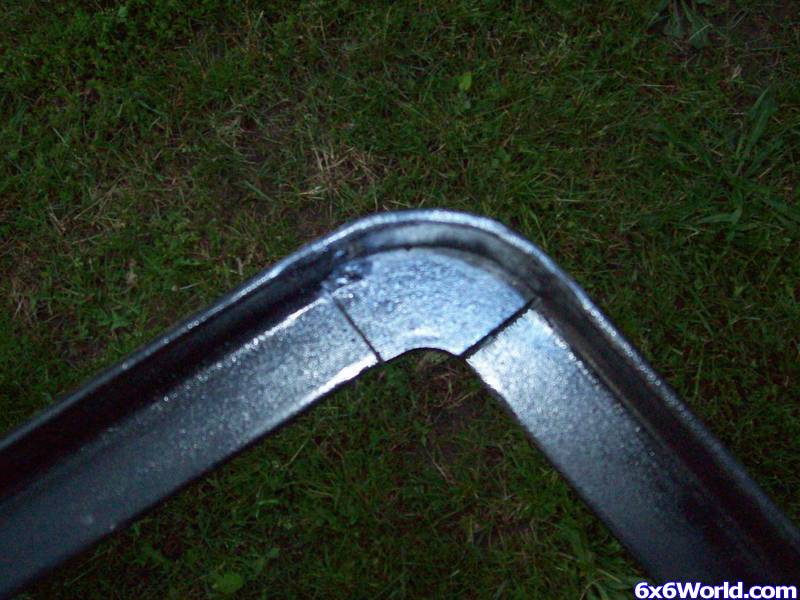
Go to your machine with a tape measure and measure the circumference of the corner. My Attex rear corners are about 6” so I cut 2 slots 6” a part. Then divide the rest in the number of cuts you want. The more cuts, the smoother the corner. I started out with 9 but I did add another cut to one side. When all your cuts are done, put it in a vise and bend it. This will start the arc. Once it’s bent, you will probably notice it’s not even close to the right arch. So go through all the same cuts again with the cut off wheel. Bend it again. If it’s starting to look close go put it on the machine and see how it looks and go from there. Repeat the cuts and bends until it looks right. When it looks good and fits good, weld up the slits. Then grind them smooth. If there is a low spot, I welded it and ground it again.
Testing the corner
Welded
These are low spots you need to reweld and grind.
The low spots are welded up and ready for a regrind.
Its ground down and looking good. Just add paint asap.
Here are the rear corners. I used longer piece of angle on the one but it doesn't matter.
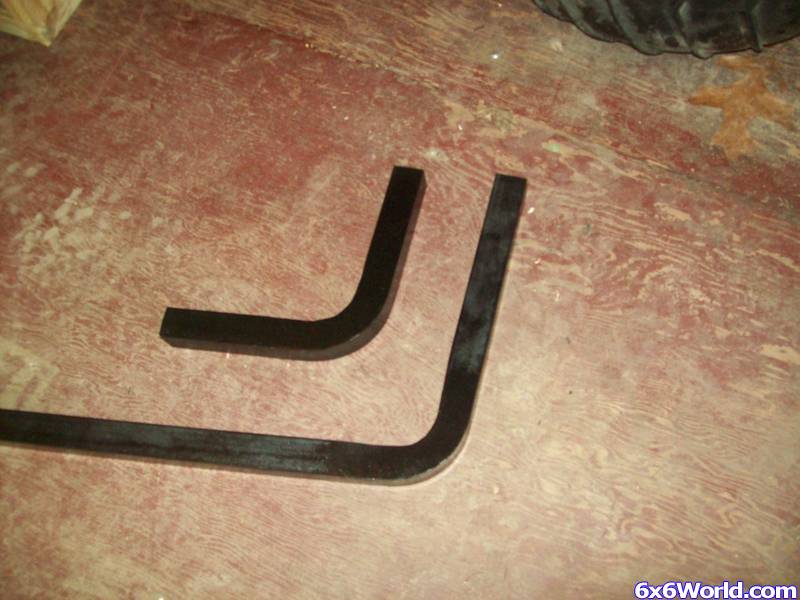
The bottom of the rear corners
Rear corner on the 6x6
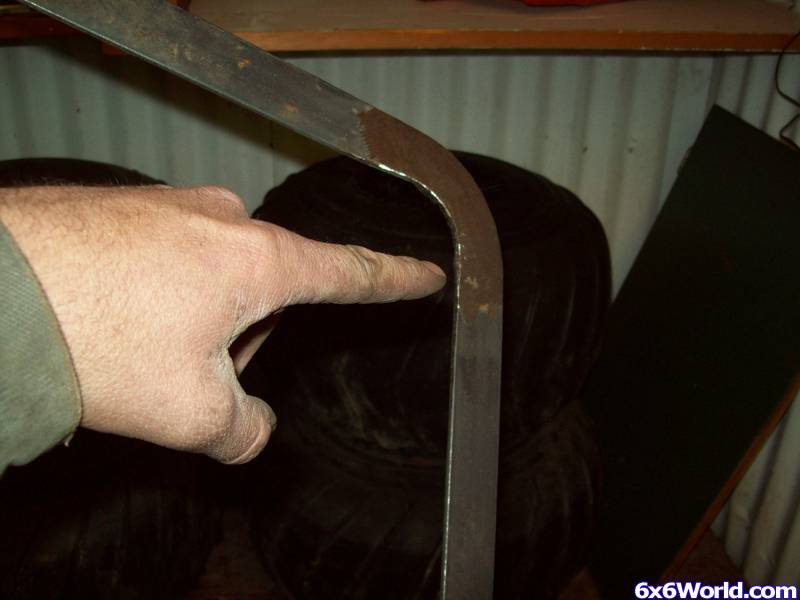
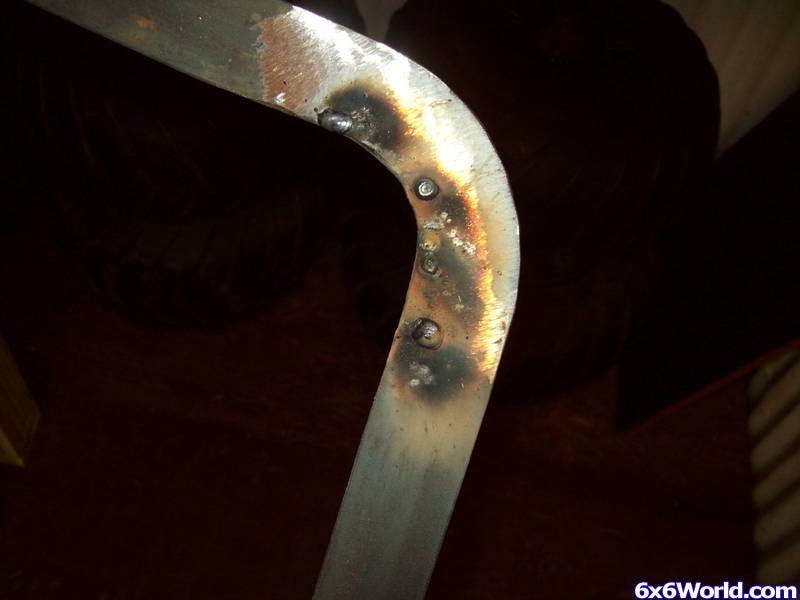
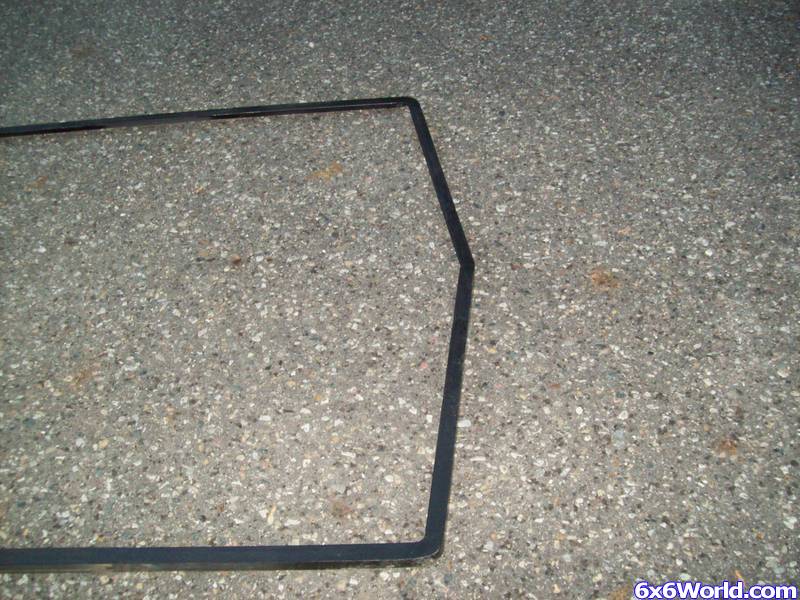
On the front corners, I did it a little different. I had some 2” pipe lying around so I cut a 1 ¼” section off it. Then I cut that in half. I welded a foot or so of angle on each side and bent it until it fit the angle of the front corner on the Attex. Now for the top piece of the corner I cut and ground down a piece of flat stock until it fit. Weld it up. Grind it. Weld up low spots. Grind it. I didn't take many pictures of it but here is the back side of it to help understand what I did.
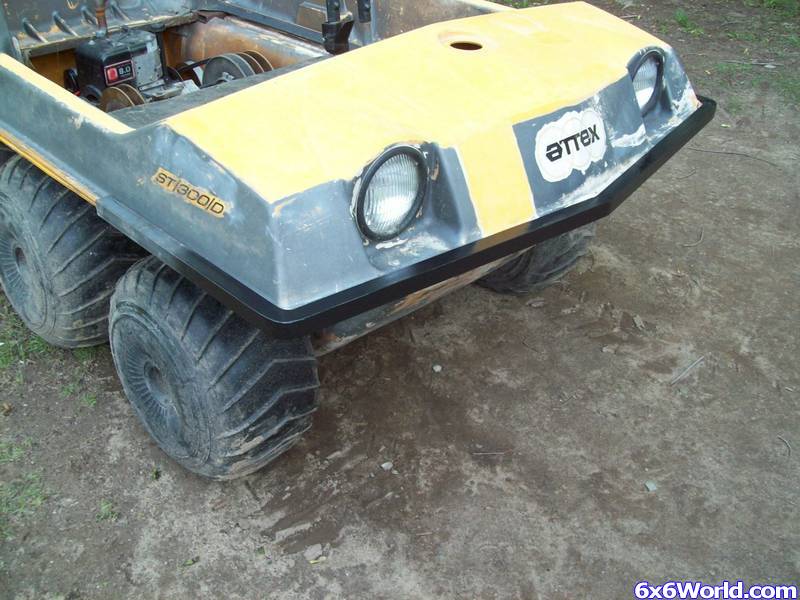
Once the front and rear corners are done you have to do the front nose corner. Its easy as it only has I slit. Another cut and test. You may have to re cut the same cut. Then test it.
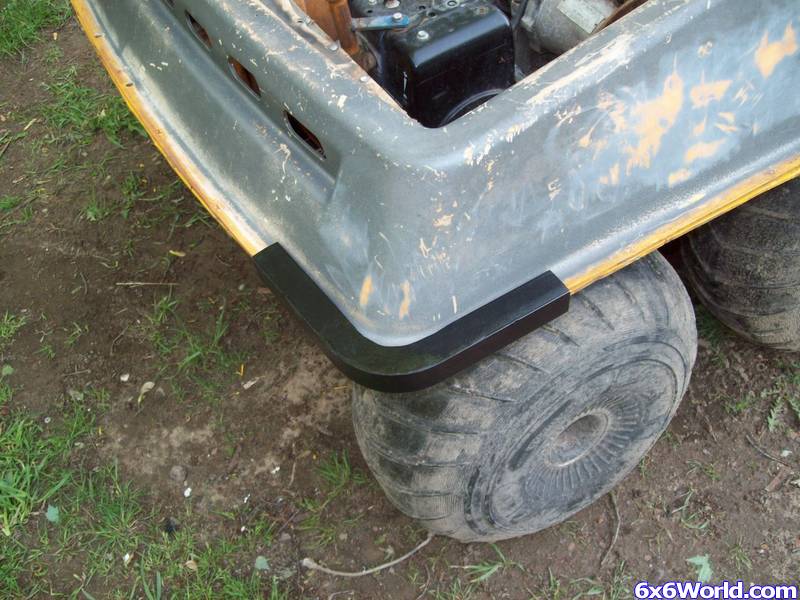
Here is a picture of the completed front.
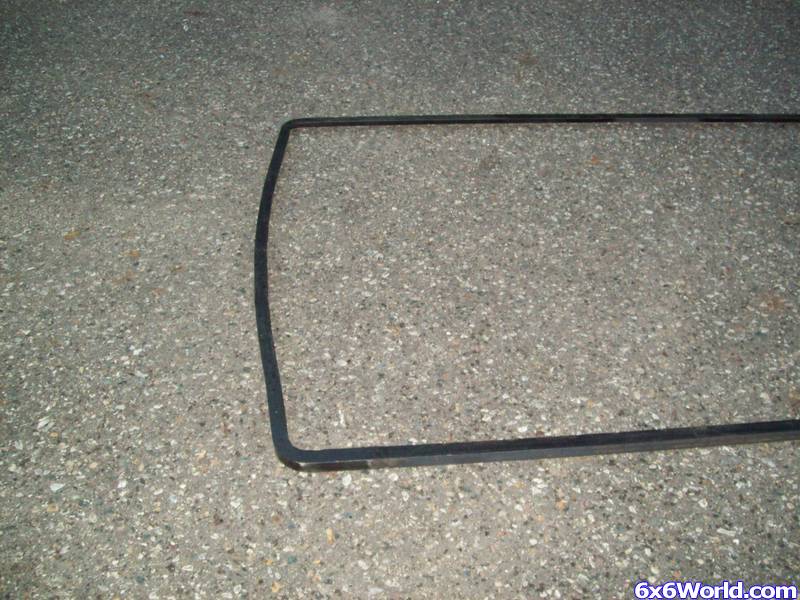
The rear has a slight arch to it also. Do that in the same method as the rear corners. On my machine the rear is warped from excessive heat. Both rear corners are hanging low. I did my rear section as if it was flat. I'm hoping it will hold the corners up.
This picture shows the back arch of the mostly complete angle iron body band.
Once all that is done lay the pieces on the machine. Measure the straight sections. Cut your angle to size. I tacked mine while it was on the machine but use caution when doing that as it can and will melt plastic. I laid a piece of flat stock on the side to help protect from splatter.
Tack it, and then get it off ASAP. I only did this for a good first shot fit. My Attex body isn’t the best anyways so I wasn’t too worried. If your machine is a nicer one, I would recommend to weld it off the machine and test it. If it’s not right, cut and re-weld. Its easier then ruining a good body. But I let you decide how to do that. When it’s all done and everything is welded. Give it a good coat of paint. Color of your choice of course.
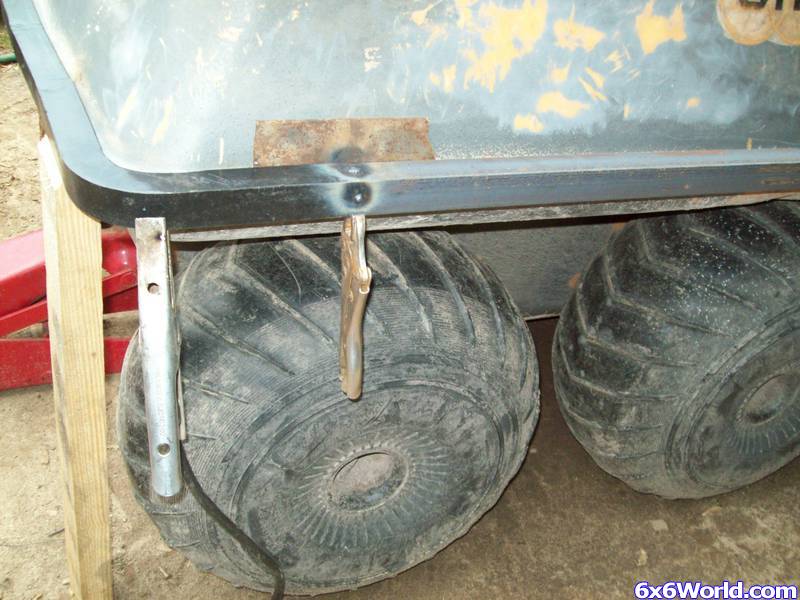
To attach it to the body you will need to drill holes and bolt it. I used 1/4" bolts. I used 6 in front and down the sides and 4 in rear. I have seen some held on with washers underneath and with flat stock also. I wanted to use the flat stock but I used the washer for now and it seems pretty solid. I guess if you are going to add tow points and such to the angle then it would be a good idea to use flat and more attachment bolts.
Before you drill, line up the angle iron band so that its centered front and back and side to side. I measured and drilled a hole. Then put the bolt in it but don't tighten it. Then measure and drill the next. That way everything should line up right. When you are done, take the angle iron body band off and wipe all the shaving that got trapped between the band and the body. Put it back on and if your having trouble with the corners getting bolted the body may have some sag in it and I just jacked it up, put some boards on end under the seam and lower the jack. I had to cut a angle on the boards so the seam didn't hit the angle iron body band. It help hold the ends up so I could at least get the bolts started. I would get a few bolts tightened down before jacking it back up and taking the boards out.
Completed pictures:
 . I think everything is going to work out good, but there is still some testing to do. I ran into a couple little issues, but nothing that can't be dealt with.
Sorry about the length of the vids, it was hard to keep the time down on a project like this. I have only uploaded the first part so far, but PT-2 will be edited into this post tomorrow if possible.
I have to say here that I'm NOT SURE if this will work with ALL Conquests. I have noted that some ...
. I think everything is going to work out good, but there is still some testing to do. I ran into a couple little issues, but nothing that can't be dealt with.
Sorry about the length of the vids, it was hard to keep the time down on a project like this. I have only uploaded the first part so far, but PT-2 will be edited into this post tomorrow if possible.
I have to say here that I'm NOT SURE if this will work with ALL Conquests. I have noted that some ...