Soooo, how are you going to go from a chain sprocket out put to a clutch and belt system??
No belt, chain only. Regular clutch like any other motorcycle drive. It's pretty much second nature to me to use a motorcycle clutch vice "snowmobile drive'...
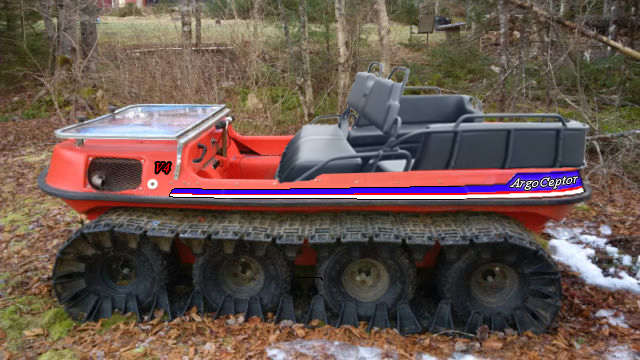
i must say it is a very cool project and i imagine alot of fun figuring everything out. thanks for all the photos ! i'm really enjoying following along. it's neat remodifying an original machine . my max 2 highboy looks nothing like the original . i just went from 22'' tires to 25 ''. with the tracks on , the edge where the top and bottom tub bolt together is 42 '' off the ground !! fun, fun . johnboy va.
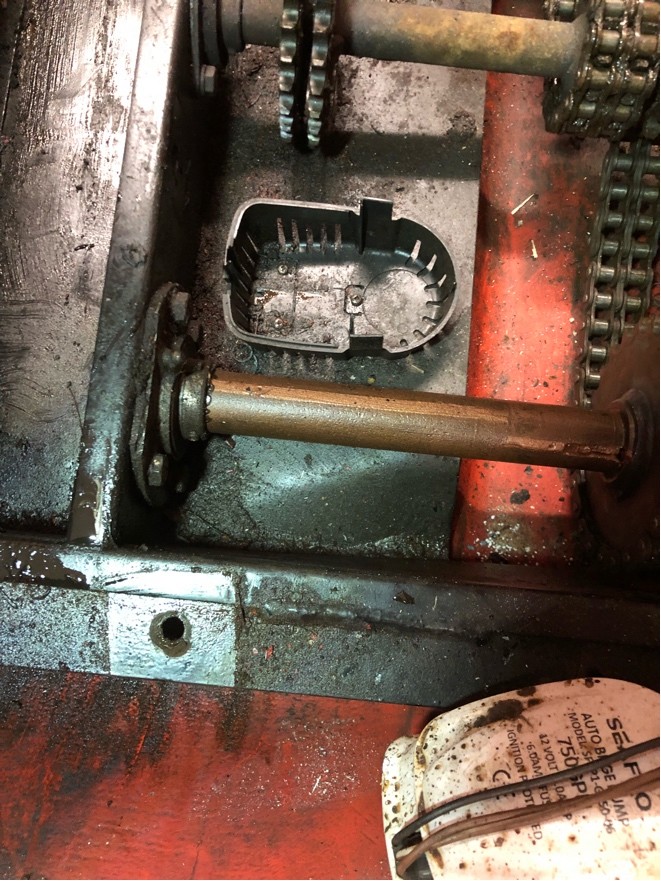
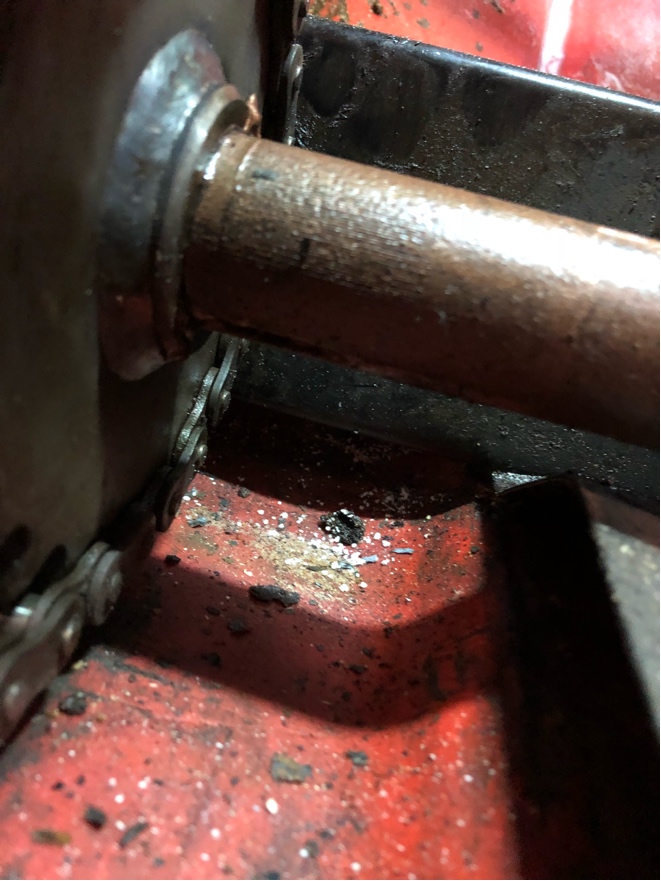
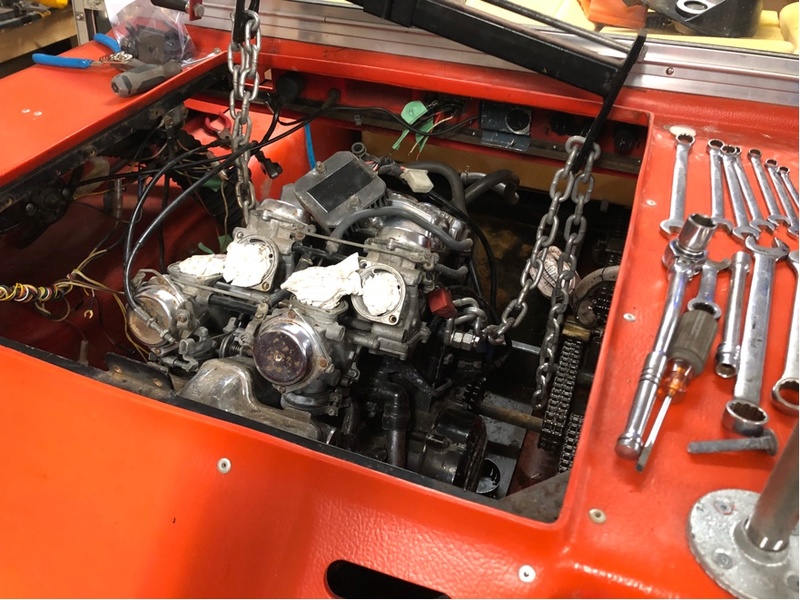
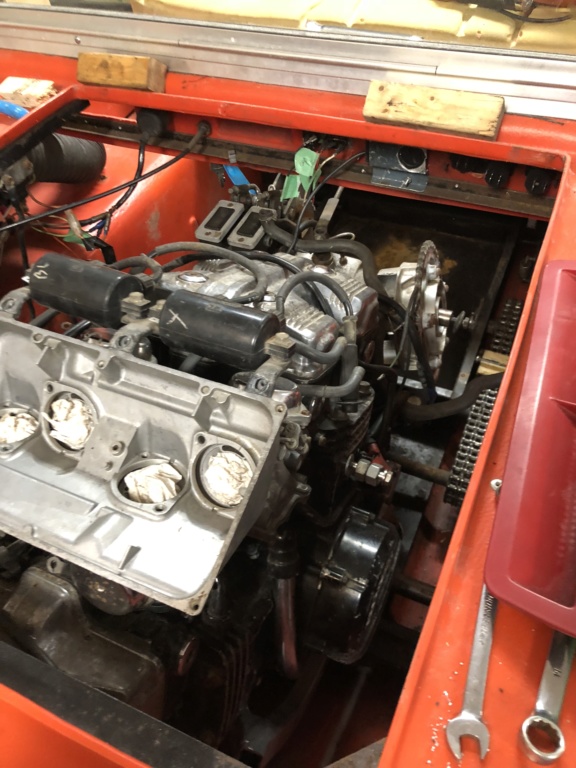
Decided to just pull the whole power pack tray in order to fit the V45 engine. And then teh Joy of PO damage popped out at me:
It's hit something pretty hard in it's past. The plastic tub and skid plate are fine, but the steel frame plate is bent up a good 3" in the worst spot. You can even see where it w jammed up into the drive sprockets, which wore a new "channel" in the metal!
No mounts built yet, but that's where it needs to sit to line up with the Argo transmission and adequately clear the front of the tub and the frame.
It also means the Argo transmission has to slide back about 1.5-2.5 inches to clear the back of the V45 transmission case. Not that big a deal as I've got new double 40 chain to replace the worn out transmission to idler shaft chains. I'll just make the chain a little longer and the chain doesn't care if it's running straight up and down or on a little bit of an angle. As long as the sprokets are in the same plane, chains are happy to just go about thier business. There should also be enough clearance to the firewall to slide it back that much. If not, it doesn't really matter as I think I'm going to have to make a new firewall anyways. The front footwell isn't exactly what you would call "roomy" to start with, but you'll never notice an inch or two of less.
Looks like about a 12" run from the V45 output sprocket to the Argo input shaft. The V45 output will sit lower than the Argo input, so that will have an upward run. Again, chain doesn't care about it's orientation as far as that goes.
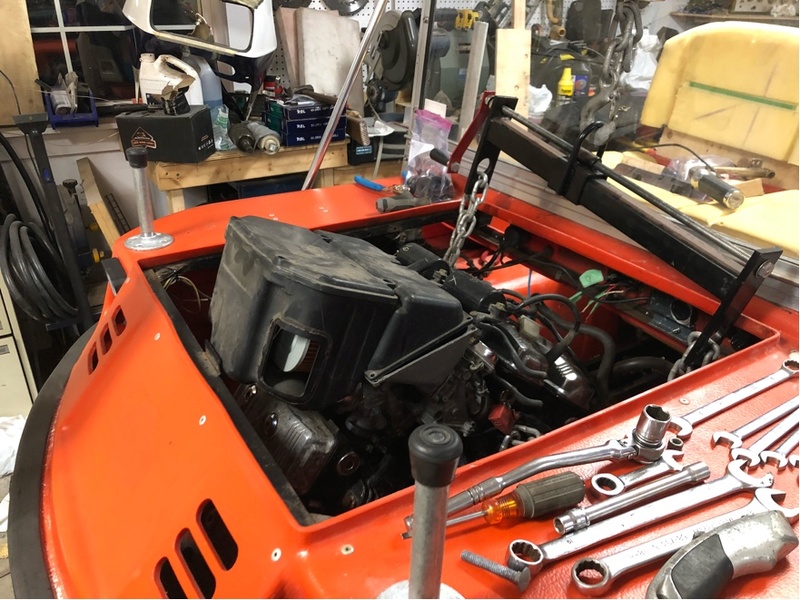
Here you can see the issue the airbox poses:
Sits pretty high as it is. I think I can cut the box just behind the upper airbox lid screws and angle the forward portion down. That would make it easy to get under a custom hood with a reasonable "bulge"in the center.
Its a bit of work to get this all to fit, but nothing outside of my wheelhouse. Pretty basic fabrication stuff for me actually.
Oh, the height the whole rig is sitting at on teh jack stands is probably where it will end up once I'm finished the suspension fabrication. It will go from about 5" at the lowest point on the tub/skidplate to about 11-12" at the lowest point. Not a huge jump in ground clearance, but adequate for me as the rig is pretty hard to get stuck as it is with the HDPE just sliding over everything. I just want to drag and gouge it less than I do now. No tto mention, suspension to soak up the impacts before it gets to the ol' bod....
Perhaps a set of PODS instead of the airbox? Might need re-jetting i suppose but it would give you more room.
The problem is the CV carbs. Because of the way they are designed to operate, they need to see intake vacuum within their design limitations. Tossing pods on CV carbs is a 99% likelihood of low power output and/or poor running. Same thing with just open CV carbs. vacuum signal and laminar flow is the big reasons.
If they were the older cable actuated slides, it wouldn't be a problem. Those aren't effected by airbox changes like a CV carb is.
Tubing to a cone filter raises the need to make sure the vacuum signal is also within spec. But that's a "spec" that is unknown, except the original engineers who designed the carbs and box.
So it's a shot in the dark that anything besides the stock airbox will work properly. Even a modified airbox is a serious gamble with CV carbs. Worst case you lean out and burn a valve, best case is just a loss of performance.
I have jetted CV carbs to work without a stock airbox before and got it to run decently, but it's always more work than any sane person wants to undertake and it means getting right down into the thing with airbleeds and sometimes restrictors in some passages....
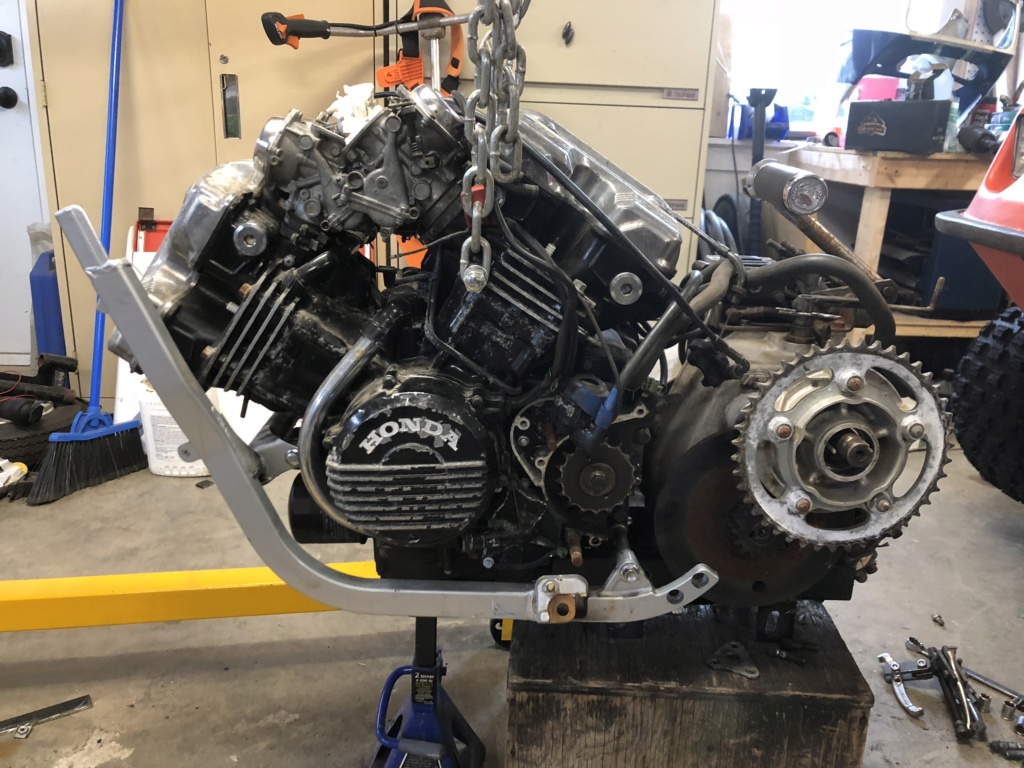
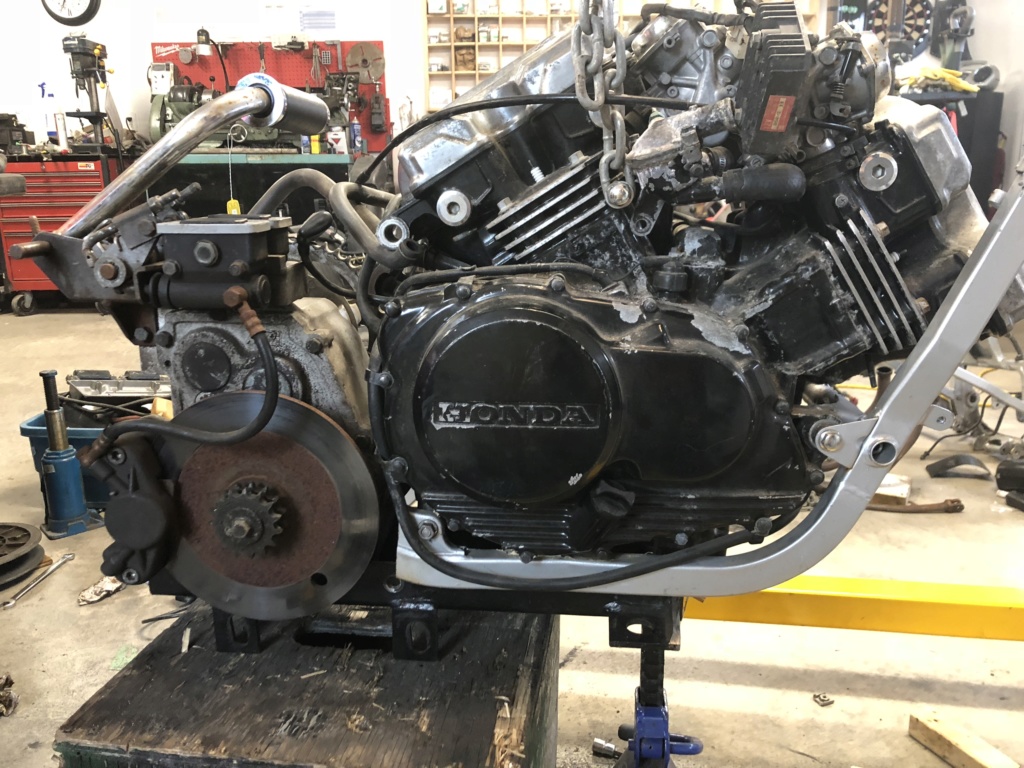
I elected to go the “simple route” for engine mounting. I just lopped the bottom of the VF frame off, used some 2” angle to make a platform on the sled and welded the frame rails directly to the 2” angle. The frame aleady had perfectly allgned mounts for the V4 engine, so I figured “why re-invent the wheel”? As a 90 degree V and a 360 degree crank pin, the V4 has perfect primary balance, so it doesnt vibrate. That's why Honda could mount it to solid mounts in the VF frame as a stressed member and the same reason why I can just straight up weld the frame sections to the argo “sled”.
You do get a second order vibe at around 7,000-8,000 rpm, but its just a very mild “buzz” at worst. If you feel it at all that is. I don’t plan to ever have the rpm that high in the Argo anyways. No need to be trying to rip along at 75-80 mph in an 8x8 Argo! Yipes!
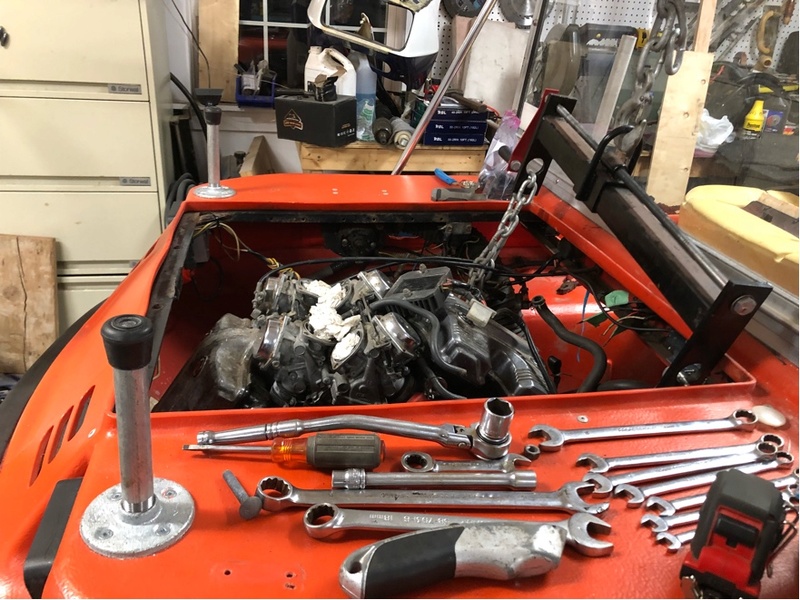
Dropped it all into the engine bay:
Pretty good! Its a little further forward than I had wanted, but it was nessesary to clear things like the oil pan and a few other bits. Might make it a touch more nose heavy, but I’m hoping the planned group 27 battery mounted in its new spot at the very rear of the rig will help balance that out some. Time will tell...
The Argo trans is slid back about an inch and will get slotted mounting holes so I can make adjusters to tension the drive chain between the V45 and the Argo input shaft. The Argo output chains will still be the stock argo ajusters on the back of the sled. The v45 is offset to the LH side in order to line up the vf output sprocket and the argo input sprocket a little closer. Looks like I will still have to make an offset output sprocket to get the final lineup correct. Not much, maybe 3/4-1” offset. Engine offset to the left isn’t such a bad thing for balance as the driver sits on the tight side of this rig.
The Argo input sprocket build will be more involved than just an offset sprocket like the V45 output. The sprocket and carrier will be reused from the CBR wheel that was on the VF. I’m currently also looking at machining out the wheel center to reuse the “cush drive” in the wheel hub. Basically, the sprocket carrier pushes into the wheel hub where there are rubber dampers. These dampers take up vibration and shock loads to make life easier on things like the gearboxes and chains. Would be nice to be able to incorporate it to make life easier on the Argo transmission as well as the VF box. I have a general plan worked out on how to do it, i just have to see if I have the clearances.
Building the exhaust is going to be “fun”. Its pretty tight up at the front cylinders and the rear pipes on the the V4’s are always a tight fit. Add in the fact I plan dual mufflers with rear exits and exhaust becomes a major project/pain all by itself.
Ugh. Exhaust fabrication is never easy...
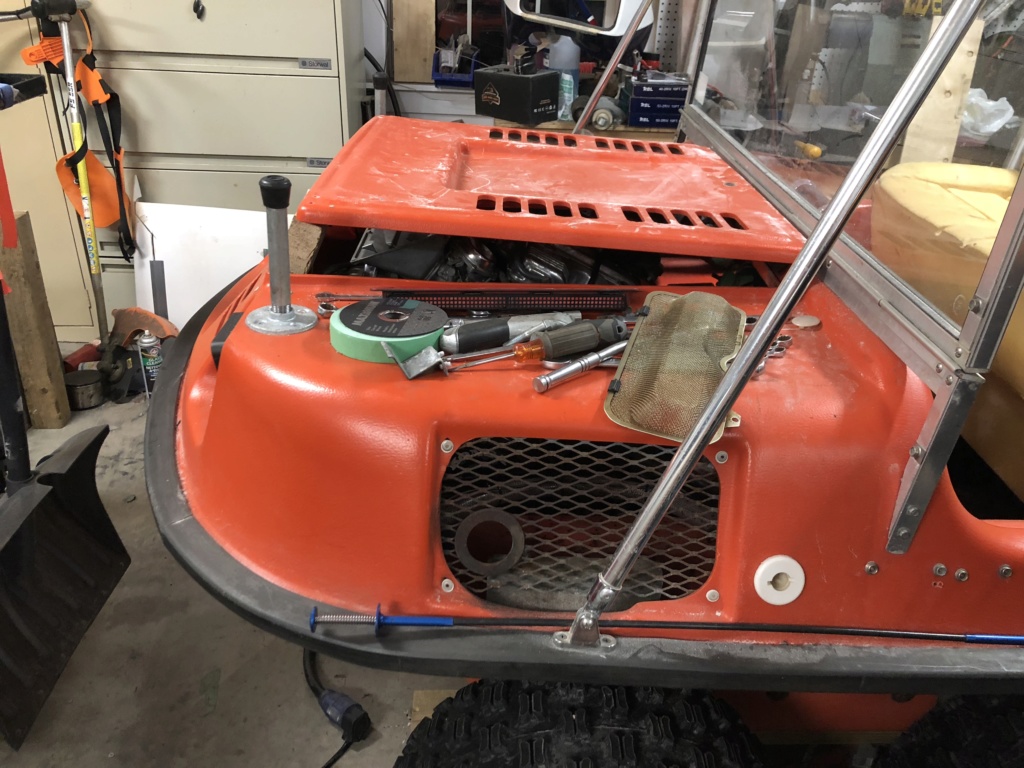
I’m toying with using the stock Argo hood:
Theres no way it will clear the intake as it is, but if I turn it around backwards and make a spacer piece to raise it up, it will work. Looks a little “off” to my eye as it needs to be higher in the front (to clear the airbox) than the back (low enough to let the windshield fold). Still thinking about that or the custom fiberglass hood. Either way, I need about an additional 4” at the front to clear the airbox...
weird question but just curious does the exhaust go out the left on this new engine? bonus if you dont have to come up with opposite side exhaust screen and that

 Tweet
Tweet


Comment