Thanks for the belt information. I'll let you know what I decide. I made some progress this weekend. I sand blasted the frame and primed a bunch of the parts.
I ordered the HP2031 from MFG Supply. It was the same belt I used on my Max II with the opposed twin Briggs.
Once I get the belt, I'll be able to finalize the engine placement, finish painting and start assembly.
First modification almost complete on my project. I've wanted to add the pivot to the T-20 for a long time. Finally figured out an easy way to do it with my basic tools.
Drilled center pivot hole in U channel. Same size bit used to tap a 3/8 hole.
Installed U channel on transmission using just the bolts to keep it from moving. I made sure the hole was centered on the casting.
Using the U channel as a guide, I drilled the hole into the transmission.
I will enlarge the hole to 1/2 for a bushing. I will be using 3/8 ID - 1/2 OD spacers or bushings for the U channel pivots.
I also enlarged the hole for the hairpins to one size over 1/4 to use 1/4 inch pins to take up the slop between the bolts and the pins. (drilling it 1/4 didn't give enough clearance for the bolt) I will also slot the heads to make adjustments easier.
Doing frame out restoration on my MAX II. What did you use to sandblast your frame seeing as I'm pretty sure that couldn't fit inside your HF sandblast cabinet. You use a portable tank and deal with the mess? And also what do you suggest as far as paint?
I used a siphon feed blaster from sears in the same corner of the garage where I've been painting. I made a blasting booth out of tarps.
I used tractor paint from Tractor Supply. I used the enamel hardener with it and I'm very happy with the results.
I used a siphon feed blaster from sears in the same corner of the garage where I've been painting. I made a blasting booth out of tarps.
I used tractor paint from Tractor Supply. I used the enamel hardener with it and I'm very happy with the results.
I had similar idea of tarping off an area in my garage so thanks for making it seem like I actually had a good idea haha. And tractor paint is a pretty good idea seeing as i'm sure its tough. And in my case there is a tractor supply 5 minutes from my house. Perfect. Thanks Liflod
Nice job on the U-channel pivots! Thanks for posting the pics. Great idea replacing the hairpin clips behind the bolt heads with clevis pins. That is a big area of slop that has now been easily removed from the circuit. I was getting ready to do a lot (more than desired) of work switching the guts of a U-channel type over to a popsicle stick hsng. I think I'm going top follow your lead instead.
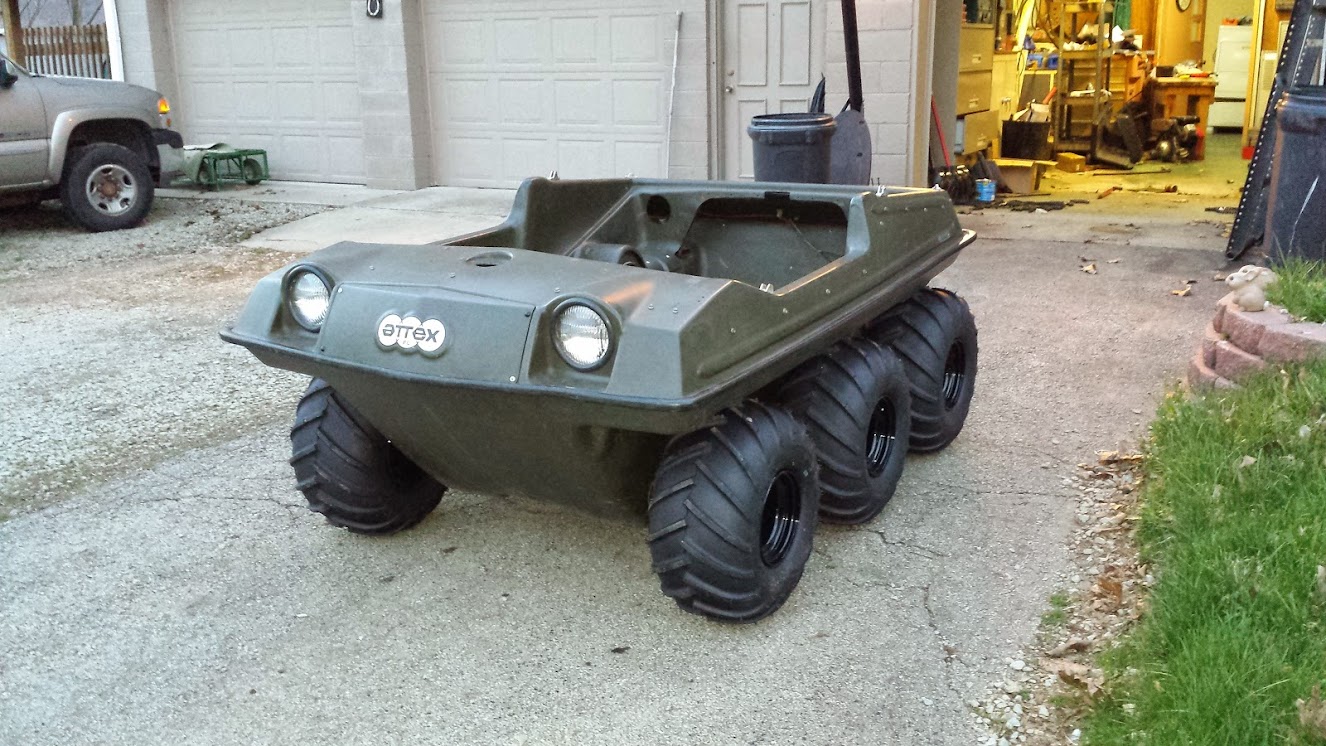
I found a use for the old Chief I had in the graveyard! The body has/had about 15 extra pounds of aluminum and fiberglass holding it together.
Now I can complete the fabrication knowing exactly where the seat floorboard and engine cover are located.

 Tweet
Tweet


Comment