
 Tweet
Tweet
Makes sence to me. Is there a way to grease the uhmw to help seal some of the water out?
-
What it lacks in ground clearance it makes up for with traction. -
Yes,there is.
 ,
, ,
, ,
,
Two holes,one for a vent.


Also turned the face on the back side so this boss engages the hole in the frame. This helps take the now longer flange bolts required out of shear. Kinda supports the body better than 5/16" bolts,in my opinion,too. Sorry bout the second pic,it's dark.
 ,
, Last edited by JoeMeg; 03-16-2016, 06:05 AM.sigpic
Comment
-
I'm going to attempt this again but I know these pics were in this post yesterday,I saw them.
Yes,there is.
Two holes,one for a vent.

Also turned the face on the back side so this boss engages the hole in the frame. This helps take the now longer flange bolts required out of shear. Kinda supports the body better than 5/16" bolts,in my opinion,too. Sorry bout the second pic,it's dark.
Ready to install
 sigpic
Comment
-
Yes, just like Joe showed in his pics.Originally posted by tbone9 View Post
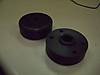
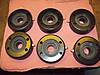
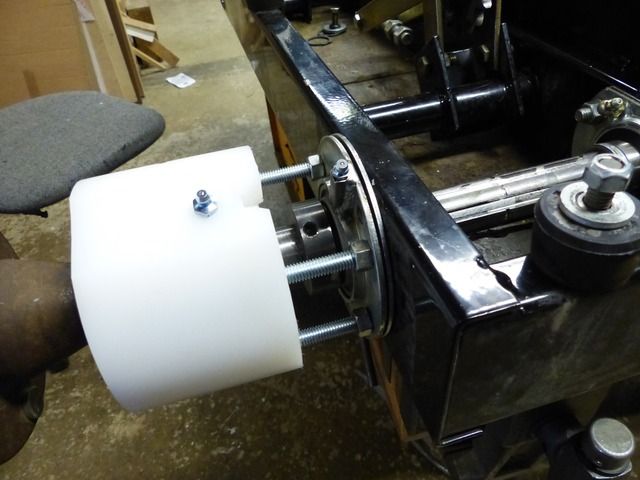
Finished up the machining on the cages. Here are some pics that will explain what has been going on. I never could understand why there wasn't a watertight seal between the
and the tub. So thats what I tried to do. I used a 1.25" triple seal on the outside, it's a tight fit but I still used 2 screws with washers just to make sure it couldn't walk out. The UHMW is slippery stuff,
I've heard of it happening before.
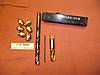
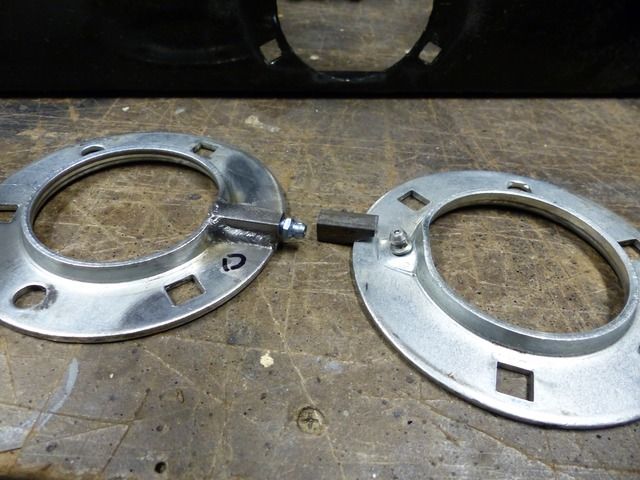
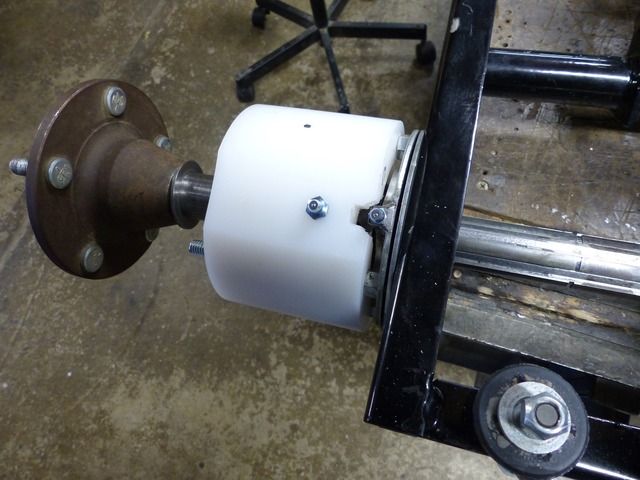
This is what I came up with to grease the OEM bearing. I used 3/8" sq stock and machined it to fit the flange, drilled and tapped for zert then welded it to the outer flange.
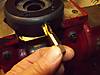
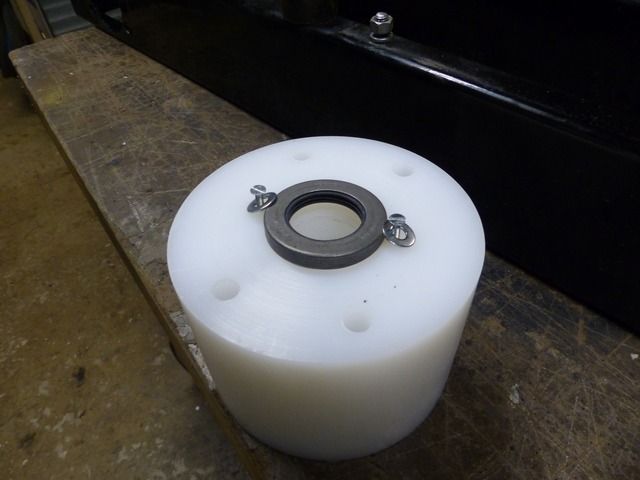
Then like Joe, I drilled and tapped the UHMW for a 3/8"npt zert than dried a 1/8" hole at an angle that came out 1/4" in from the outer seal.
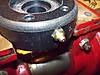
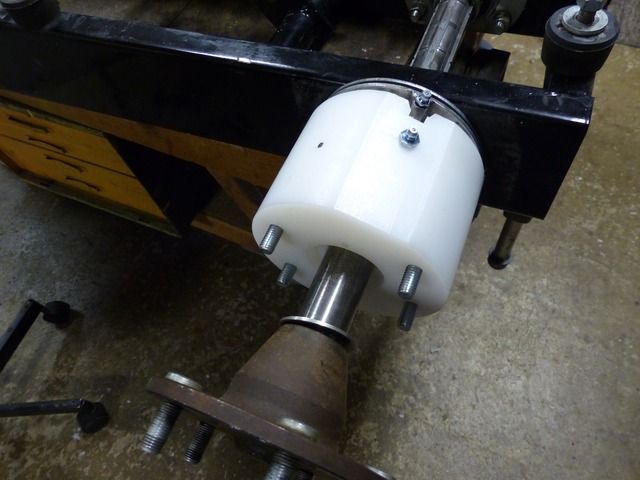
It goes back together just like the original outer bearing flange, seal it with seal tape and silicon and tighten it down with the 3/8" nuts, tighten the lock coller than seal between the flange and the cage and bolt it down. Hopefully that will be waterproof for a long time.
This is shown without the seal but you get the idea.
Now I have a question, how tight do you turn the locking coller?Comment
-
Nice work! Looks like you thought of everything there. I took a little different approach and used two flange bearings with an enclosed cage packed with grease to keep it watertight. When I did this I went to bearings with the set screws and got rid of the problematic lock collars. As I've had them break and loosen up. Drive them on too tight and risk them breaking on you eventually. Not tight enough and they can loosen. The lock collars were originally designed for one direction applications. We obviously back up. That's just my opinion though. I've had no problems since I went to set screws. To answer your question drive them up good and snug against the direction of forward travel. In other words if the collar was to rub on something it would only try to tighten it.What it lacks in ground clearance it makes up for with traction.Comment
-
Nice. The extensions for the zerks in the original pressed steel flanges are plain clever.sigpicComment
-
Thanks guys
We set the frame in the tub last night so I can get started putting her back together.
I'm sure I will have some more stupid questions before this is over with.
I've been tuning on some drain plugs also. Will get some pics posted.Comment
-
Another question, The way I set it up with the double nuts seems like just an extra step.
Do you guys think I could just use the lock nut on the outside of the cage? The UHMW fits
tight up against the face of the flange. It would sure make it easier to remove in the future.Comment
-
And you thought I was kidding about stupid questions!
Those nuts have to be there to hold the bearing tight in the flange so I can tighten the locking collar.
I've thought about this for over a month and new dang well they had to be there!
I'm chocking it up to a brain fart of a senior moment.Comment
-
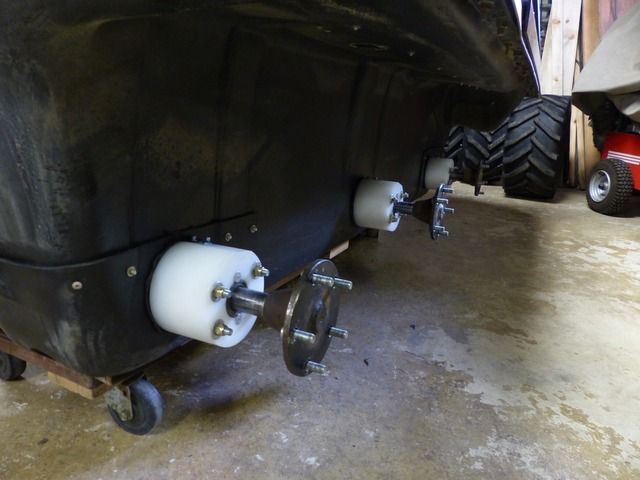
Well I got the synthetic bearings on over the weekend. Everything bolted up nicely, waited a day and hit all the zerts with grease. The UHMW sticks out 3 1/2" from the tub except for the middle which is 3/16" further out. I did that for mounting a rail for running tracks. I will never use tracks but if I sold it for some reason the new owner could make them and not have to use a spacer on the middle axle. It looks like I will have to sell or trade the accessories that came with the max ( roll cage, windshield, rear storage rack, top set and tracks )
Comment
-
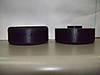
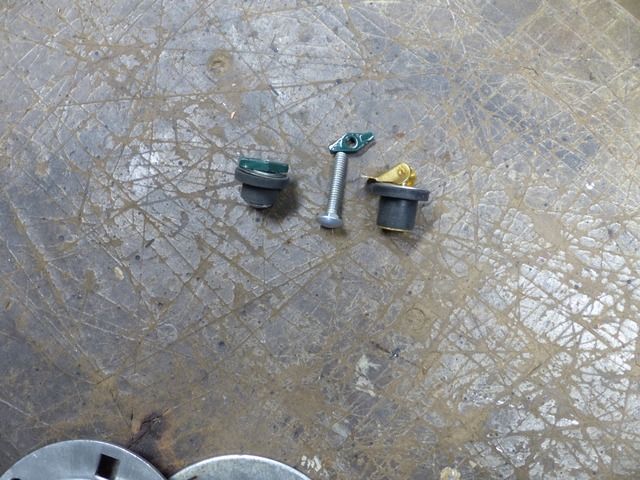
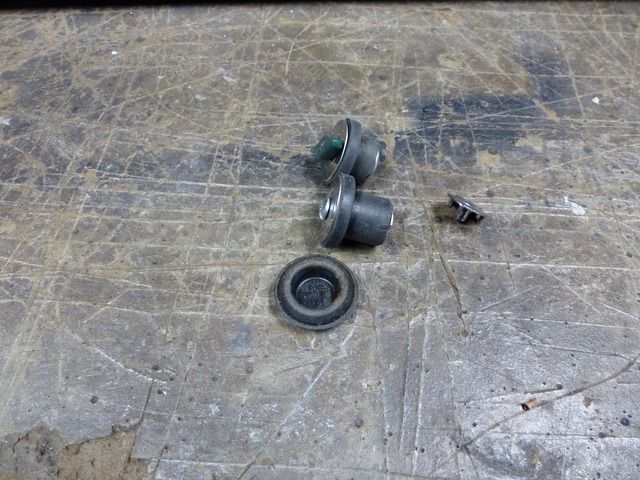
I made some rubber drain plugs for the max. I found some expansion plugs at the hardware store in town. Thought they would work but the lever wouldn't expand them enough and the stuck out from the tub to much. I wound up running a 1/4" carriage bolt through it and made a lower profile wing nut.
Still not completely happy with it I stuck a 8-32 T-nut in the other one, it mounts a lot closer to the tub now, nothing to catch on.
It came with some of factory drain plugs ( 2nd pic. on the bottom ) how well do these seal? Just wondering if I'm over thinking this.
Comment
-
Been using expansion plugs with a regular wing nut for many years. Haven't tore one out yet.What it lacks in ground clearance it makes up for with traction.Comment
-
Thats good to hear tbone9. I think you would have to slide off a clump of grass, dirt or log just right in order to rip one out.
I started installing the chains and decided to make a tool to pull the two ends together. Nothing new here but thought I would
post what I did. Used a cheap pliers that I had laying around, locked it in the vise and drilled it out in steps to fit the roller on chain.
It also worked to pinch the master link side on and set the clip. I know nothing new!

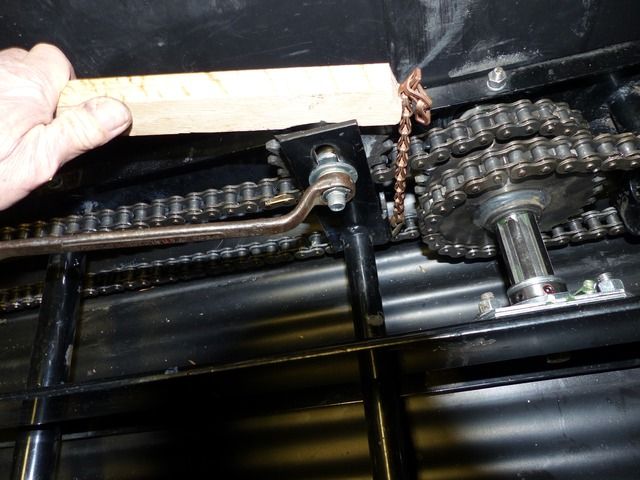
I also came up with a tool to tighten the chains. I used the 2x2 before and it worked fine, just a little awkward for me. This was just going to be a prototype but it worked so well
I'll just round off the edges and toss it in the tool box. I just used 2 links from an old tire chain, cut it to size drilled the piece of oak and pressed it in the other end I formed it around the chain.

Comment
-
Well it's all back together and working great! All the pond are frozen here, will be a at least a month.
The tub sagging pretty bad so before I had it back together I ran a high lift jack from the frame to the roll cage
and heated it very carefully with a weed burner and let it set overnight, worked great.
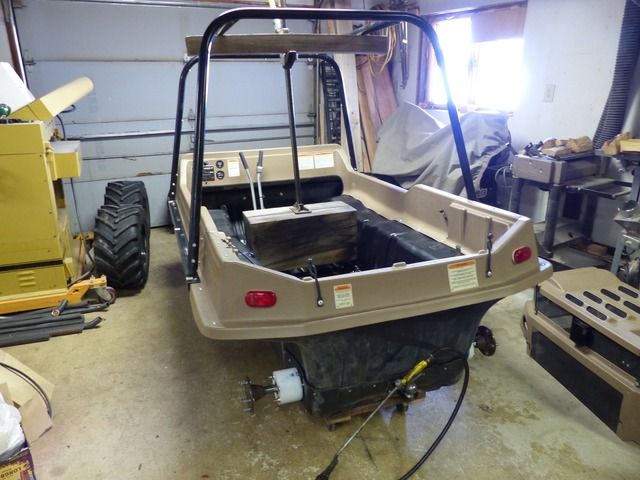
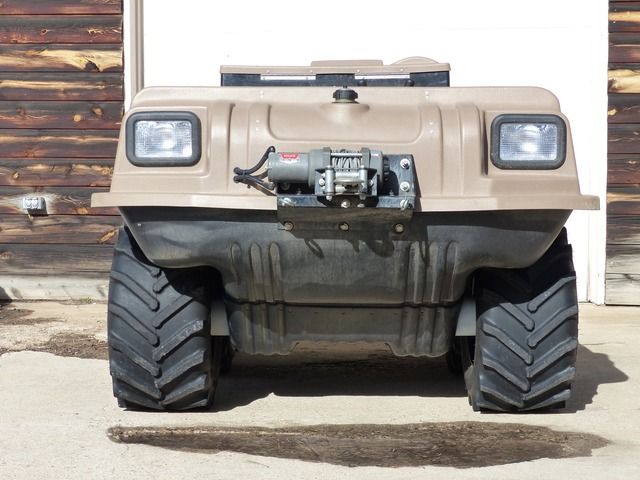
You can see where the front tire had rubbed on the tub.

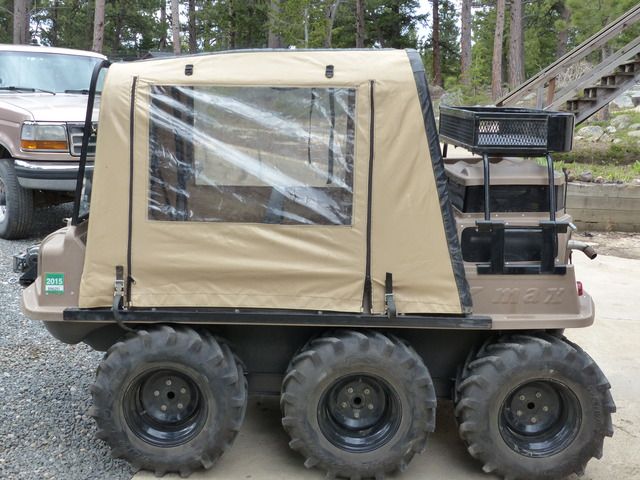
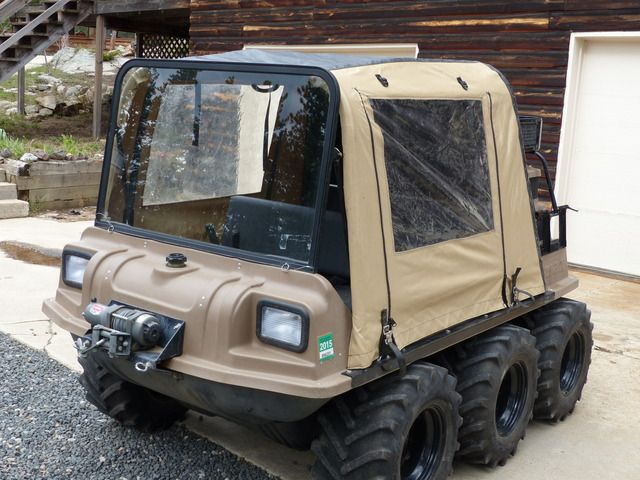
This is what it looked like when I brought it home, unfortunately everything you see will have to go (not the winch) because of storage restrictions. Has a set of tracks and tires also. I will post for sale soon.
Comment
-
Nice work on the machine. The only thing I suggest is to switch over to the Argo screw in drain plugs, they tuck out of the way and are protected by the skid plate.Comment


Comment