
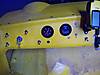
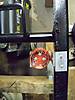
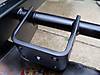
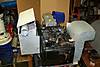
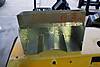
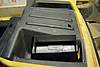
Got the fuse holders color coded,

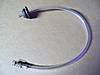
Just need a choke cable,

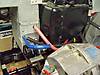
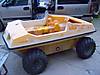
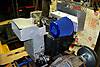
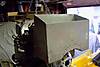
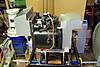
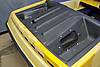
I will mark where I want things like the fuse holders,bundles of wires,etc. then take the "temporary" frame used for fitting during construction out. Then I'll rig the unit upside down like this,
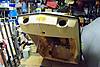
So,instead of laying on my back (read;crawl in and out of the tub a million times,lol) reaching up,I can stand up and assemble everything comfortably. By pre-marking things,it should take some of the guess work out of being upside down. Hopefully when righted the arrangement will be in a user friendly manner,easily able to access the fuse holders,etc.
Joe.
 we'll see.
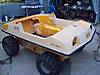

 .
.
Leave a comment: